In this blog, we will see how to install Sitecore 10 with SOLR as Search provider. In case if you are looking for Sitecore with Azure Search as a Search provider then you can go through this blog.
Also the prerequisite for installing the Sitecore 10 with SOLR is that we need the SOLR up and running. Either you can host your SOLR on the SOLR Cloud or on-premise to generate the End-point. In this example we have hosted the SOLR on Azure as an App service. If you are interested to host the SOLR on Azure then you can refer this blog.
Once the prerequisite is in place i.e. SOLR endpoint that is up and running.
Login to your Azure portal.
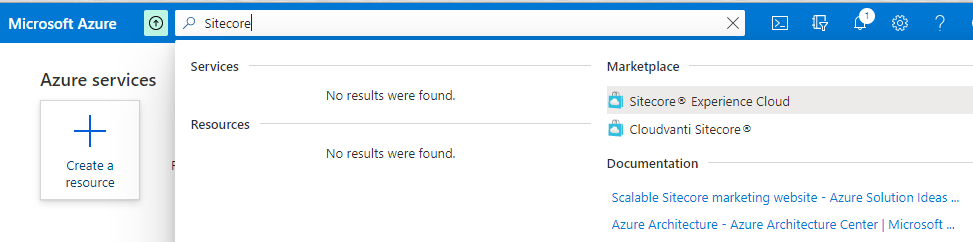
Search for Sitecore template from Marketplace and select Sitecore Experience Cloud
Then provide the details as Subscription and Resource group, it’s better to create a new resource group(because the Sitecore ARM requires empty Resource group) instead of merging the resources with an existing one.
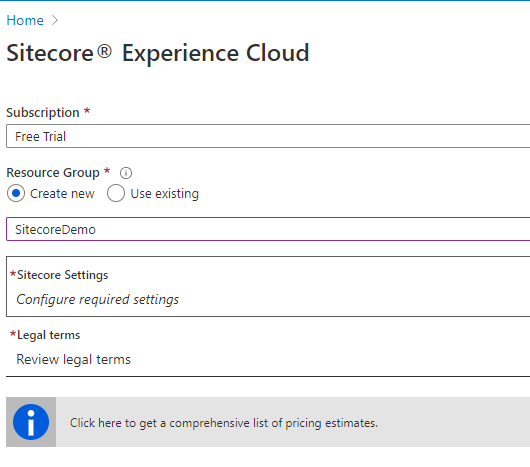
Then click on Sitecore Settings to provide Sitecore related configurations – This is multi-step process as explained below.
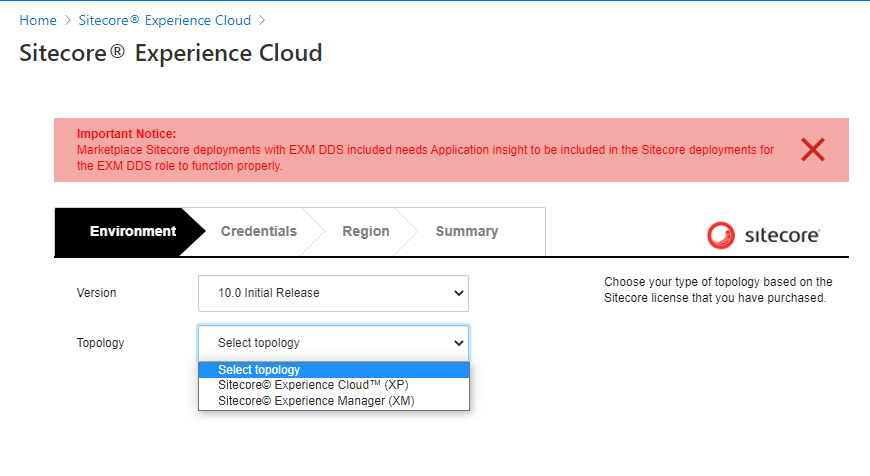
In the first step, we will need to provide Environment related configurations. It includes Sitecore Version, Topology, configuration as Developer/production, Size etc.
Since our site is developed in Sitecore 10 initial release, we chose Sitecore 10.0 Initial Release from the list.

Then chose the Topology – XP or XM based on your website need. Here we are choosing Sitecore Experience Cloud (XP).
Then chose the configuration – Developer, Scaled Developer or Scaled Production. We are selecting Scaled Production however it depends on which environment you are setting up – developer or production accordingly select this value.

After this we need to choose the size – this is bases on your website’s need that how much hits your website is expecting. We can choose from Extra Small, small, medium, Large, Extra Large 2x – Large and 3x-Large. As our website size is small, so we are selecting Extra small.

If your website needs any more configurations like CDN, Blob Storage or want to include Sitecore modules like Commerce, JSS, SXA etc.

Once these details are provided, we need to provide Sitecore specific details in Credentials step.
In this step, we will need to provide Sitecore Admin password, SQL Server login name, SQL Server password, License file, you can use your existing certificate or create a self-signed certificate by providing certificate name and password. Here we also need to choose search provider – Azure or Solr.
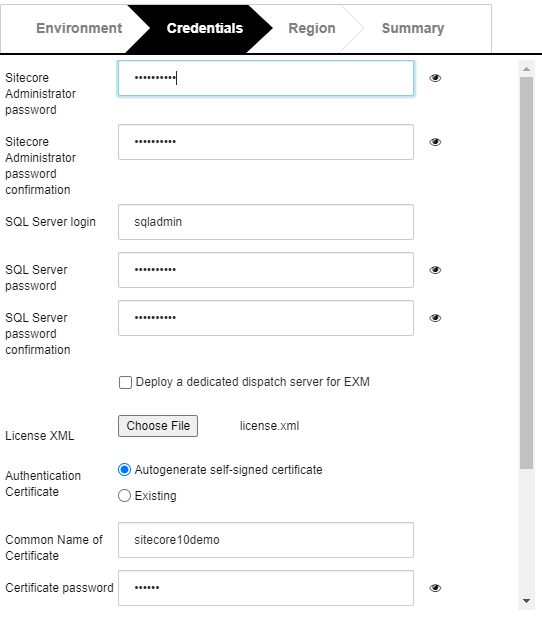
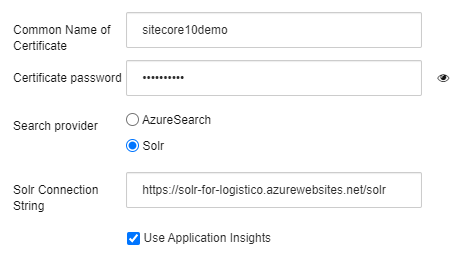
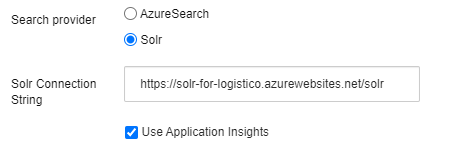
If we choose Solr, we need to provide the Solr url as Solr connection string.
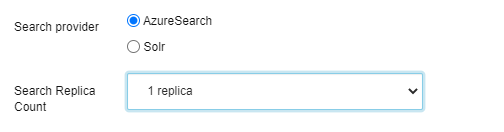
If we choose AzureSearch, we need to choose the Replica count.
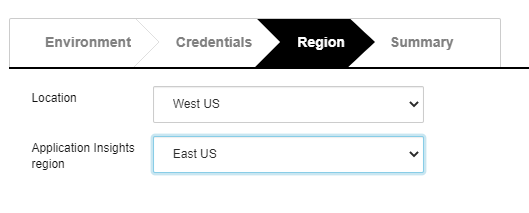
Once we are done with all information related to Credentials step, we can go to next step Region.
In this step, we need to choose Location where your resources will be created and Application Insight’s region.
Once we are done with selecting Regions, we are done with providing the required information and we will be navigated to final step – Summary step.

Once these settings are confirmed, click on OK button.
This will validate your information and navigate to your earlier screen where we provided Subscription and Resource group where we need to accept the Legal terms.
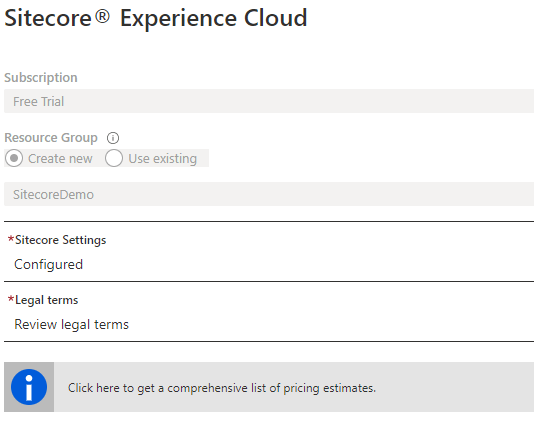
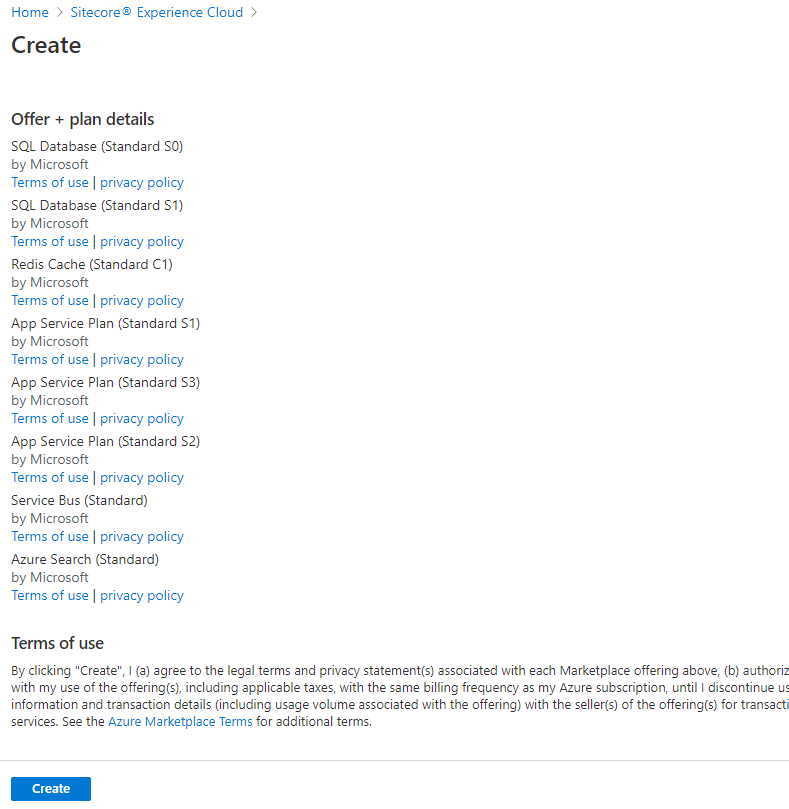
Click on Review legal terms and click on create button to create the resources.
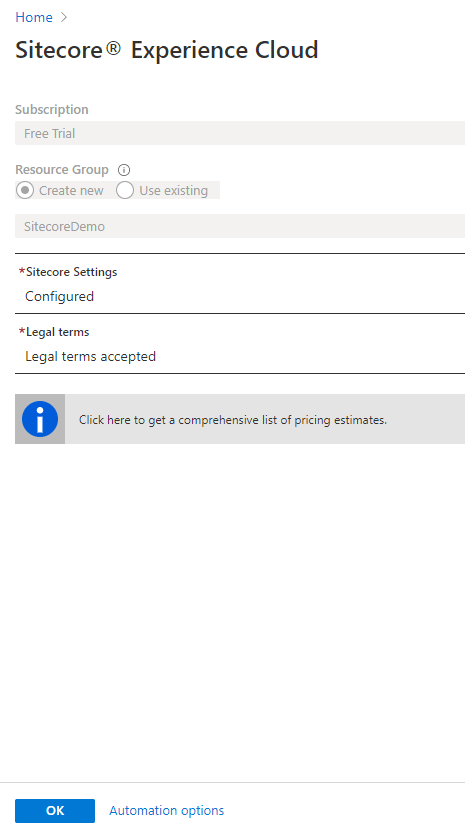
Once you click Create, you will be navigated to earlier screen where you can see the legal terms accepted text. So, we are done with configuration and just a click away from deploying our Sitecore Azure instance. Just click OK which will trigger the deployment and you will be notified once your Sitecore instance is created.
This will take few minutes to prepare your resources, once you get the notification about successful creation, you can see there will be resources created under given Resource group (provided at the beginning of the setup).
Access your website
- Navigate to Resource group which we have used to create our Sitecore instance.
- There are many resources in this resource group, click on the App Service name ending with ***-cd.
- From the App Service’s detail page, you can find the URL for website, click on it to access your website.
Access Sitecore back-end – Launchpad
- Go to Azure portal and navigate to resource group that you have specified earlier.
- You can see list of resources were created for you. From the list, look for App Service with name ending
***-cm and click on it. It will open the details about this App service where you can find the URL and access it with appending /Sitecore. - e.g. https://XXXXXX-cm.azurewebsites.net/Sitecore
- Login with User name as “admin” and use the password which we have provided during Sitecore setup. On successful login, Sitecore launchpad will be opened.
In the control panel, you can open indexing manager and try rebuilding the index to validate if the configurations are proper.
Thank you.. Keep Learning.. Keep Sitecoring.. 🙂

Pingback: Simple steps to upgrade Sitecore 8.2 application to 10 | Sitecore Diaries