So in the previous blogs, we completed Home & About page and now we will be working on Service Details and Listing pages. So lets see what all components are there on the Service Details page except the layout.
So if we list these components then it is – Banner, Left Navigation Bar & the details section. Out of these components Banner is already present so lets add it.
- Go to Sitecore >> Content Editor >> Templates >> Sitecore Demo >> Services >> Service Item >> __Standard Values.
- Presentation tab >> Details >> Edit >> Controls >> Add.
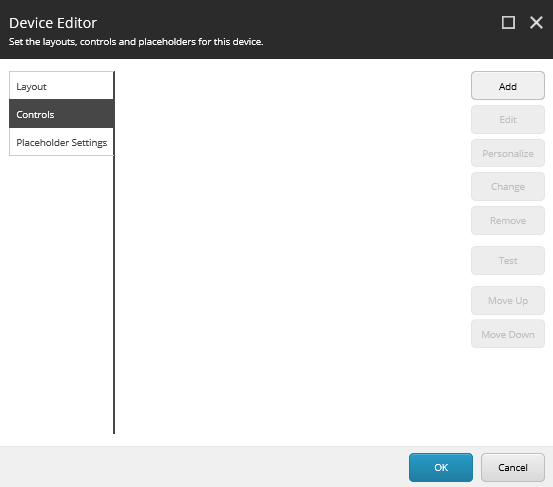
- Select the Main Banner rendering & add “main” as placeholder key. Click Select.

- Click OK >> OK. Publish the item.
- Go to the Global >> Banners folder (/sitecore/content/Global/Banners).
- Right Click >> Insert >> Banner. Name it as “Ocean Freight Banner”.

- Similarly create for: Road Transport, Air Freight & Copy of Ocean Freight. Let the image be same. Only update the title.

- Publish the Banner item and Go to the Air Freight item (/sitecore/content/Home/Services/Air Freight).
- Presentation tab >> Details >> Edit >> Controls.
- Click on Main Banner rendering and click Edit. And select the Air Freight Banner item which we created just now as a Data source.

- Click OK >> OK >> OK.
- Publish the item. And browse it in the front end (http://sitecoredemo.dev.local/Services/Air-Freight)

- Similarly, add the data source for rest of the 3 services and publish those items.
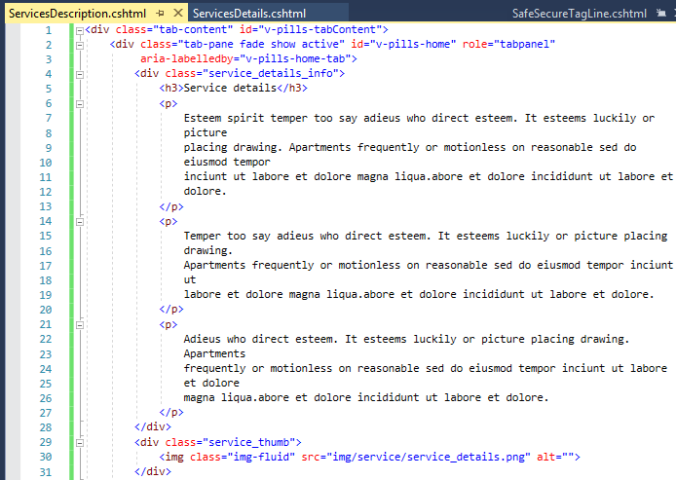
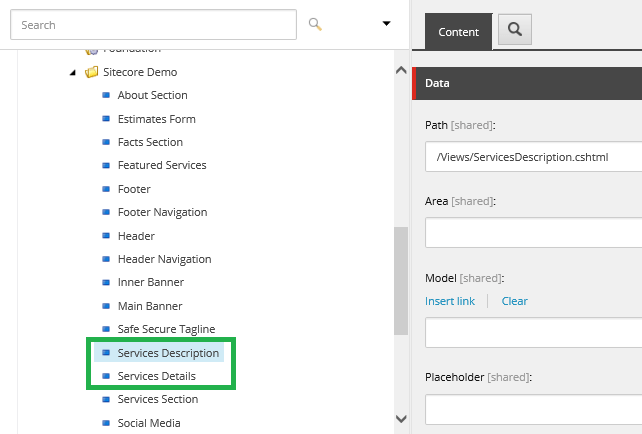
- Lets create one View Rendering with HTML markup of the Service Details from service_details.html from the logistico extracted folder.

- Lets remove the right side code and enter the placeholder in that particular place. So the below code will be the updated one.
<!– service_details_start –>
<div class=”service_details_area”>
<div class=”container”>
<div class=”row”>
<div class=”col-lg-4 col-md-4″>
<div class=”service_details_left”>
<h3>Services</h3>
<div class=”nav nav-pills” id=”v-pills-tab” role=”tablist”
aria-orientation=”vertical”>
<a class=” active” id=”v-pills-home-tab” data-toggle=”pill” href=”#v-pills-home”
role=”tab” aria-controls=”v-pills-home” aria-selected=”true”>Ocean Freight</a>
<a class=”” id=”v-pills-profile-tab” data-toggle=”pill” href=”#v-pills-profile”
role=”tab” aria-controls=”v-pills-profile” aria-selected=”false”>Land Transport</a>
<a class=”” id=”v-pills-messages-tab” data-toggle=”pill” href=”#v-pills-messages”
role=”tab” aria-controls=”v-pills-messages” aria-selected=”false”>Air Freight</a>
</div>
</div>
</div>
<div class=”col-lg-8 col-md-8″>
@Html.Sitecore().Placeholder(“ServiceDescription”)
</div>
</div>
</div>
</div>
<!– service_details_start –>

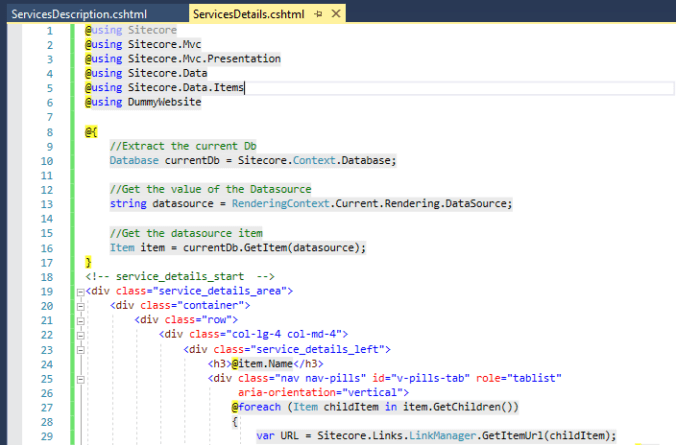
- Create one more View and copy the deleted markup above into the new View.
- Update the code for ServicesDetails.cshtml. Considering that we will pass the list of Services as Data source from Sitecore.
@using Sitecore
@using Sitecore.Mvc
@using Sitecore.Mvc.Presentation
@using Sitecore.Data
@using Sitecore.Data.Items
@using DummyWebsite@{
//Extract the current Db
Database currentDb = Sitecore.Context.Database;//Get the value of the Datasource
string datasource = RenderingContext.Current.Rendering.DataSource;//Get the datasource item
Item item = currentDb.GetItem(datasource);
}
<!– service_details_start –>
<div class=”service_details_area”>
<div class=”container”>
<div class=”row”>
<div class=”col-lg-4 col-md-4″>
<div class=”service_details_left”>
<h3>@item.Name</h3>
<div class=”nav nav-pills” id=”v-pills-tab” role=”tablist”
aria-orientation=”vertical”>
@foreach (Item childItem in item.GetChildren())
{
var URL = Sitecore.Links.LinkManager.GetItemUrl(childItem);
<a class=” active” id=”v-pills-home-tab” href=”@URL”
role=”tab” aria-controls=”v-pills-home”>
@Html.Sitecore().Field(Templates.ServiceItem.Fields.ServiceTitle_FieldName, childItem)</a>}
</div>
</div>
</div>
<div class=”col-lg-8 col-md-8″>
@Html.Sitecore().Placeholder(“ServiceDescription”)
</div>
</div>
</div>
</div>
<!– service_details_start –>
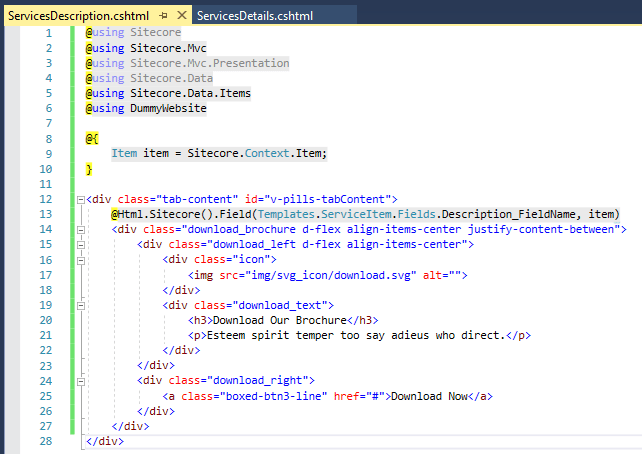
- Now if we see in ServicesDescription.cshtml then it has the main description of the service and File details.
- So the markup besides file details, lets cut and paste it in the Description field of the Service item (/sitecore/content/Home/Services/Air Freight).

- Click Accept & then save the changes.
- Similarly copy this html for other Service items as well.
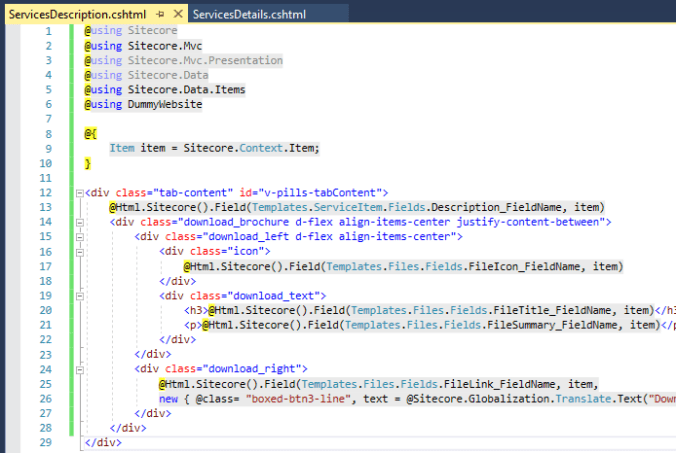
- Now update the ServicesDecription.cshtml code as below:
@using Sitecore
@using Sitecore.Mvc
@using Sitecore.Mvc.Presentation
@using Sitecore.Data
@using Sitecore.Data.Items
@using DummyWebsite@{
Item item = Sitecore.Context.Item;
}<div class=”tab-content” id=”v-pills-tabContent”>
@Html.Sitecore().Field(Templates.ServiceItem.Fields.Description_FieldName, item)
<div class=”download_brochure d-flex align-items-center justify-content-between”>
<div class=”download_left d-flex align-items-center”>
<div class=”icon”>
<img src=”img/svg_icon/download.svg” alt=””>
</div>
<div class=”download_text”>
<h3>Download Our Brochure</h3>
<p>Esteem spirit temper too say adieus who direct.</p>
</div>
</div>
<div class=”download_right”>
<a class=”boxed-btn3-line” href=”#”>Download Now</a>
</div>
</div>
</div>
- Publish the Visual studio solution.
- Go to Sitecore >> Renderings >> Sitecore Demo.
- Create 2 view renderings – one for ServicesDetails.cshtml & other for ServicesDescription.cshtml
- Go to the __Standard Values of the Service Item Template (/sitecore/templates/Sitecore Demo/Services/Service item/__Standard Values).
- Presentation tab >> Details >> Edit >> Controls >> Add.
- Add the Services Details rendering with Placeholder key as “main” and check the box to immediately open the properties.
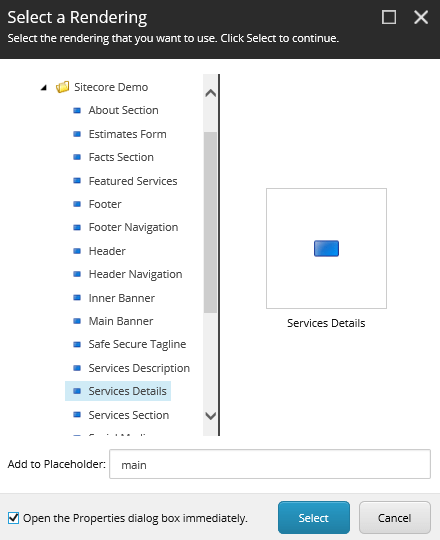
- Click Select
- In the Data source field, select the Services item created under Home.

- Click OK. Again click on Add button.
- Select the Service Description rendering and give “ServiceDescription” as placeholder key because we have given “ServiceDescription” as a key in ServicesDetails.cshtml.
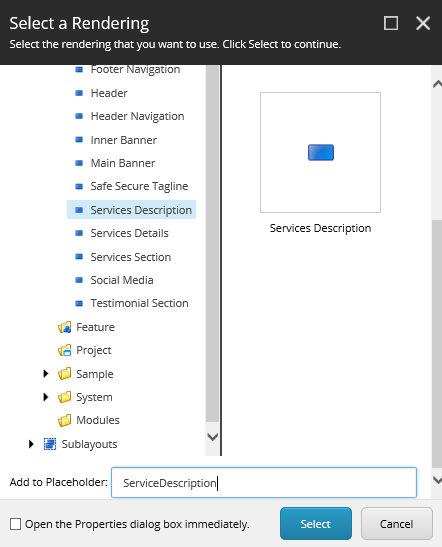
- Click Select >> OK >> OK. Publish the item.
- Publish the Services folder (/sitecore/content/Home/Services) because we have added value in Description field in all the Service items.
- Browse the Front end site for Service Details page (http://sitecoredemo.dev.local/Services/Air-Freight)

- Now lets fill in some data for File section in Air Freight item. Use below link in File Link, add it as External link.
https://www.w3.org/WAI/ER/tests/xhtml/testfiles/resources/pdf/dummy.pdf
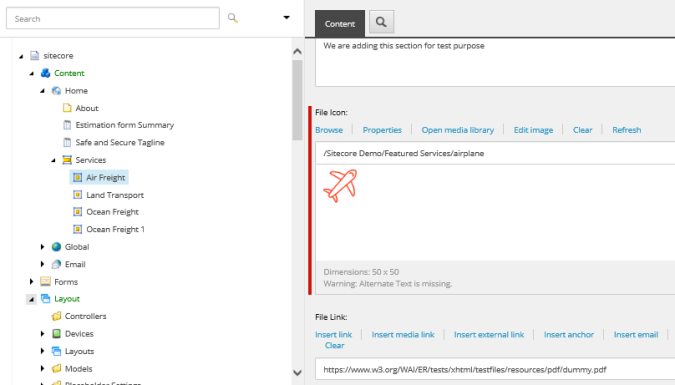
- Publish the item.
- Go to Visual Studio, and make changes in ServicesDescription.cshtml.
@using Sitecore
@using Sitecore.Mvc
@using Sitecore.Mvc.Presentation
@using Sitecore.Data
@using Sitecore.Data.Items
@using DummyWebsite@{
Item item = Sitecore.Context.Item;
}<div class=”tab-content” id=”v-pills-tabContent”>
@Html.Sitecore().Field(Templates.ServiceItem.Fields.Description_FieldName, item)
<div class=”download_brochure d-flex align-items-center justify-content-between”>
<div class=”download_left d-flex align-items-center”>
<div class=”icon”>
@Html.Sitecore().Field(Templates.Files.Fields.FileIcon_FieldName, item)
</div>
<div class=”download_text”>
<h3>@Html.Sitecore().Field(Templates.Files.Fields.FileTitle_FieldName, item)</h3>
<p>@Html.Sitecore().Field(Templates.Files.Fields.FileSummary_FieldName, item)</p>
</div>
</div>
<div class=”download_right”>
@Html.Sitecore().Field(Templates.Files.Fields.FileLink_FieldName, item,
new { @class= “boxed-btn3-line”, text = @Sitecore.Globalization.Translate.Text(“Download Now”) })
</div>
</div>
</div>
- Publish the View.
- In the Sitecore, create a Dictionary item for “Download Now”.

- Publish the item. Browse the front end site.

- Similarly add the details for File section in other Service item.
- Now only the image we need to add in the Description Field, which is part of the Services Details page.
- Download the image and upload it in the Media Library >> Sitecore Demo >> Services.
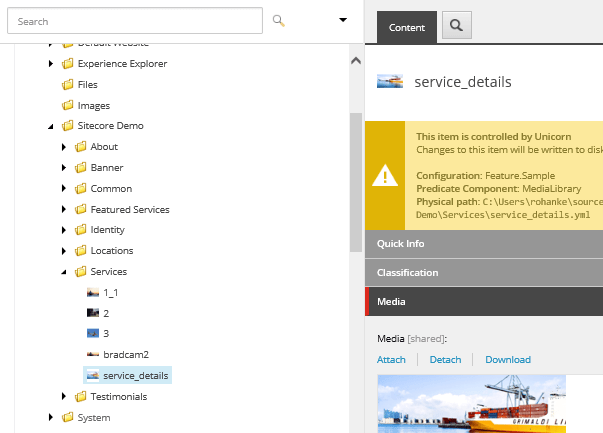
- Publish the image.
- Go to the Air Freight item (/sitecore/content/Home/Services/Air Freight), Description field.
- Click Show Editor, you will see one broken Image, remove that and add the new image from Media Library.

- Publish the item and check the Front end site.
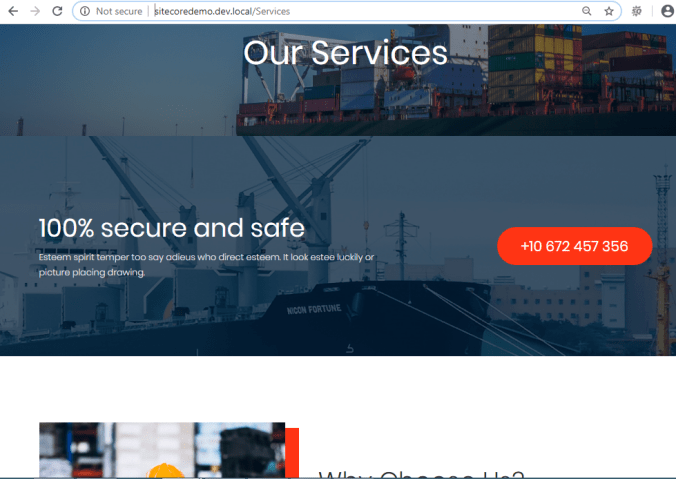
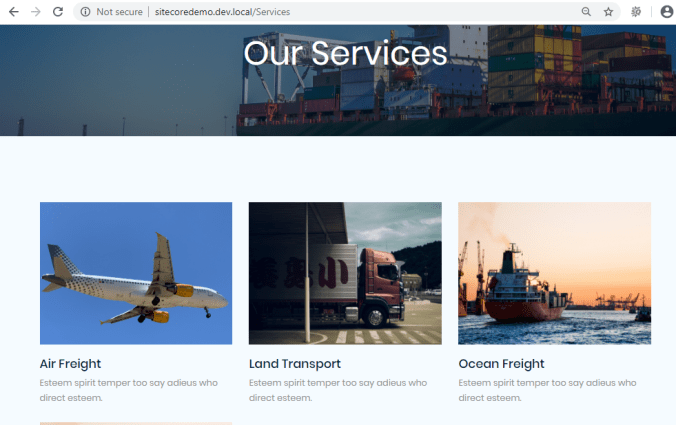
So here we are done with Service Details page. Similarly it will load the page for other Services as well. Lets check the Services Listing page now. Your can refer to “service.html” file from the Logistico zip folder. It will look like below:

The listing page has following components other then Layout:
Banner Component – Already present
Listing Component
Tagline Component – Already present
Why Choose Us section – Already present
Facts & Figures section. – Already present
- First lets assign the components which we have.
- Go to the Banners folder under Global (/sitecore/content/Global/Banners).
- Add new Banner item with the name “Services Listing” and add the content.

- Go to the __Standard Values item of the Services Folder template (/sitecore/templates/Sitecore Demo/Containers/Services Folder/__Standard Values).
- Presentation tab >> Details >> Edit.
- Select the Layout.

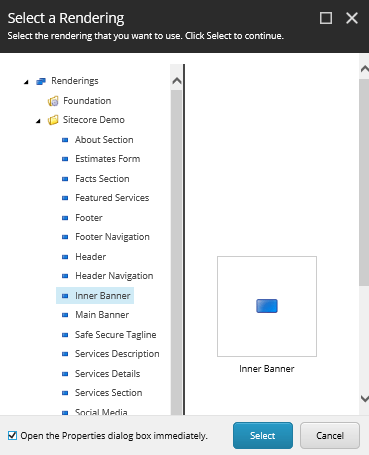
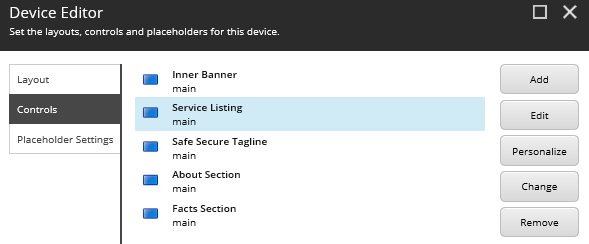
- Click on Controls. Click Add.
- Select Inner Banner rendering with main as the placeholder key. Check the box to open properties immediately.
- Select the “Services Listing” item under the Banner folder as the Data source and Click OK.

- Click Add. Select Safe Secure Tagline rendering and add main as the placeholder Key, Check the box. Click Select.

- Select the Safe and Secure tagline item under Home as Data source and click OK.

- Click Add. Select the About section rendering and give main as placeholder key. Click Select.

- Click Add. Select Facts section rendering & main as a placeholder key. Check the box.

- Browse the Facts and Figures folder under Global as a Data source.

- Click OK >> OK >> OK. Publish the item.
- Hit the Services url in the browser (http://sitecoredemo.dev.local/Services)
- So now we need to create the Listing component only.
- Go to Visual Studio. Create ServicesListing.cshtml.
- Copy the listing html markup from service.html file and paste it in the new View.

- Update the code for this View as below, considering the services will be passed as a Data source from sitecore.
@using Sitecore
@using Sitecore.Mvc
@using Sitecore.Mvc.Presentation
@using Sitecore.Data
@using Sitecore.Data.Items
@using DummyWebsite@{
//Extract the current Db
Database currentDb = Sitecore.Context.Database;//Get the value of the Datasource
string datasource = RenderingContext.Current.Rendering.DataSource;//Get the datasource item
Item item = currentDb.GetItem(datasource);
}<!– service_area –>
<div class=”service_area”>
<div class=”container”>
<div class=”row”>
@foreach (Item childitem in item.GetChildren())
{
string itemURL = Sitecore.Links.LinkManager.GetItemUrl(childitem);
<div class=”col-md-6 col-lg-4″>
<div class=”single_service”>
<div class=”thumb”>
@Html.Sitecore().Field(Templates.ServiceItem.Fields.ThumbnailImage_FieldName, childitem)
</div>
<div class=”service_info”>
<h3><a href=”@itemURL”>@Html.Sitecore().Field(Templates.ServiceItem.Fields.ServiceTitle_FieldName, childitem)</a></h3>
<p>@Html.Sitecore().Field(Templates.ServiceItem.Fields.ServiceSummary_FieldName, childitem)</p>
</div>
</div>
</div>
}
</div>
</div>
</div>
<!–/ service_area –> - Publish the View.
- Go to Sitecore Rendering item (/sitecore/layout/Renderings/Sitecore Demo), create a View rendering with the name – Service Listing.

- Publish the rendering.
- Go to the Services item (/sitecore/content/Home/Services) >> Presentation tab >> Details >> Edit >> Controls >> Add.
- Select the Service Listing rendering and give “main” as a placeholder key & check the checkbox for opening the properties.

- Click Select and browse Services item as a data source.

- Click OK. Move the Service Listing to the 2nd position.
- Click OK >> OK. Publish the item.
- Browse the front end site (http://sitecoredemo.dev.local/Services)
With this blog, we completed the Services Details and Services Listing page. In the next blog, we will create the Contact page and the Contact form using Sitecore Forms without any coding involved. Stay tuned…
Thank you.. Keep Learning.. Keep Sitecoring.. 🙂

Pingback: Building Home page Components – Services Section | Sitecore Dairies