In this blog, lets create new Visual Studio solution and integrate it with the existing instance (http://learningsitecore/sitecore). We will create a simple Visual Studio solution. This will not be based on Helix principle so in case developers who know Helix principle are going through the blog then don’t get it wrong. We will learn Helix principles once we become comfortable with the basics.
- Go to Visual Studio and run it in an administrator mode. I am using Visual Studio 2017 so some options may be different for the ones who are using VS 2015.
- Create new project and name it has “LearningSitecore” and select the Framework as .Net Framework 4.6.1. In case you don’t have option to select the framework then don’t panic, I will cover it in following steps.

- If the “Add to Source Control” is checked then uncheck it and click OK.
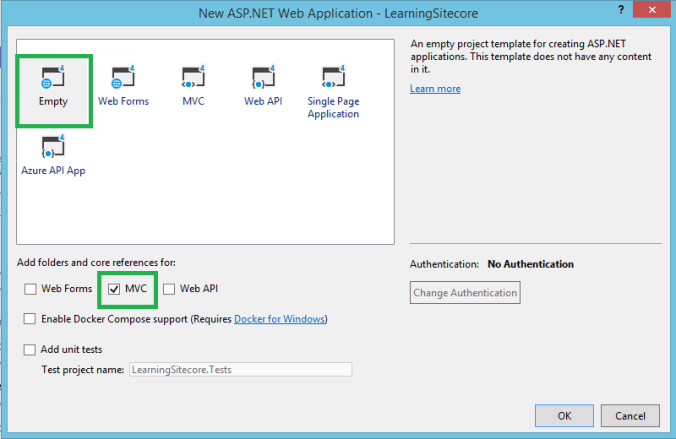
- Click on Empty and select MVC check box & click OK.
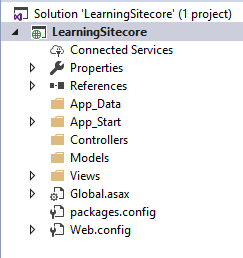
- The solution will look like below:
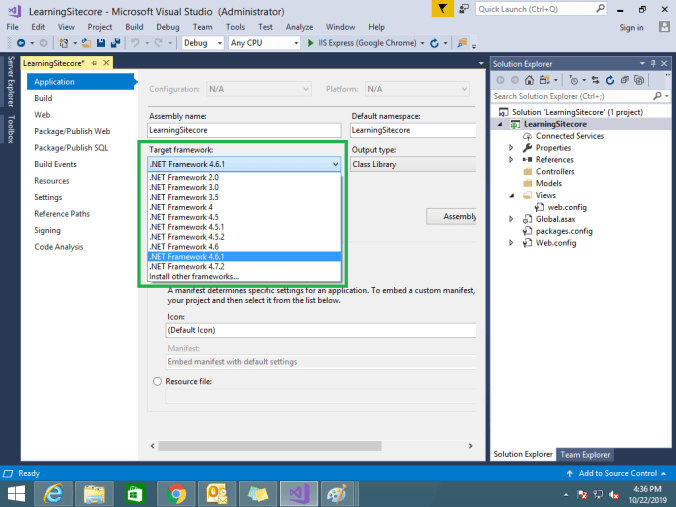
- Now in case if you didn’t have a option to choose the framework version then right click on LearningSitecore and Click on Properties.

- You can select .Net Framework 4.6.1 in the Target Framework and Save it.
- Now we will change the properties for Web.config, packages.config and Views/Web.config

- Change the Build Action to None for Web.config.

- Change the Build Action to None for packages.config
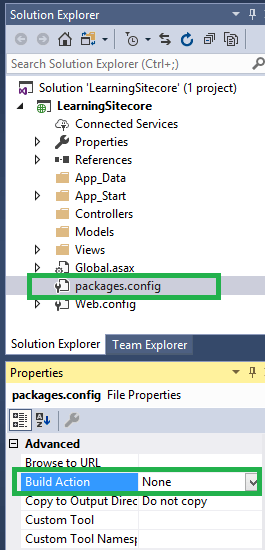
- Change the Build Action to None for Views/Web.config

- Now lets delete the folder which are not required. Delete App_Data and App_Start.

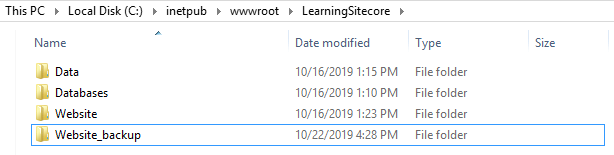
- Now lets take a backup of the website folder. Just to be sure that if something goes wrong we can quickly rollback. Copy and paste the website folder (C:\inetpub\wwwroot\LearningSitecore) and Name it as Website_backup. This operation will take couple of minutes to complete.
- Now lets switch back to Visual Studio and create a publish profile.
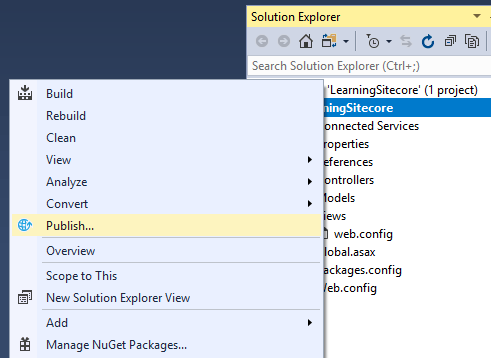
- Right click on Learning Sitecore and Click on Publish
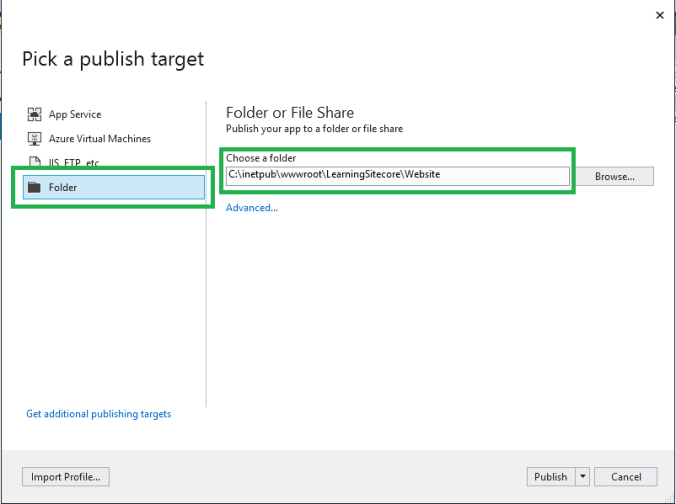
- Click on Folder and select the path of Website folder.
- Click on Advanced.. link.
- Change the Configuration from Release to Debug. Since this is a local setup we might need to use a debugger in future so lets use a debug mode to publish.
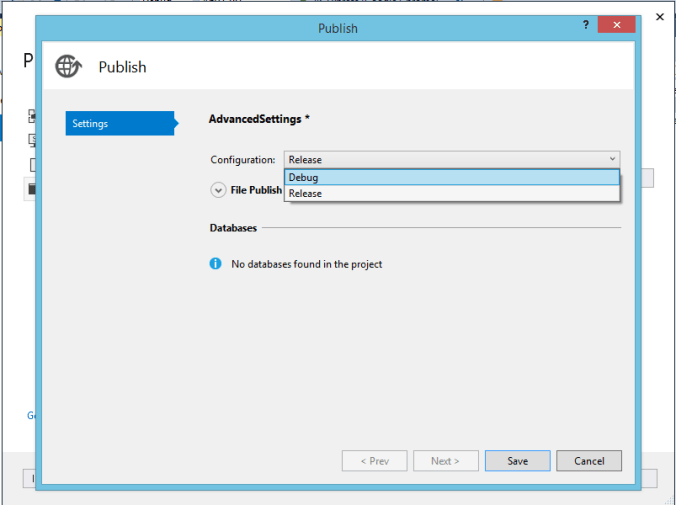
- Click on Save and then click on Publish.
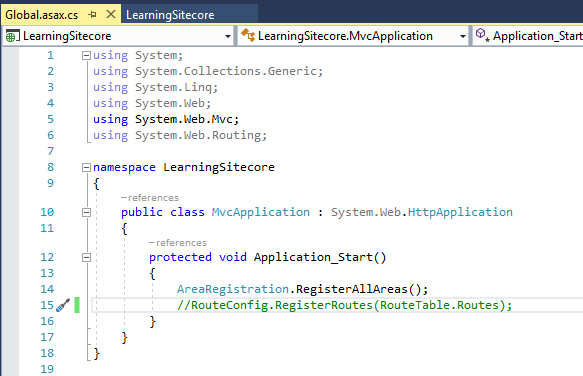
- You will get one build error regarding Route.config, this is because we have deleted the folder App_Start. So you can comment that one line.
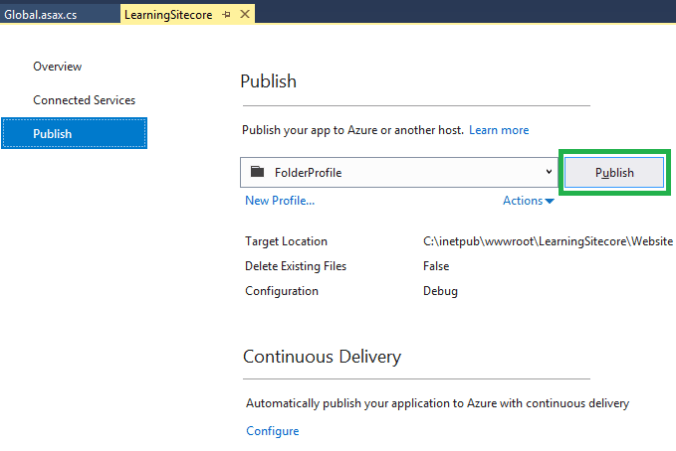
- Save and Publish the solution. Right click on LearningSitecore and click on Publish.
- You will get below screen. Click on Publish
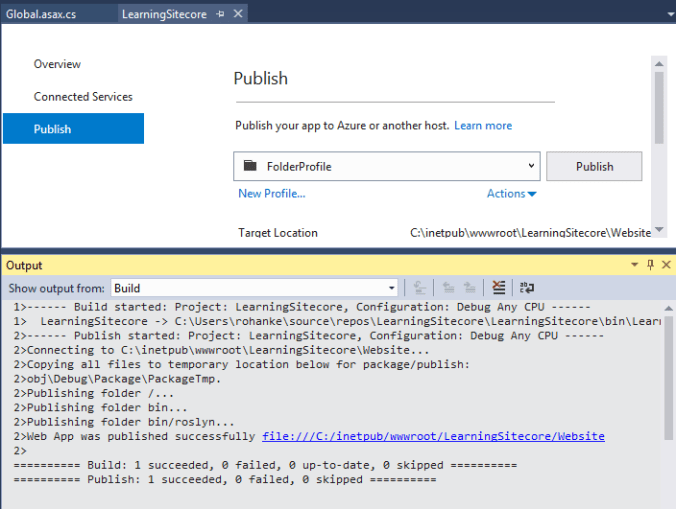
- Once the publish is complete, you will find the below screen.
- Now we are done with publishing, which means we have completed the integration. So its a time to verify if both (Sitecore(CM) and Front end(CD) sites are working fine).
- So browse both the URLs CM – http://learningsitecore/sitecore and CD – http://learningsitecore in different browsers.
- Since we have just published the solution, the sites will take time to load.
This completes our integration of Visual Studio solution with Sitecore instance. Now whoever were using Visual Studio 2015 should see both the sites loading but whoever is using Visual Studio 2017 like me will see an error page related to the version on System.Web.Mvc.dll. Lets resolve it in our next blog.
Thank you.. Keep Learning.. Keep Sitecoring.. 🙂

Pingback: Editing the existing page | Sitecore Dairies
I’d constantly want to be update on new blog posts on this web site, saved to bookmarks! .
LikeLike
Thank you 🙂
LikeLike
Rattling clear internet site, thankyou for this post.
LikeLiked by 1 person
Spot on with this write-up, I truly feel this web site needs a great deal more attention. I’ll probably be back again to read more, thanks for the information!
LikeLiked by 1 person
Where is the sitecore instance? I just see you create a website.
LikeLike
It is installed on the local machine under wwwroot folder
LikeLike