In this blog, we will create a Contact page, using the layout we have created for the site and the additional components which are required. the Basic focus will be the on the Contact Form that we will create using Sitecore Forms.
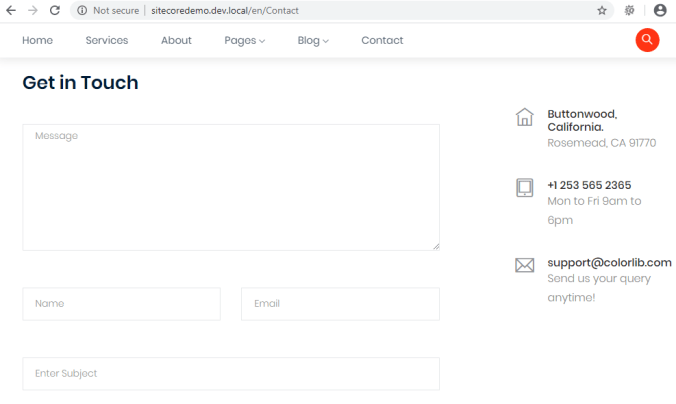
To check the HTML and look and field of the contact page, refer contact.html from the extracted folder of Logistico.zip file. It will look like below:
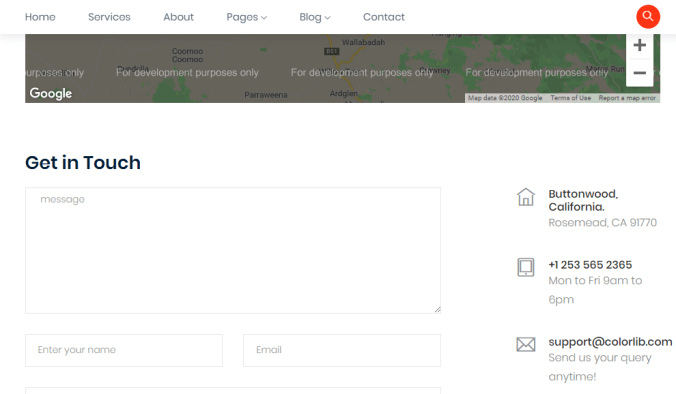
Going through the Contact page in the above screen, we have 3 components other then layout (Banner, Map and Contact form with some details).
Lets avoid the Map in this blog.
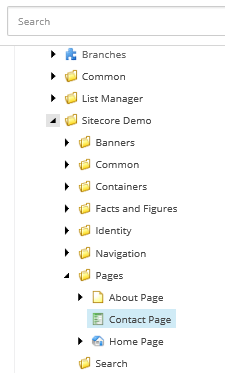
- Go to Sitecore >> Templates >> Sitecore Demo >> Pages.
- Create a new Template and name it as “Contact Page”. Assign it an icon.
- Click on Builder options and add Standard Values.
- Standard Values >> Presentation tab >> Details >> Edit.
- Select the Layout.

- Click OK >> OK.
- Go to Home item (/sitecore/content/Home). Right Click >> Insert >> Insert from template.
- Select the Contact page template and Name the item as Contact.

- Publish Site in Incremental mode. Browse the Contact page on Front end site (http://sitecoredemo.dev.local/en/Contact).

- Go to Banners folder under Global and create a Contact Banner.

- Go to the Contact item(/sitecore/content/Home/Contact) >> Presentation tab >> Details >> Edit >> Controls >> Add.
- Select the Inner Banner rendering and use main as placeholder key. Check the check box to open the Control’s properties.

- Click Select.
- In the data source field, browse the Contact banner which we created recently.

- Click OK >> OK >> OK.
- Publish Site in the incremental publish mode.
- Browse the Contact page on the Front end.

- This completes our Banner component, as we are not creating Map in this blog. We are left with only one component that is Contact form with Details.
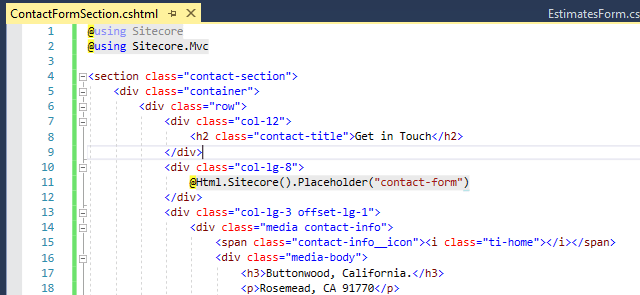
- Go to Visual Studio >> Create a View and name it as ContactFormSection.cshtml.
- Copy the HTML markup for Contact form (Get in Touch) from contact.html to the new View.

- Remove the Form tag and keep it in Notepad++ for your reference.
- Add the placeholder in place of form tag.
@Html.Sitecore().Placeholder(“contact-form”)
- Save the changes. Publish the View from the Visual Studio.
- Go to the Rendering item in Sitecore (/sitecore/layout/Renderings/Sitecore Demo).
- Create new View rendering and name it as Contact Form Section.

- Lets add this rendering to the Contact page.
- Go to the Contact item (/sitecore/content/Home/Contact) >> Presentation tab >> Details >> Edit >> Controls >> Add.
- Add the Contact form Section rendering and use main as the placeholder key.

- Click Select >> OK >> OK.
- Publish the Site using incremental publish and browse the Contact page from Front end.

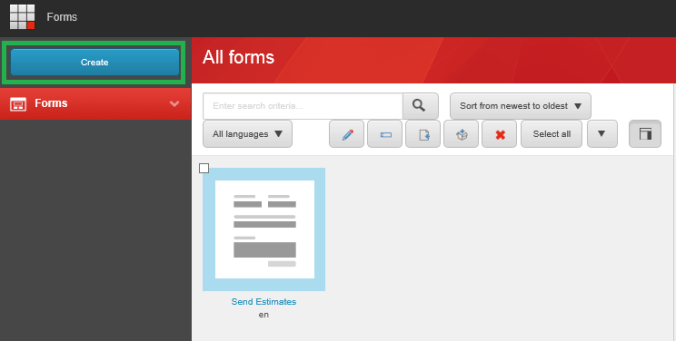
- Go to Launch pad. Click on Forms.

- Click on Create to create a new form. Select the black form.
- You will get the Canvas on Left and set of tools on Right side.

- Now refer the html of the form we have kept in Notepad++.

- In the form tag, we need class as “form-contact contact_form”.
- In Sitecore, click on Settings tab, and add the Class. Click Apply.

- Click on Design tab, and drag a Section in the Canvas (a Section means a html div).

- Click on the dragged control, from the HTML structure, we need “row” as the class of the div. Click Apply.

- Now we need to add 4 divs under the one we have created. That means we will add 4 sections. After adding 4 sections under the one, the canvas will look similar to the below one.

- Now referring to the html, first and last div needs css class as “col-12” and the middle ones need class as “col-sm-6”.
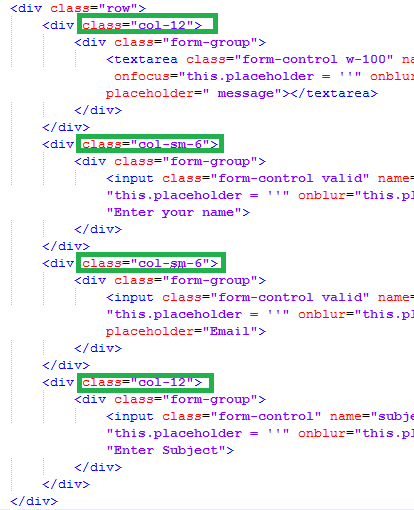
- So lets click on each section and add it’s class and Click Apply.

- Again referring to the Html structure all the 4 divs has 1 div inside it with the class “form-group”. Lets add the new section under all 4 and apply the class to it.

- Now in the first sets of Div, we need text area, so we will add “Multiple-line Text” from the sets of tools.

- Now, click on the control, and in the right bar we will see the properties related to it. Now we dont need Label for this control and want “Message” as a placeholder.

- From the html, we need “form-control w-100” as class for this control.

- Click Apply.
- Similarly, we will add the next control in the middle Section for Name i.e. Single-line text control.

- Click on the control, Clear the Label, give Name as Field Name and Placeholder. And the field Mandatory.

- Add the css class as “form-control valid” and click Apply.
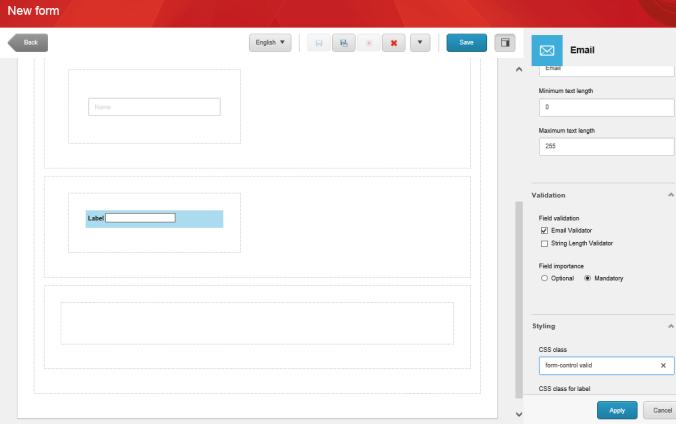
- Similarly, Add the Email control, remove Label, add Field name and Placeholde text as “Email”, add the Css class, mark the field as Mandatory and click Apply.
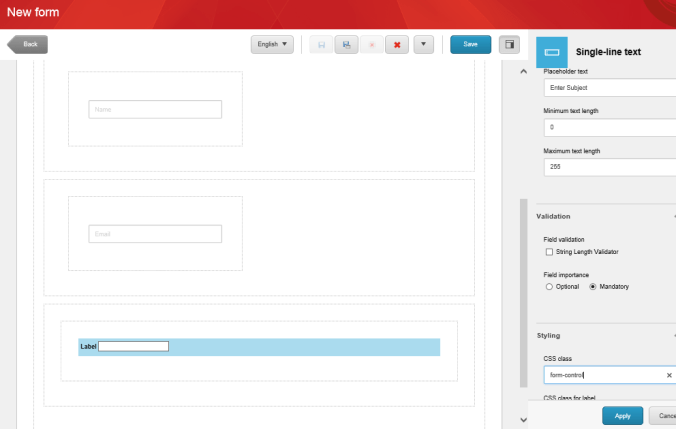
- Similarly, Add the Single-line text control for Subject field, remove the value from Label, Add Subject in Field Name and Placeholder Text, make it Mandatory and add the CSS class. Click Apply.
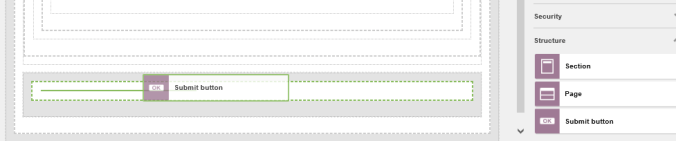
- We are done with the main structure, we need create a structure for the Send button.
- Add a Section, below the one we added first. Give the Css class (form-group mt-3) to it.

- Click Apply.
- Add Submit Button in the new section.
- Click on the button.
- Update the text of the button to “Send”, add the CSS class (button button-contactForm boxed-btn).

- Scroll down, to set the Submit actions.

- Click on the + sign, and select Save data.
- Again click on + sign and select Redirect to the page.
- Click OK.
- Click Apply.

- Click on Save.

- Give the name of the Form (Contact Form) and click Save.

- Go to the Content Editor.
- Navigate to the Contact item. >> Presentation tab >> Details >> Edit >> Controls >> Add.
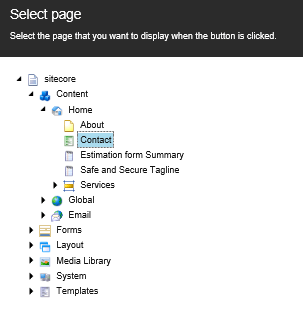
- Select the Mvc Form rendering (/sitecore/layout/Renderings/System/Forms/Mvc Form) and use “contact-form” as a placeholder key because we have set it the placeholder in the ContactFormSection.cshtml. Also check the checkbox to open properties immediately.

- Select the contact form as a data source.

- Click OK >> OK >> OK.
- Publish the Site using incremental publish.
- Browse the Contact page on the Front end site.
So with the above steps, we achieved the Contact Form without any piece of code. Lets learn where and how can I get the data submitted by user. Try to submit 3-4 entries using this contact form.
- Go to the Launchpad.
- Click on the Forms.
- Check the check box of the Contact form, and click on the down arrow at the top.

- Select the Date range option if you are looking for specific date range else download the complete list by click OK.

- One CSV file will be downloaded.
- To open it in a readable format.
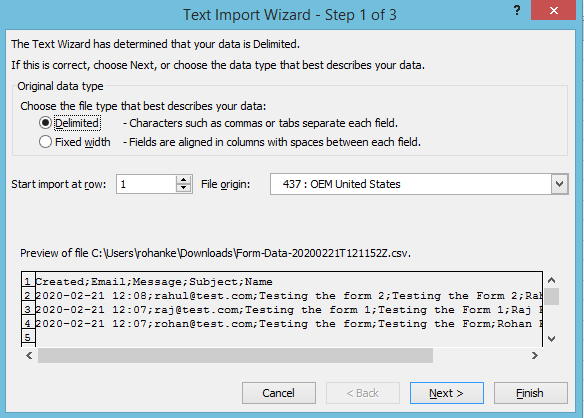
- Open excel, go to Data tab and click on “From Text”.

- Browse & select the CSV file which we have downloaded from Sitecore.
- Selected the Delimited radio button and click Next.
- Check the checkbox for Semicolon and uncheck the tab one.
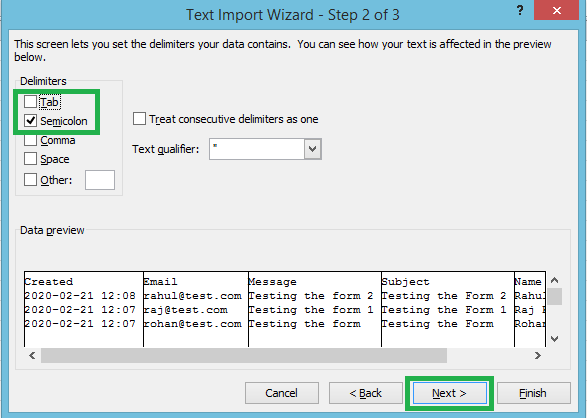
- Click Next >> Finish >> OK.
- And you can see the User data for the Contact Form.

This completes the steps for creating the Sitecore forms and exporting the data of it. Try the above steps to create your form and let me know in case you face any issues while following these steps.
Thank you.. Keep Learning.. Keep Sitecoring.. 🙂

Pingback: Creating Service Details and Listing page | Sitecore Dairies
Pingback: Avoid Sitecore Form redirecting to forms builder page! | Sitecore Diaries