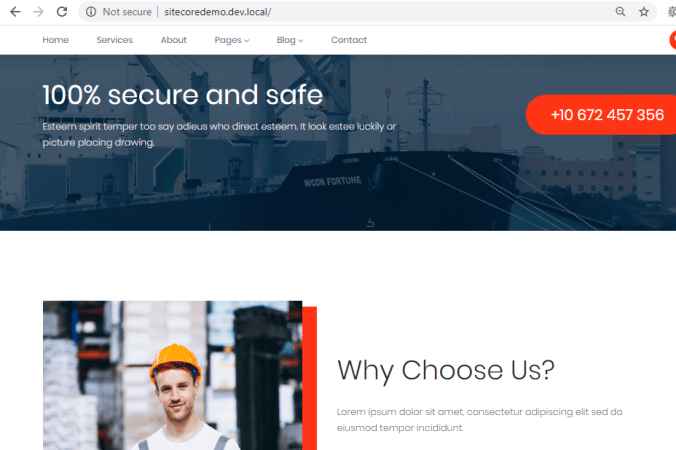
In this blog, we will be working on the Why Choose Us? component which looks like below screen:
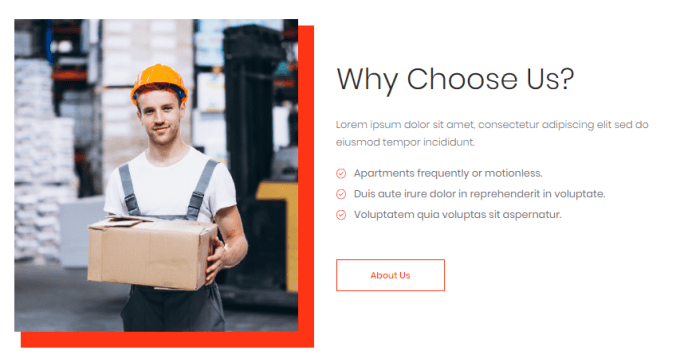
The section contains the fields like – Image, Title, Summary & CTA. So we will create a template for the About item and inherit the CTA template in it. Also we will set presentation details to this template as it creates an About page.
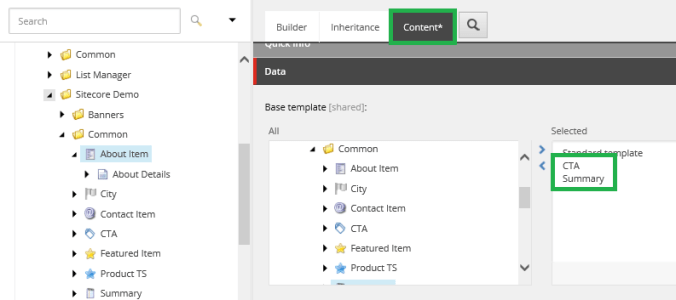
- Lets create a template under Common folder (/sitecore/templates/Sitecore Demo/Common)

- Inherit the CTA and Summary templates in the current template.
- Click on Content tab, double click on CTA and Summary to select.
- Add an icon to the template.
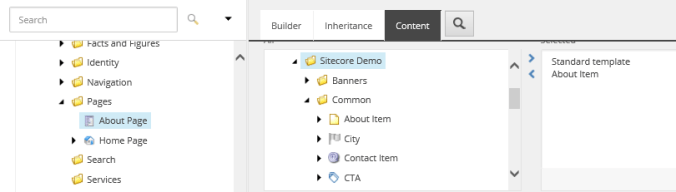
- Create another template under Pages (/sitecore/templates/Sitecore Demo/Pages) & name it About page.
- Click on Content tab and Select About item from the Common folder that we recently created.
- Add an icon to the template.
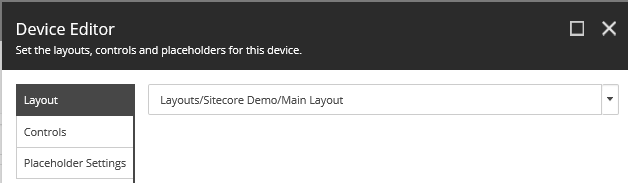
- In the Builder options >> Click on Standard Values.
- Presentation tab >> Details.

- Click Edit >> Set the layout.
- Click OK >> OK.
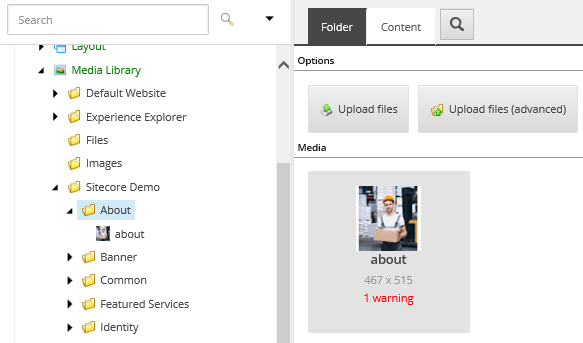
- Create an About folder in Media Library (/sitecore/media library/Sitecore Demo/About) an upload the picture.
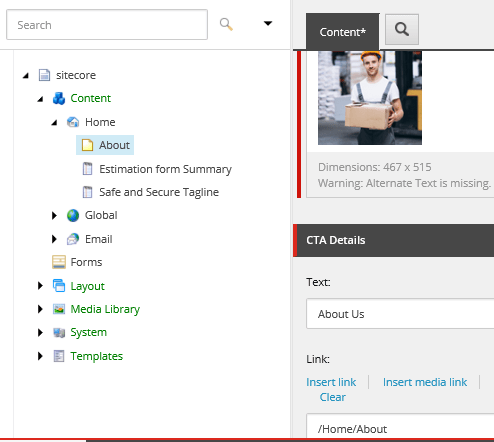
- Go to the Home item (/sitecore/content/Home).
- Right Click >> Insert >> Insert from template.
- Select the About page template and Name the item as “About”.
- Fill in the necessary data.
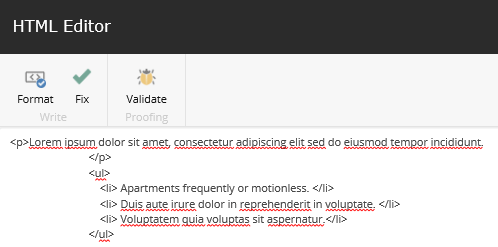
- Copy the html in the Summary field.
- Publish the site.
- Go to Visual Studio. Create a View – About.cshtml and copy the html markup from the index.html.

- Open the Common_Templates.tt file and Save it.
- The code that will replace the HTML to create the About section is as below:
@using Sitecore
@using Sitecore.Mvc
@using Sitecore.Data
@using Sitecore.Data.Items
@using DummyWebsite@{
//Extract the current Db
Database currentDb = Sitecore.Context.Database;//Get the item /sitecore/content/Home/About
Item aboutItem = currentDb.GetItem(“{3F7AD0A7-6836-499C-95F9-E553FFD0BB45}”);
}<!– chose_area –>
<div class=”chose_area “>
<div class=”container”>
<div class=”features_main_wrap”>
<div class=”row align-items-center”>
<div class=”col-xl-5 col-lg-5 col-md-6″>
<div class=”about_image”>
@Html.Sitecore().Field(Templates.AboutItem.Fields.Image_FieldName, aboutItem)
</div>
</div>
<div class=”col-xl-6 col-lg-6 col-md-6″>
<div class=”features_info”>
<h3>@Html.Sitecore().Field(Templates.AboutItem.Fields.Title_FieldName, aboutItem)</h3>
@Html.Sitecore().Field(Templates.Summary.Fields.Summary_FieldName, aboutItem)
<div class=”about_btn”>
@Html.Sitecore().Field(Templates.CTA.Fields.Link_FieldName, aboutItem, new {
text = @Html.Sitecore().Field(Templates.CTA.Fields.Text_FieldName
, aboutItem),
@class = “boxed-btn3-line”
})
</div>
</div>
</div>
</div>
</div>
</div>
</div>
<!–/ chose_area –>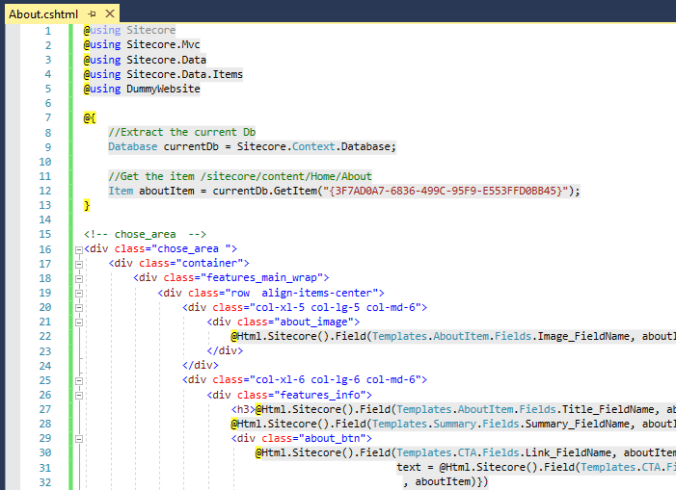
- Publish the Visual Studio solution.
- Go to Sitecore Rendering item (/sitecore/layout/Renderings/Sitecore Demo) and create a View Rendering with a name – “About Section”.
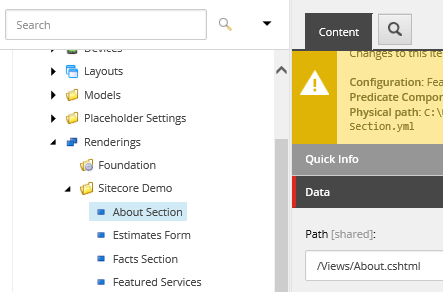
- Publish this rendering and Go to the Home Item (/sitecore/content/Home).
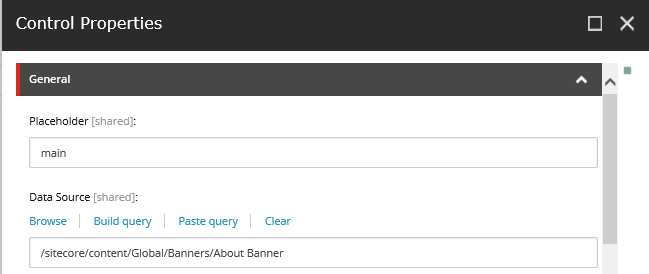
- Click on Presentation tab >> Details >> Edit >> Controls >> Add button.
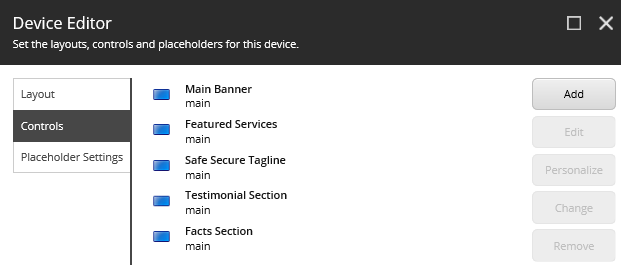
- Select the About Section rendering that we recently created and type main (because in the Main.cshtml we have given placeholder key as “main” for dynamic binding) as a value in placeholder field.
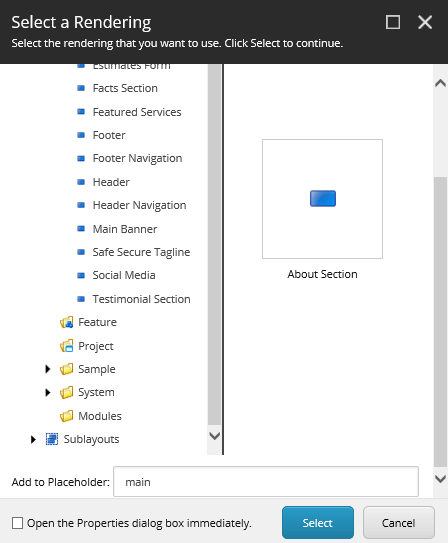
- Click Select >> OK >> OK. Publish the Home item.
- Browse the front end site (http://sitecoredemo.dev.local/).

- Now the component is bound on the Home page. But technically, the About and Facts section should be above Testimonials section.
- So to do that, we will go to Home item (/sitecore/content/Home).
- Click on Presentation tab >> Details >> Edit >> Controls.
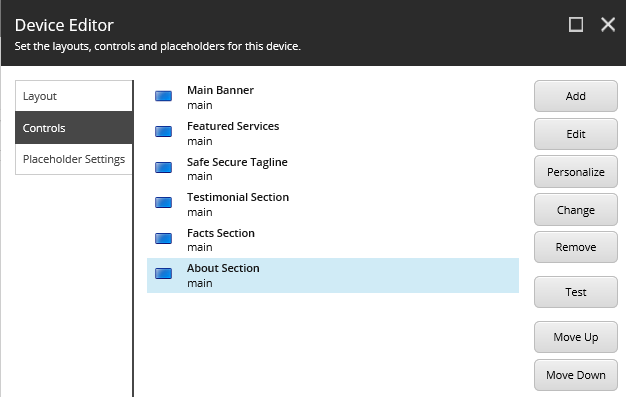
- Click on About Section rendering and click Move Up button twice so that it will move above Testimonial Section rendering.
- Similarly, click on Facts Scetion and click on Move Up button once.

- Click OK >> OK. Publish Home item and browse the front end site.
- Since we had created About page, try to access (http://sitecoredemo.dev.local/en/About) by click the About us button in the About Us button.
- Now we can see the Header and Footer on the About page.
- So we need to add the Following Components to the About page:
a. Banner
b. About Section
c. Facts Section
d. Tagline component
e. Featured Services Component
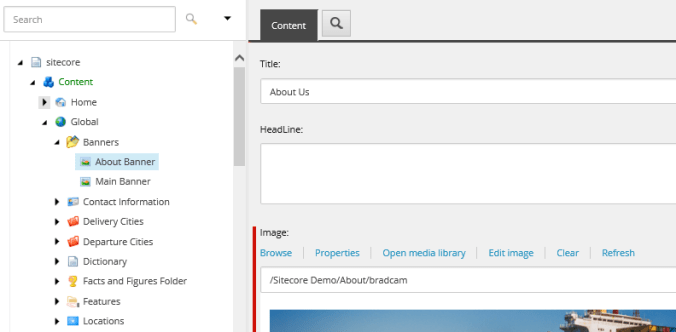
f. Testimonial Section. - Go to Banners item under Global (/sitecore/content/Global/Banners).
- Right Click >> Insert >> Banner. Name it About Banner.
- Update the Title to “About Us”. Upload the Image in the About folder of Media Library and Add it to this item.
- Go to the About item (/sitecore/content/Home/About). And add the Main Banner Rendering with placeholder key as “main” & data source as “About Banner” to it.
- Add About section component with main as placeholder key.
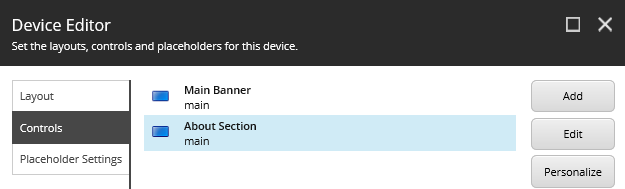
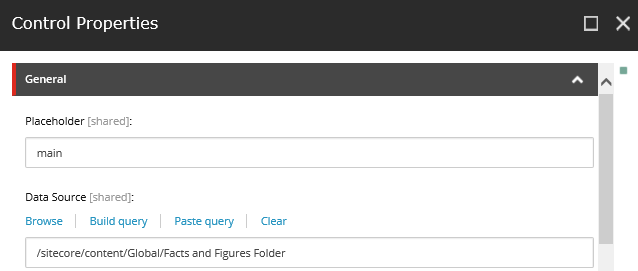
- Add the Facts Section component with main as placeholder and Facts and Figures Folder from Global as a data source.
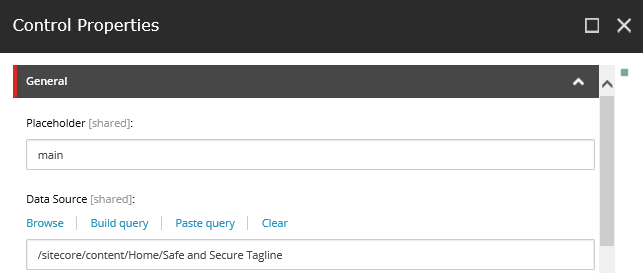
- Add the Safe Secure Tagline component with main as placeholder & Safe and Secure Tagline from Home item as a data source.
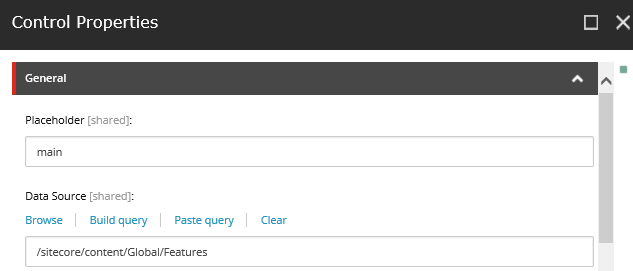
- Add the Featured Services component with main as placeholder & Features from Global as a data source.
- Add the Testimonials component with main as placeholder & Testimonials from Global as a data source.
- The total rendering components will be as below:
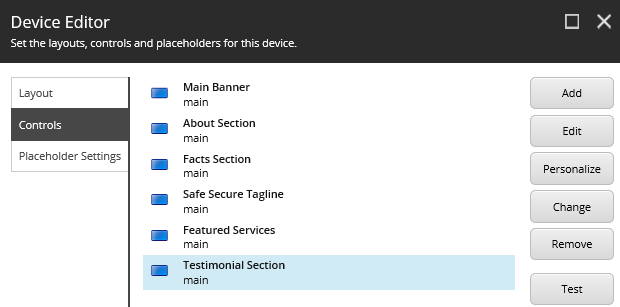
- Click OK >> OK.
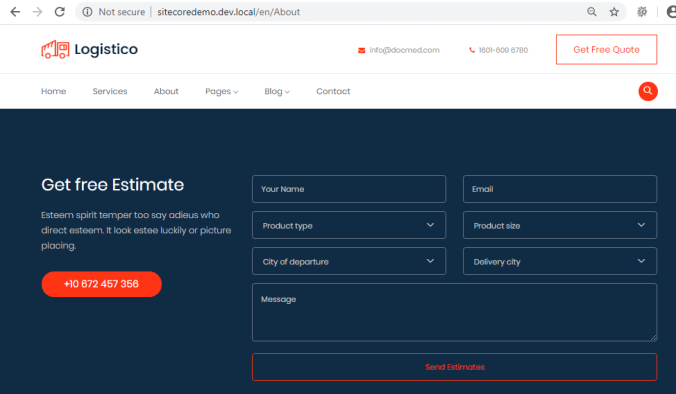
- Publish the site. Browse the Front site for About page. (http://sitecoredemo.dev.local/en/About)
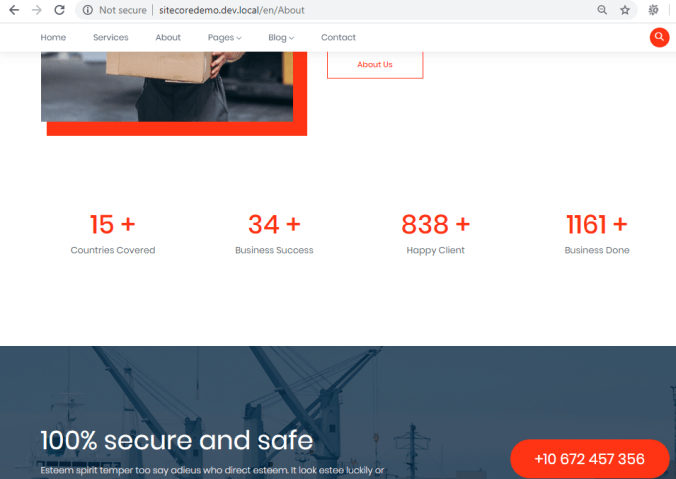
- If we compare this page with About.html from the extracted folder then the Banner is totally different.
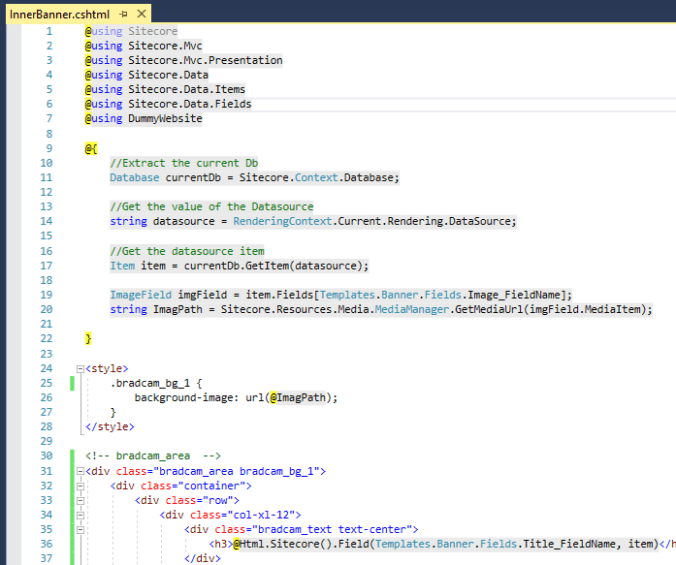
- So create a View in Visual Studio. Copy the HTML markup from About.html.
@using Sitecore
@using Sitecore.Mvc
@using Sitecore.Mvc.Presentation
@using Sitecore.Data
@using Sitecore.Data.Items
@using Sitecore.Data.Fields
@using DummyWebsite@{
//Extract the current Db
Database currentDb = Sitecore.Context.Database;//Get the value of the Datasource
string datasource = RenderingContext.Current.Rendering.DataSource;//Get the datasource item
Item item = currentDb.GetItem(datasource);ImageField imgField = item.Fields[Templates.Banner.Fields.Image_FieldName];
string ImagPath = Sitecore.Resources.Media.MediaManager.GetMediaUrl(imgField.MediaItem);}
<style>
.bradcam_bg_1 {
background-image: url(@ImagPath);
}
</style><!– bradcam_area –>
<div class=”bradcam_area bradcam_bg_1″>
<div class=”container”>
<div class=”row”>
<div class=”col-xl-12″>
<div class=”bradcam_text text-center”>
<h3>@Html.Sitecore().Field(Templates.Banner.Fields.Title_FieldName, item)</h3>
</div>
</div>
</div>
</div>
</div>
<!–/ bradcam_area –>
- Publish the View.
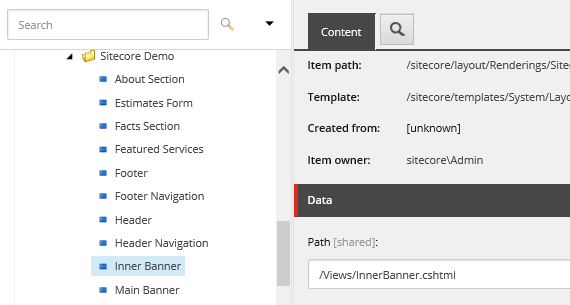
- Go to Rendering items. Duplicate the Main Banner rendering item and rename it to Inner Banner. And the change path field for it.
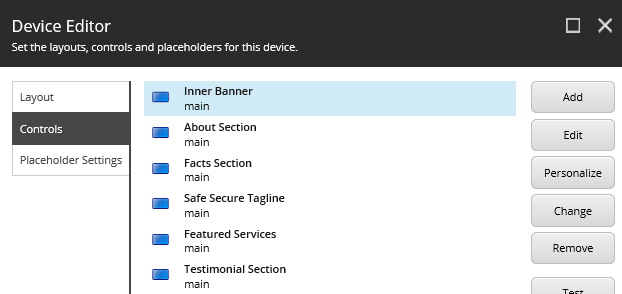
- Go to About Item >> Presentation tab >> Details >> Edit >> Controls.
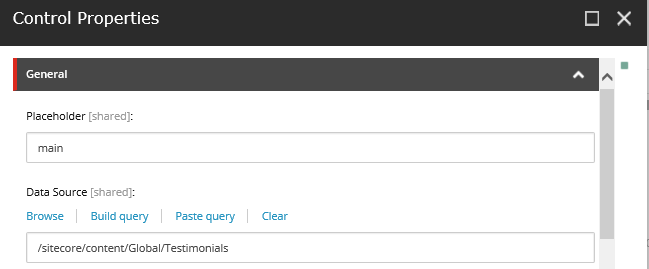
- Remove the Main Banner rendering. Add the Inner Banner rendering with placeholder key as “main” and Data source as “About Banner” item.

- Move the Inner Banner rendering component to the top.
- Click OK >> OK. Publish the About item.
- Browse the About page on Front end.

This completes our “Why Choose Us?” component, so we saw that with minimal efforts we created a new page that is About page. We could create it with ease because we had already created the components rendered on this page. In the next blog, we will work on last but not lease, the ‘Services’ section for Home page.
Thank you.. Keep Learning.. Keep Sitecoring.. 🙂

Pingback: Building Home page components – Facts & Figures | Sitecore Dairies
I love what you guys tend to be up too. This sort of clever work and coverage! Keep up the good works guys I’ve included you guys to blogroll.
LikeLiked by 1 person