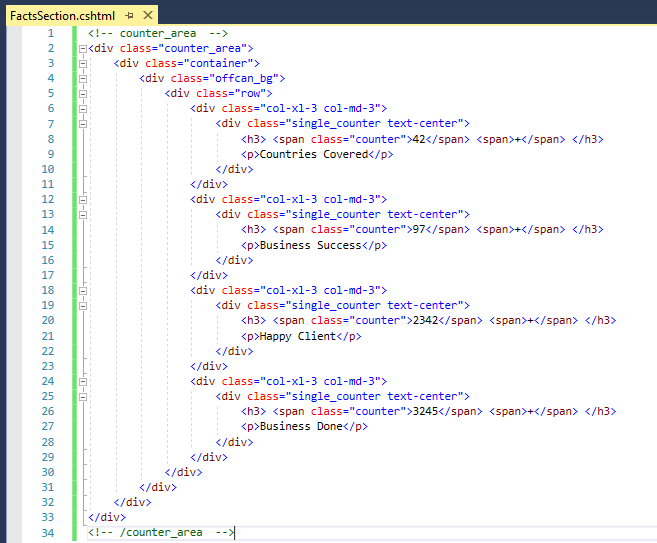
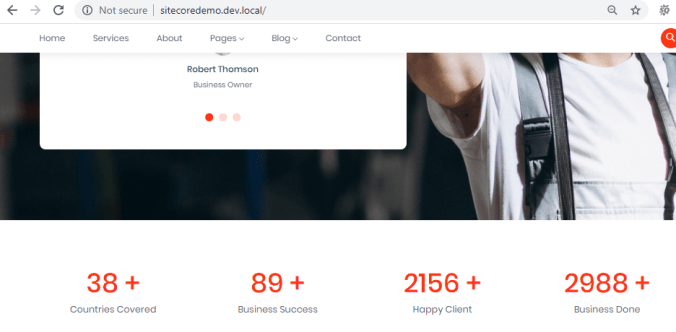
In this blog, we will be working on the Facts & Figures component which looks like below screen:
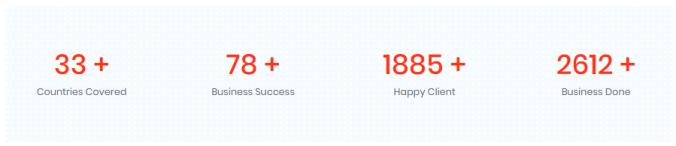
The section contains the fields like – Success Figures & Supporting Text. So we will create a template for the FactsNFigures item and will also create one container that will have all the Facts and Figures items.
- Lets create a template under Facts and Figures folder (/sitecore/templates/Sitecore Demo/Facts and Figures)
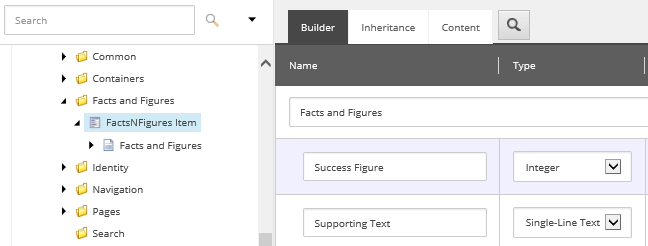
- Add an icon to the template.
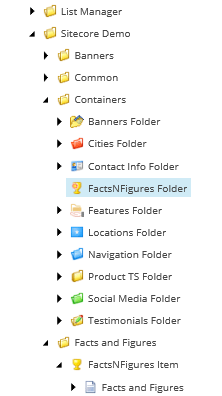
- Create a new template under Containers & name it as “FactsNFigures Folder”.
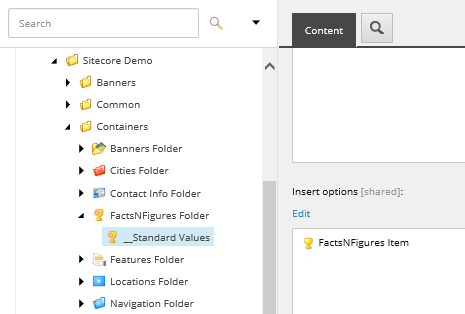
- Add Standard Values under Builder Options and set insert Options as Testimonial Item.
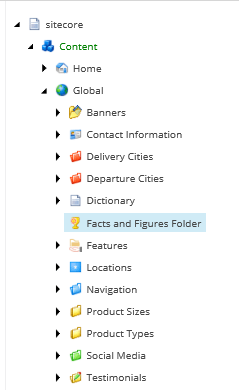
- Lets create a content in Global folder based on these templates.
- Create a Facts and Figures folder under Global based on FactsNFigures Folder template.
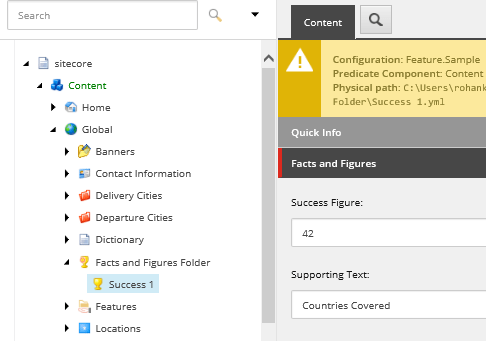
- Create a item with name ‘Success 1’ under it.
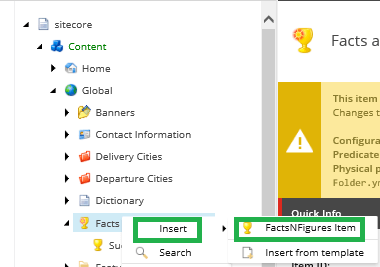
- Right Click on Facts and Figures Folder >> Insert >> FactsNFigures Item.
- Fill in the required fields as per your inputs or the index.html file.
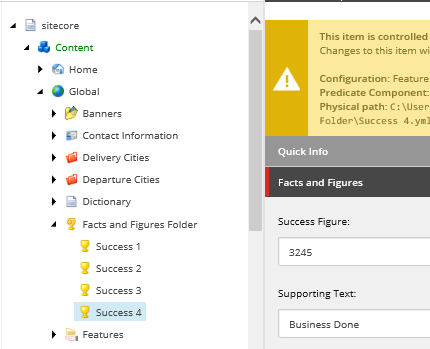
- Similarly create other facts and figures items.
- Publish the site in Sitecore.
- Open visual studio, create a View & name it as FactsSection.cshtml.
- Copy the HTML markup for Counter section from the index.html to this view.
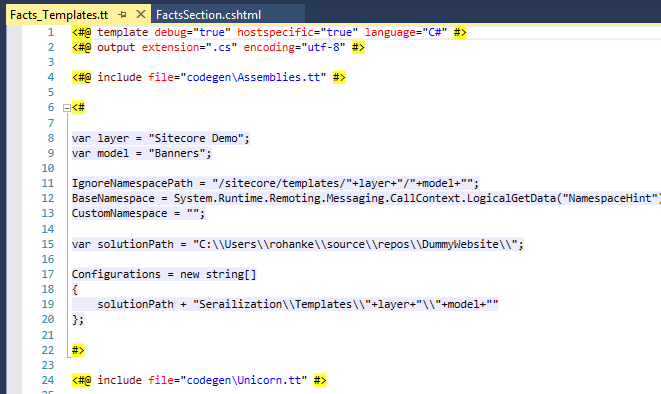
- Copy & Paste Banner_Templates.tt file and rename as Facts_Templates.tt.
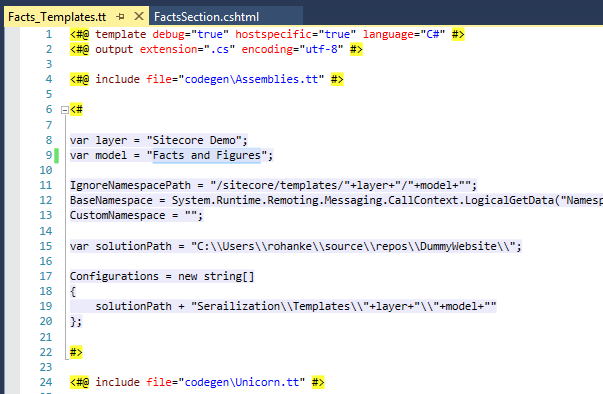
- Change model from “Banners” to “Facts and Figures”. And Save it
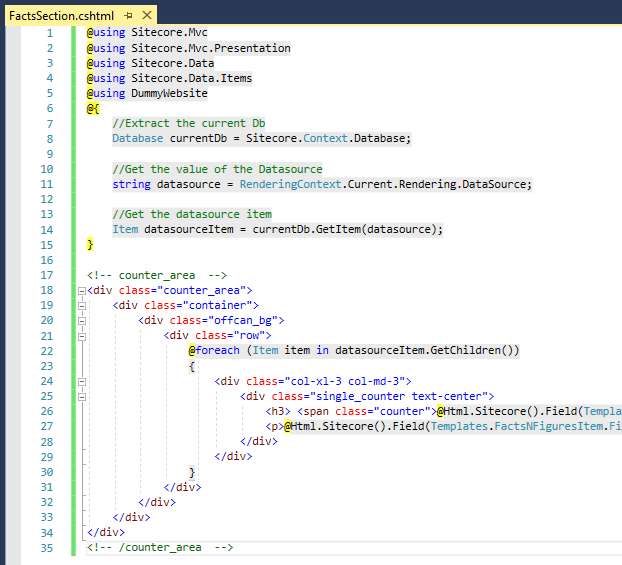
- Lets assume that the Facts & Figures will be passed to the view as a Data source and code it accordingly.
@using Sitecore.Mvc
@using Sitecore.Mvc.Presentation
@using Sitecore.Data
@using Sitecore.Data.Items
@using DummyWebsite
@{
//Extract the current Db
Database currentDb = Sitecore.Context.Database;//Get the value of the Datasource
string datasource = RenderingContext.Current.Rendering.DataSource;//Get the datasource item
Item datasourceItem = currentDb.GetItem(datasource);
}<!– counter_area –>
<div class=”counter_area”>
<div class=”container”>
<div class=”offcan_bg”>
<div class=”row”>
@foreach (Item item in datasourceItem.GetChildren())
{
<div class=”col-xl-3 col-md-3″>
<div class=”single_counter text-center”>
<h3> <span class=”counter”>@Html.Sitecore().Field(Templates.FactsNFiguresItem.Fields.SuccessFigure_FieldName, item)</span> <span>+</span> </h3>
<p>@Html.Sitecore().Field(Templates.FactsNFiguresItem.Fields.SupportingText_FieldName, item)</p>
</div>
</div>
}
</div>
</div>
</div>
</div>
<!– /counter_area –>
- Publish the Visual studio solution.
- Go to Sitecore Rendering item (/sitecore/layout/Renderings/Sitecore Demo) and create a View Rendering with a name – “Facts Section”.
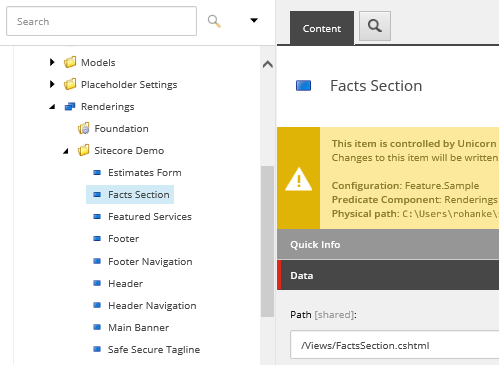
- Publish this rendering and Go to the Home Item (/sitecore/content/Home).
- Click on Presentation tab >> Details >> Edit >> Controls >> Add button.
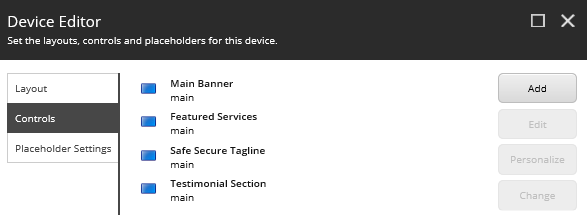
- Select the Facts Section rendering that we recently created and type main (because in the Main.cshtml we have given placeholder key as “main” for dynamic binding) as a value in placeholder field.
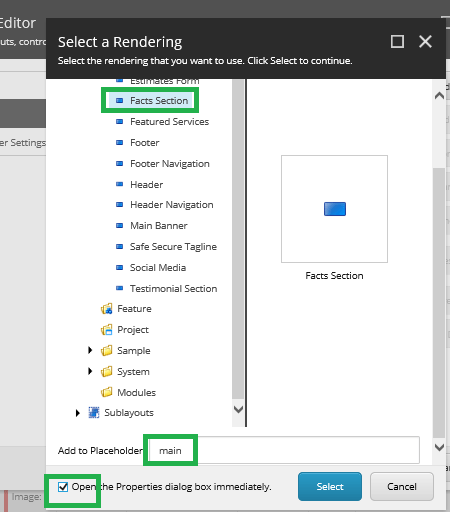
- Check the Open the properties checkbox and click Select.
- In the Data Source field, select the Facts and Figures folder which we created under Global folder.

- Click OK >> OK >> OK. Publish the Home item.
- Browse the front end site.
This completes our Facts & Figures component, in the next blog we will work on the ‘Why Choose Us?’ section.
Thank you.. Keep Learning.. Keep Sitecoring.. 🙂

Pingback: Building Home page Components – Testimonials | Sitecore Dairies