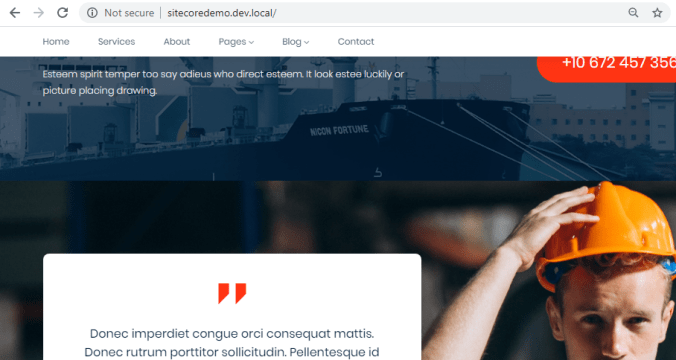
In this blog, we will be working on the Testimonials component which looks like below screen:

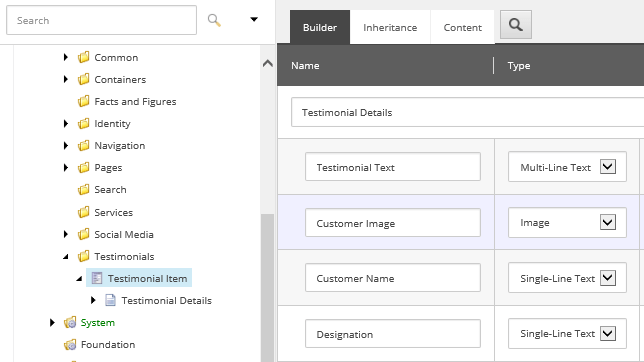
One background image, that can be managed from CSS, and a carousal with the fields like – Testimonial Text, Image, Customer Name, Designation. So we will create a template for the Testimonial item and will also create one container that will have all the testimonial items.
- So lets start by uploading the images in Media Library – there are 3 images in this component, namely Quote, Testimonial writer and the background image.
- Create a Testimonial Folder under the Sitecore Demo media folder.
- And upload these all 3 images.

- Lets create a template under Testimonials folder (/sitecore/templates/Sitecore Demo/Testimonials)
- Add an icon to the template.
- Create a new template under Containers & name it as “Testimonials Folder”.

- Add Standard Values under Builder Options and set insert Options as Testimonial Item.

- Lets create a content in Global folder based on these templates.
- Create a Testimonials folder under Global based on Testimonials Folder template.

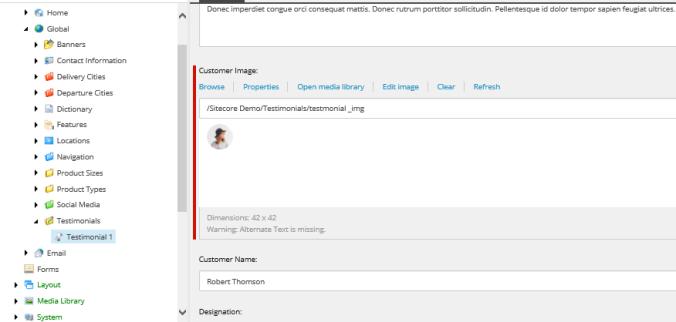
- Create a item with name Testimonial 1 under it.
- Right Click on Testimonials >> Insert >> Testimonial Item.

- Fill in the required fields as per your inputs or the index.html file.
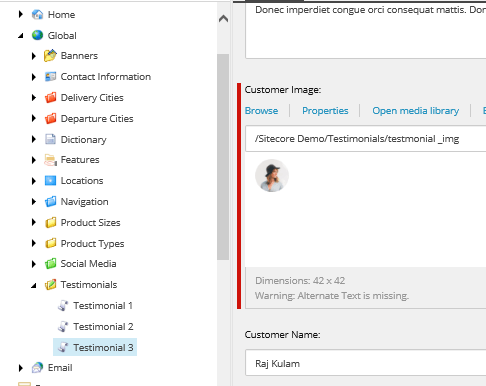
- Similarly create 2 more testimonial items.
- Publish the site in Sitecore.
- Open visual studio, create a View & name it as TestimonialSection.cshtml.
- Copy the HTML markup for Testimonial section from the index.html to this view.

- Copy & Paste Banner_Templates.tt file and rename as Testimonial_Templates.tt.

- Change model from “Banners” to “Testimonials”. And Save it

- Lets assume that the Testimonials will be passed to the view as a Data source and code it accordingly.
@using Sitecore.Mvc
@using Sitecore.Mvc.Presentation
@using Sitecore.Data
@using Sitecore.Data.Items
@using DummyWebsite@{
//Extract the current Db
Database currentDb = Sitecore.Context.Database;//Get the value of the Datasource
string datasource = RenderingContext.Current.Rendering.DataSource;//Get the datasource item
Item datasourceItem = currentDb.GetItem(datasource);
}<!– testimonial_area –>
<div class=”testimonial_area”>
<div class=”container”>
<div class=”row”>
<div class=”col-xl-7″>
<div class=”testmonial_active owl-carousel”>
@foreach (Item item in datasourceItem.GetChildren())
{
<div class=”single_carousel”>
<div class=”single_testmonial text-center”>
<div class=”quote”>
<img src=”-/media/3089ADEE27EF4A129F96B4B535E95EA9.ashx” alt=””>
</div>
<p>
@Html.Sitecore().Field(Templates.TestimonialItem.Fields.TestimonialText_FieldName, item)
</p>
<div class=”testmonial_author”>
<div class=”thumb”>
@Html.Sitecore().Field(Templates.TestimonialItem.Fields.CustomerImage_FieldName, item)
</div>
<h3>@Html.Sitecore().Field(Templates.TestimonialItem.Fields.CustomerName_FieldName, item)</h3>
<span>@Html.Sitecore().Field(Templates.TestimonialItem.Fields.Designation_FieldName, item)</span>
</div>
</div>
</div>
}
</div>
</div>
</div>
</div>
</div>
<!– /testimonial_area –>

- The highlighted is the Quote image that is called in the View by using it’s id from Sitecore item (/sitecore/media library/Sitecore Demo/Testimonials/quote).
- Publish the Visual studio solution.
- Go to Sitecore Rendering item (/sitecore/layout/Renderings/Sitecore Demo) and create a View Rendering with a name – “Testimonial Section”.

- Publish this rendering and Go to the Home Item (/sitecore/content/Home).
- Click on Presentation tab >> Details >> Edit >> Controls >> Add button.

- Select the Testimonial Section rendering that we recently created and type main (because in the Main.cshtml we have given placeholder key as “main” for dynamic binding) as a value in placeholder field.
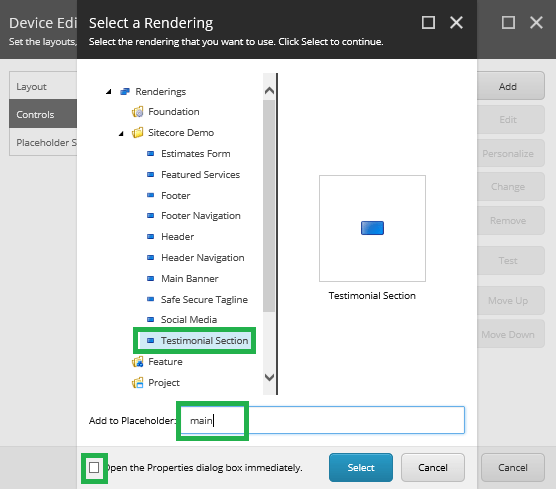
- Check the Open the properties checkbox and click Select.
- In the Data Source field, select the Testimonials folder which we created under Global folder.

- Click OK >> OK >> OK. Publish the Home item.
- Browse the front end site.

- The background image is coming through css so we will need to add the style in cshtml file.
<style>
.testimonial_area {
background-image: url(/-/media/8B736F28878A4E9295574899F8304719.ashx);
}
</style>

- Publish the View and browse the front end site.
This completes our testimonial component, in the next blog we will work on the Facts and Figures section.
Thank you.. Keep Learning.. Keep Sitecoring.. 🙂

Pingback: Building Home page Components – Safe & Secure tagline section | Sitecore Dairies