In the last blog we had done the introduction to the files and folders of Sitecore 9.2 installation. Now lets create a Visual Studio solution to support this Sitecore instance.
- Open Visual Studio 2017 in an administrator mode.
- Click on File >> New >> Project.

- Select Web in left, we are creating ASP>NET Web Application. Enter the name of the project (DummyWebsite in my case). Make sure you select the framework 4.7.2.
- Click OK.
- Now lets select the Empty MVC solution.
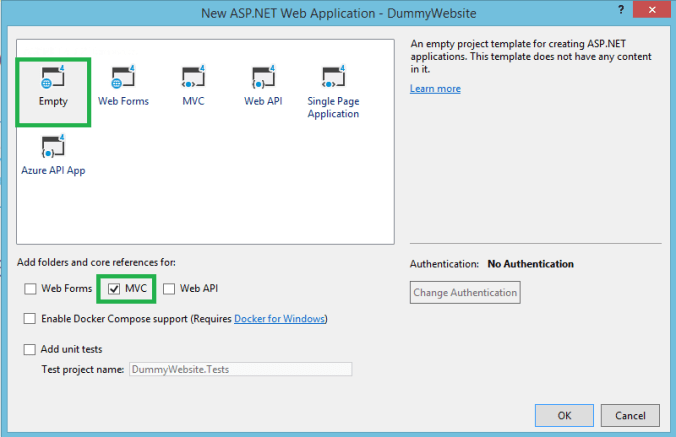
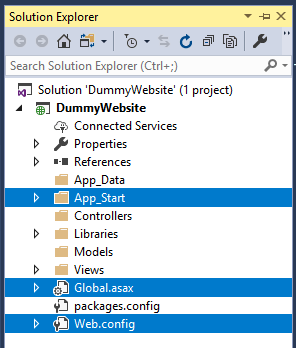
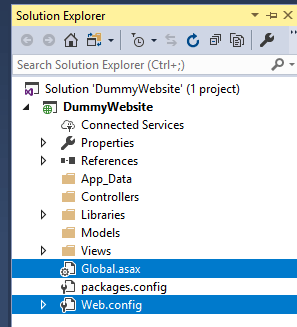
- Click OK. The following website structure will be created in the project.

- Now lets configure the solution.
- Create one folder “Libraries” and add Sitecore.kernel.dll & Sitecore.Mvc.dll in the folder from the sitecore instance bin folder (C:\inetpub\wwwroot\SitecoreDemo.dev.local\bin)
a. Create folder
b. Right Click >> Add >> Existing Item
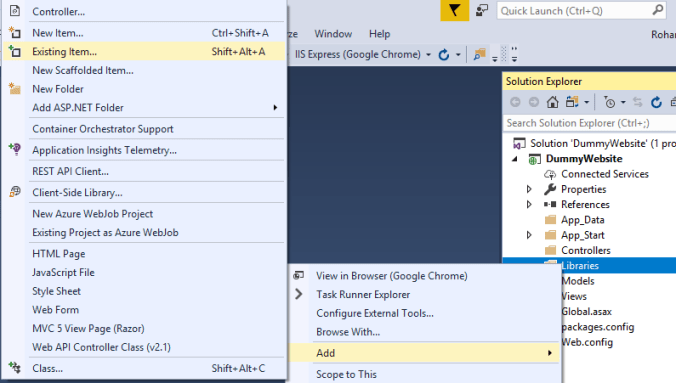
c. Navigate to the bin folder of Sitecore instance (SitecoreDemo) and Select both the dlls.

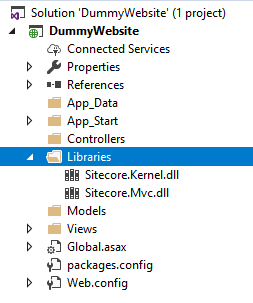
d. After the dlls are added to solution.
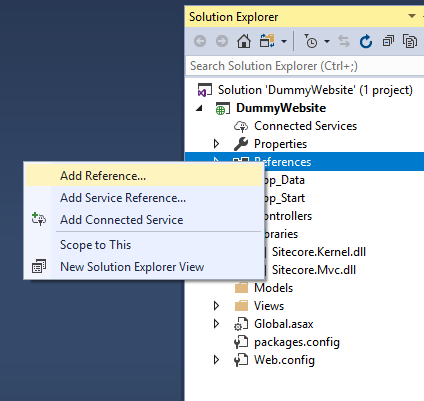
- Lets add these 2 new dlls in the References.
- Right click on References >> Add Reference.
- Click on Browse and Navigate to the Libraries folder (C:\Users\rohanke\source\repos\DummyWebsite\DummyWebsite\Libraries)

- Select both the dlls and Click Add.
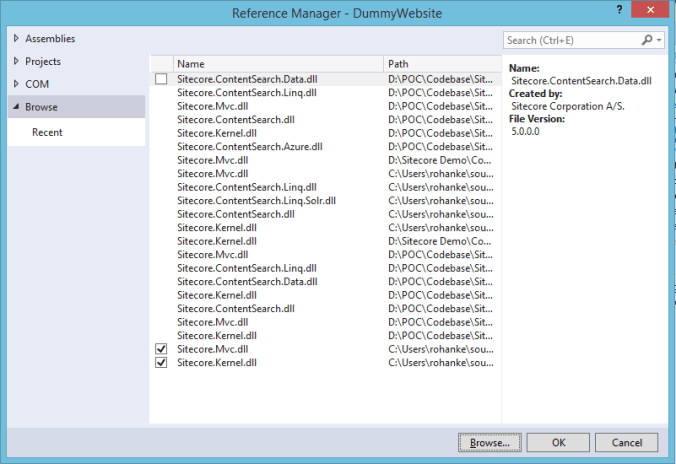
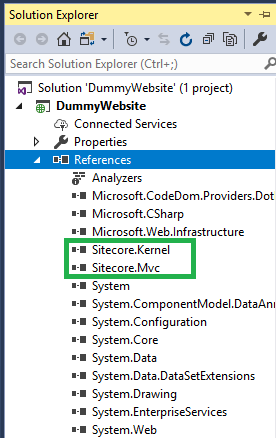
- Click OK. And both dlls will be added to References.
- Select App_Start folder, Global.asax and Web.Config files and delete it.
- Copy Global.asax & Web.Config file from Sitecore instance folder (C:\inetpub\wwwroot\SitecoreDemo.dev.local)
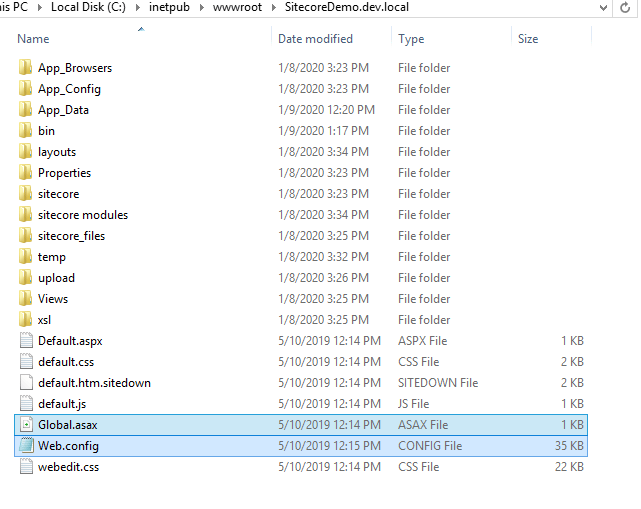
- Paste it in the Project.
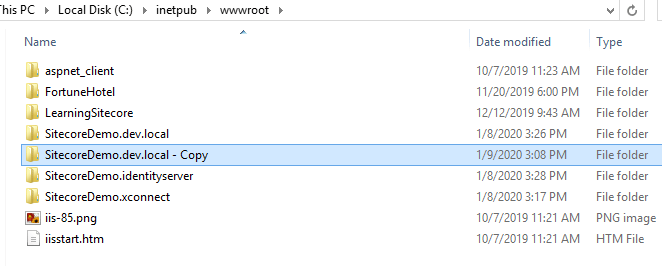
- Lets take a full backup of Sitecore Instance folder in C:\inetpub\wwwroot so if we come across any issues post publishing the Visual studio solution then we can quickly rollback.
- Select SitecoreDemo.dev.local folder and right click >> Properties >> Security.
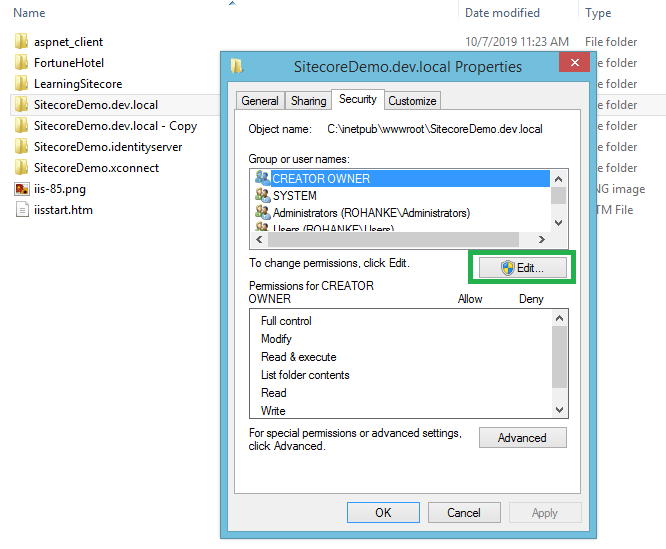
- Click Edit >>Click Add.
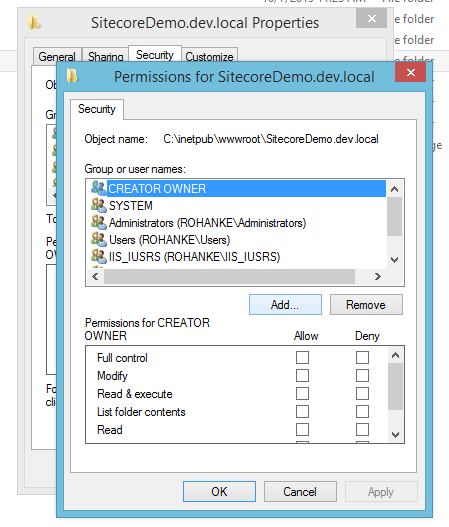
- Select Network Service and Click OK.

- Select Network Service, select the Full Control check box & click Apply.
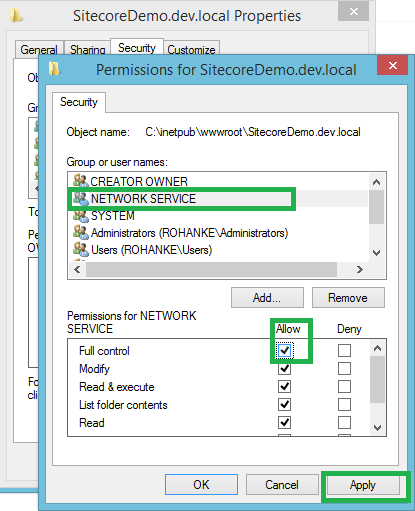
- Click OK.
- Go to IIS Server >> Select Application pools.
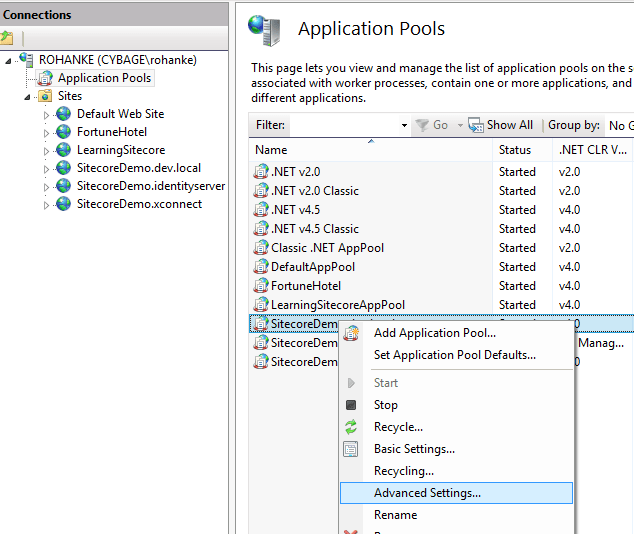
- Change the Identity to Network Service.
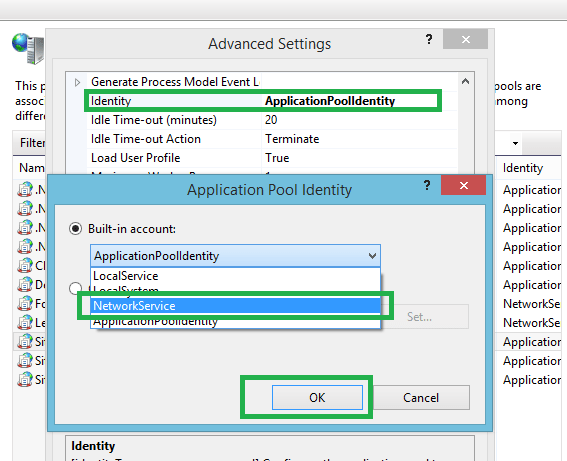
- Click OK.
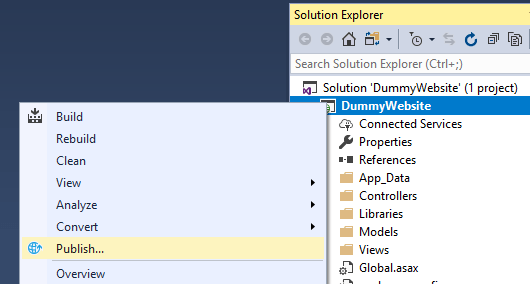
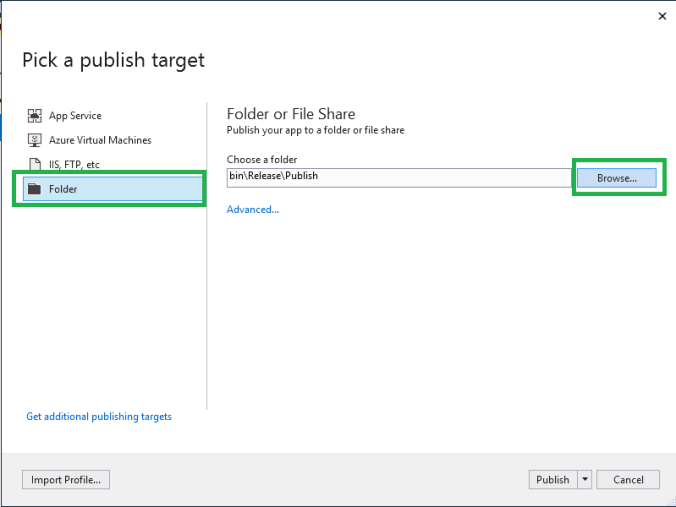
- Go to Visual Studio, select the the project and right click >> Publish
- Select Folder and Click on Browse.
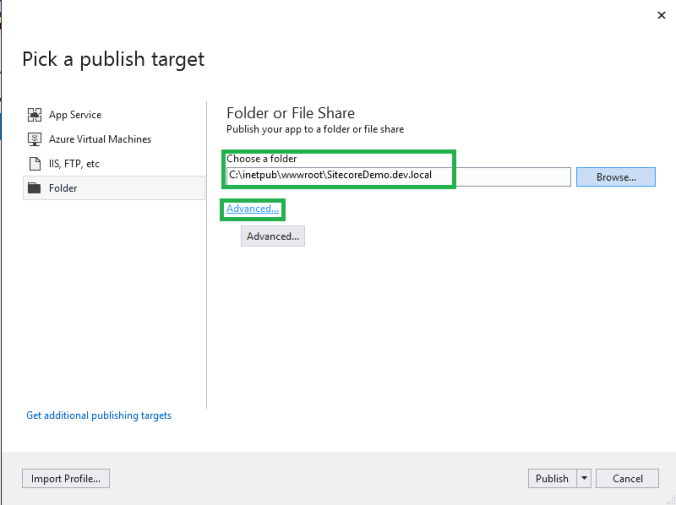
- Select the Sitecore instance folder and Click on Advanced.
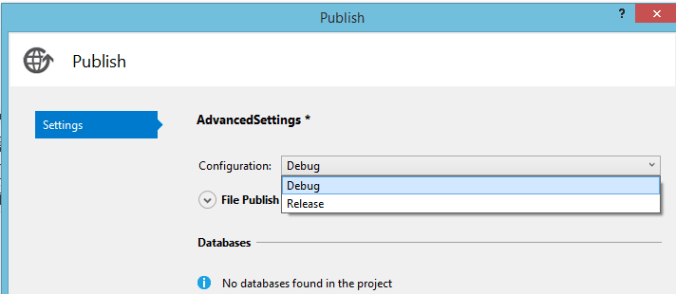
- Select Debug as Configurations and Click Save.
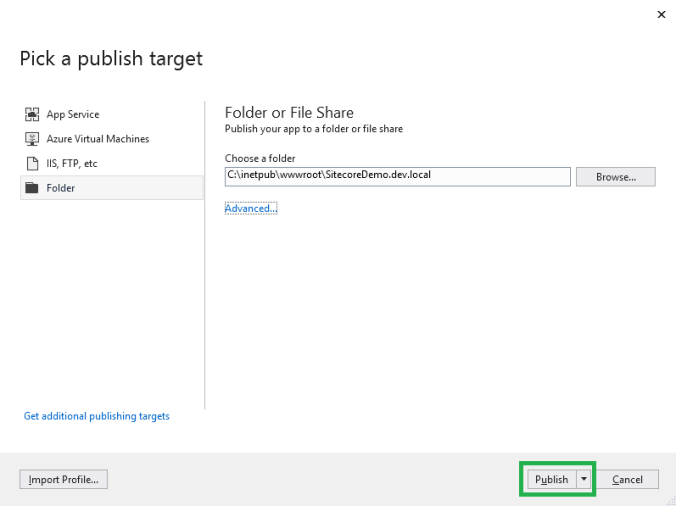
- Click Publish.
- Once the publish is successful. Browse the front end (http://sitecoredemo.dev.local/) and Back end (http://sitecoredemo.dev.local/sitecore) to check if the configuration is properly done.
In this blog, we have configured the Visual Studio solution for the Sitecore 9.2 instance. In the next blog, we will understand what all components we will create in Logistico website based on the HTML template.
Thank you.. Keep Learning.. Keep Sitecoring.. 🙂

Pingback: Introduction to the Dummy Website series using Sitecore | Sitecore Dairies
Hey there! This post couldn’t be written any better! Reading this post reminds me of my previous room mate! He always kept chatting about this. I will forward this write-up to him. Pretty sure he will have a good read. Many thanks for sharing!
LikeLiked by 1 person