And after a long wait, we have finally reached a blog where we will be installing Sitecore on local machine. Before we can start, lets just check our list if we have everything in place.
- Visual Studio installed.
- SQL Server installed.
- IIS Server enabled.
- SOLR configured.
- Sitecore Licence received.
- Sitecore account created.
Once you are done with all these points, we can begin with Sitecore installation.
- Download the Sitecore setup file.
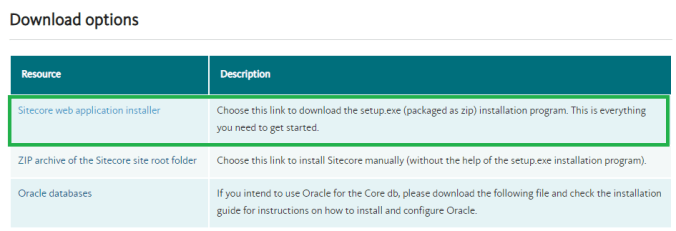
- After you click, it will prompt for login. Enter your credentials, in case if you are not able to download, then reach out to me through the contact details mentioned on my Contact page.
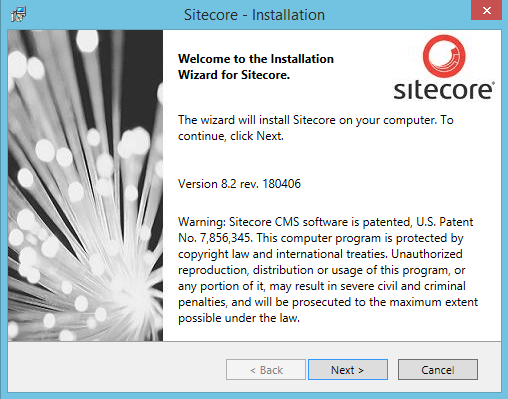
- Once the file is downloaded, extract it and run the .exe file in an administrator mode.
- Click Next
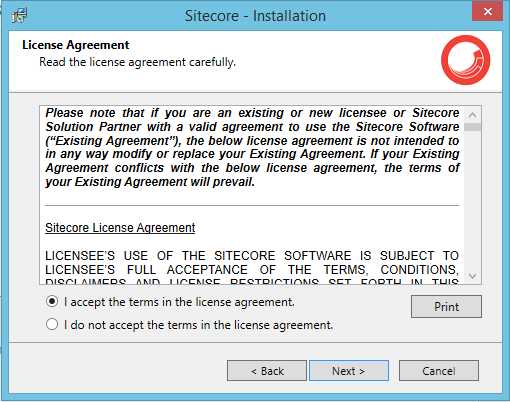
- Accept the terms and conditions
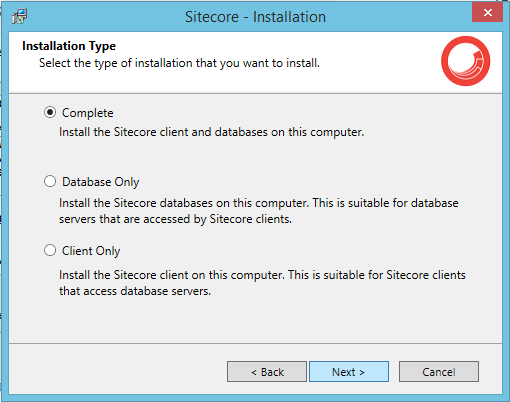
- Click on Complete for now as we are installing on local machine. Database only or Client only are of the servers when we move the solution from Local machine to Live. Click Next.
- Now we have to name the instance which means name of our website. Since we are starting to learn, I have named it as ‘LearningSitecore’

- Browse the trial license file which you have received from the Sitecore and click Next

- Enter the SQL Server details and click Next

- Click Next. Let the path for ‘Install Sitecore in’ be same as this website will be hosted in IIS server.

- Click Next. You can change the name of the Website. I have left it the same.
- Click on Install.

- You will be able to see the progress of the installation.

- The installation will take a couple of minutes.
- After the installation is complete, check the Launch Sitecore checkbox and click Finish.

- The Sitecore Login screen will be displayed in your default browser. The default credentials are:
Username: admin
Password: b

- After you login, you will be able to see the Launchpad.

- The Sitecore login and Launchpad is part of CM (Content Management) and the front end site which we are going to manage is called CD (Content Delivery). I will explain these concepts in my future blogs.
- To access the front end site, you can hit the URL without Sitecore i.e. (http://learningsitecore) in different browser. This is your CD site.

This completes our installation of Sitecore instance on the local machine. In our next blog we will learn different applications on Launchpad.
Thank you.. Keep Learning.. Keep Sitecoring.. 🙂

Pingback: Install and Setup Solr as a service | Sitecore Dairies