In the recent project that I was working on, we got a request that whenever a List is imported from the CSV file, the client wanted to see two more columns which were related to their business and not something OOTB from Sitecore.
So our journey began with adding a custom facet to the Contact in xDB. Once the facet was setup, we had two fields in there, JoinDate and Category.
Once the Facet is setup, it is very easy and can be achieved within Sitecore.
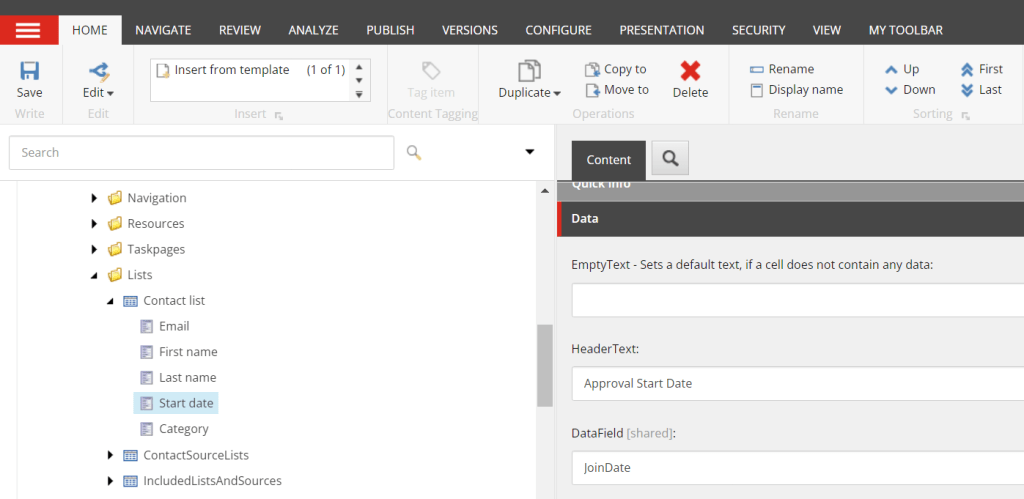
- Switch to the Core database.
- Go to “/sitecore/client/Applications/List Manager/Lists/Contact list” item
- You will see, three child items – Email, First Name and Last Name.
- Duplicate Last Name and name it – JoinDate, similarly create Category.
- Once these 2 items are created, you should focus on 2 fields – HeaderText & DataField.
- HeaderText should contain the value, which you see in the List Manager Columns.
- DataField should contain the value, which we have named the field in the Facet.

Once this setting is completed in Core DB, we are all set to test the functionality. Create a CSV file with these 5 columns and try to import it in the List Manager.
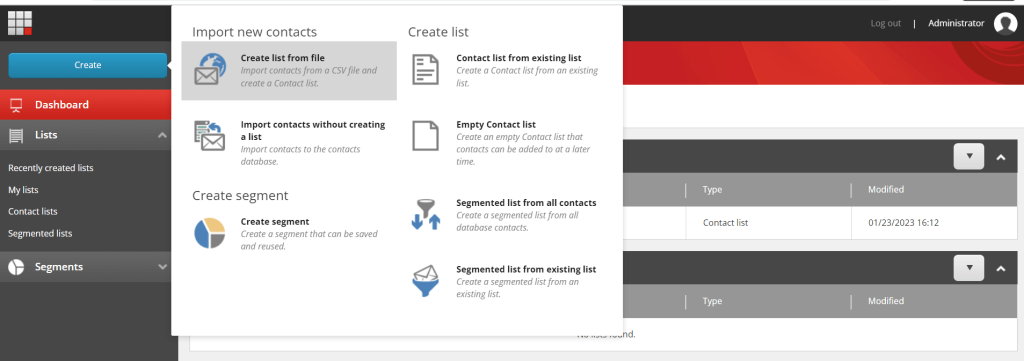
- Go to List Manager and click on Create Button and select create list from file.
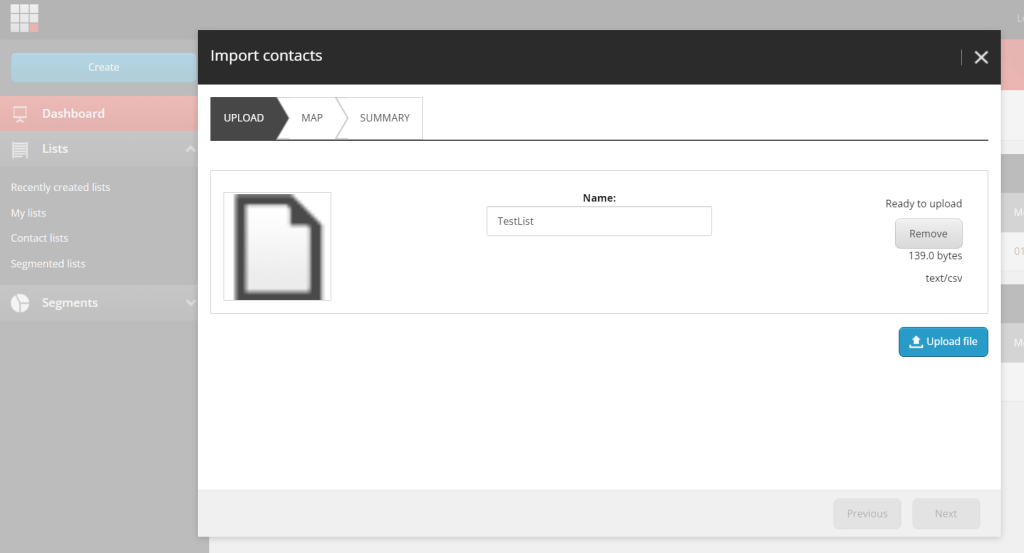
2. Click on Browse for a CSV file button and select the file you created.

3. Once the file is selected, click on Upload file button.
4. Now you will be presented a screen with different dropdowns to map the fields (Ex. Email with Email, Category with Category, etc.)
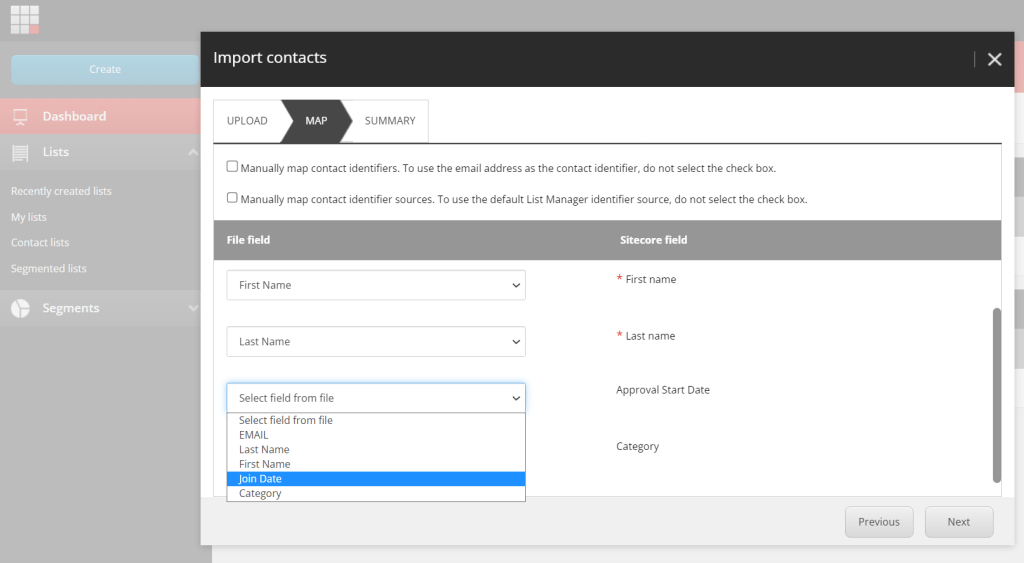
5. Once the mapping is complete, click Next and the contacts will be imported.
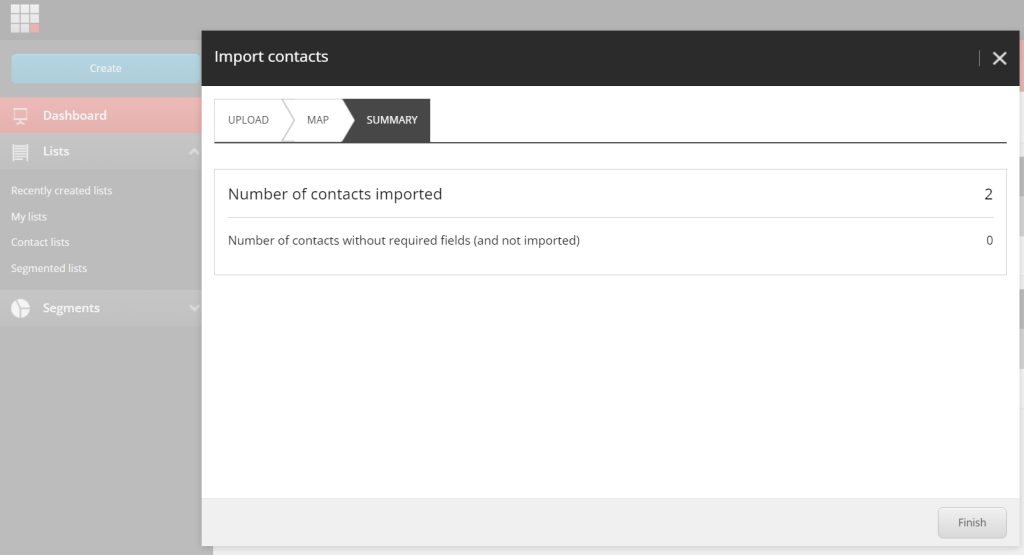
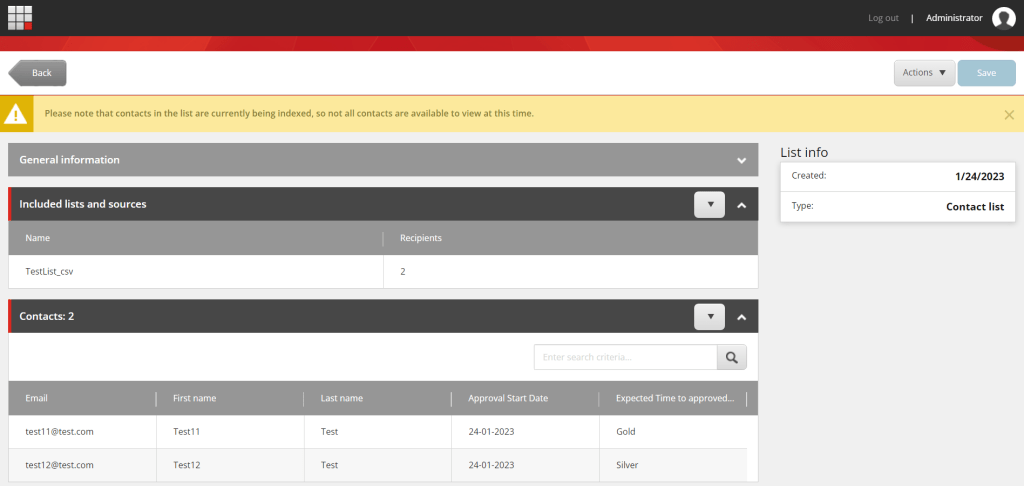
In our example, we had 2 contacts in the CSV file, which looked like below:
EMAIL,Last Name,First Name,Join Date,Category
test11@test.com,Test,Test11,24-01-2023,Gold
test12@test.com,Test,Test12,24-01-2023,Silver
Upon import completion, you will be able to see these contacts in the new list created:
Hope this helps!
Thank you.. Keep Learning.. Keep Sitecoring.. 🙂
