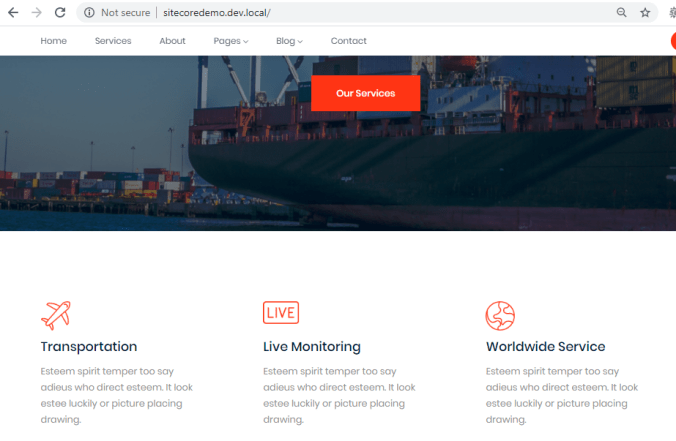
As we did end to end steps for building the Banner component, we will do the same for this component as well. The feature section which I am talking about is as below:
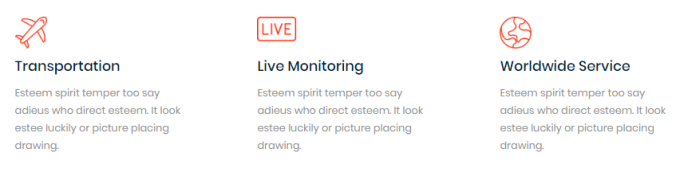
Lets create this component from scratch and we will be using View rendering to render this component on the front end.
- From the above screenshot, we can understand that we need 3 fields which are:
Feature Icon
Title
Description - Go to Common template folder (/sitecore/templates/Sitecore Demo/Common). Create a template and name it as “Featured item”.
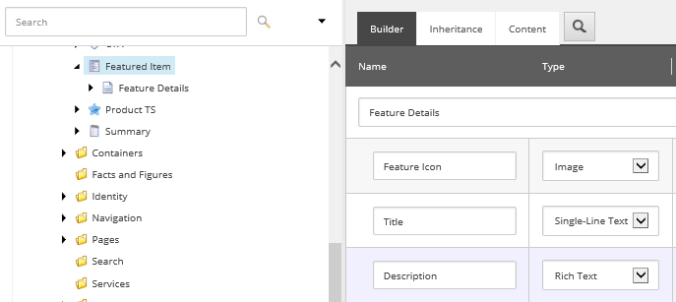
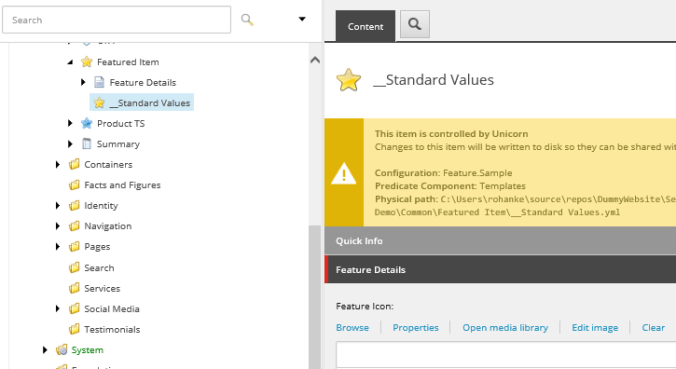
- Assign an icon to this template and add the Standard values through the Builder options.
- Add $name token to the title field.
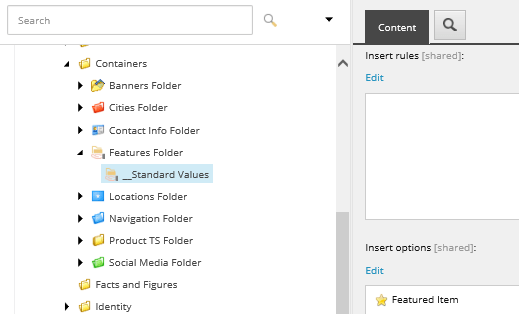
- Click on Containers folder (/sitecore/templates/Sitecore Demo/Containers) and add a template for “Features Folder” and insert options as “Featured Item”.
- Lets create a content based on this templates in the Global folder.
- Right click on Global >> Insert >> Insert from template.
- Select the Features Folder template and name it as “Features”.
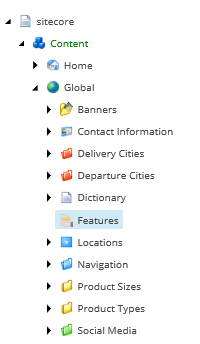
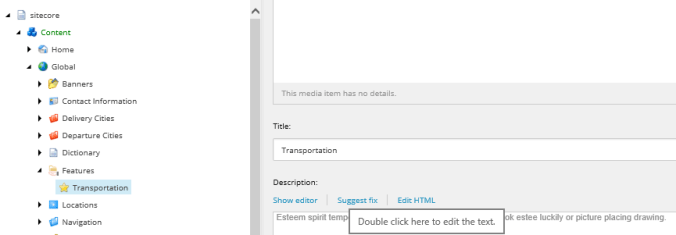
- Right Click on Features >> Insert >> Featured Item.

- Name it as “Transportation” & fill in the content. Leave the icon field empty as we need to upload those images in Media Library.
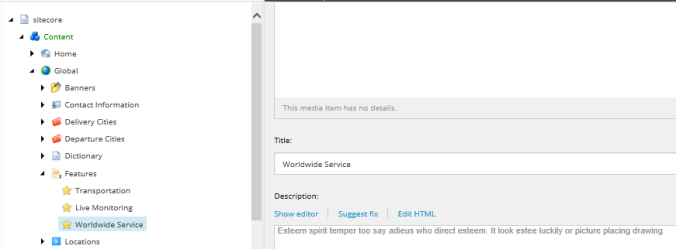
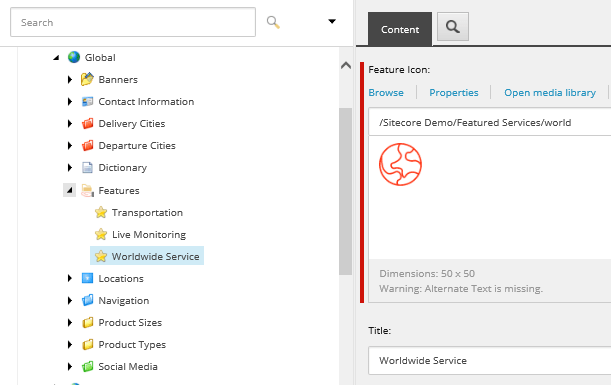
- Similarly create content items for “Live Monitoring” & “Worldwide Service”
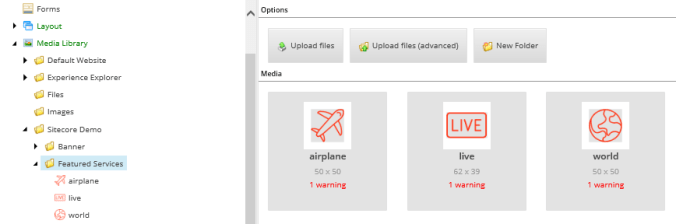
- Lets upload the icons in the Media Library. Create a folder Featured Services under Sitecore Demo (/sitecore/media library/Sitecore Demo)
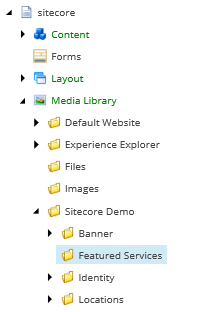
- Upload all there icons under this folder using Upload Files (Advanced options).
- Upload each icon in the respective Features item in the Global folder.
- Publish the Site.
- Lets switch to Visual Studio.
- Open “Common_Template.tt” file and Save it again so that the new template we created for Featured Item will be added to it.
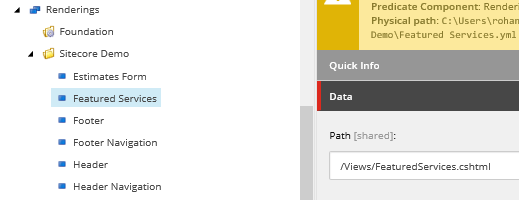
- Create a new View and name it “FeaturedServices.cshtml”.
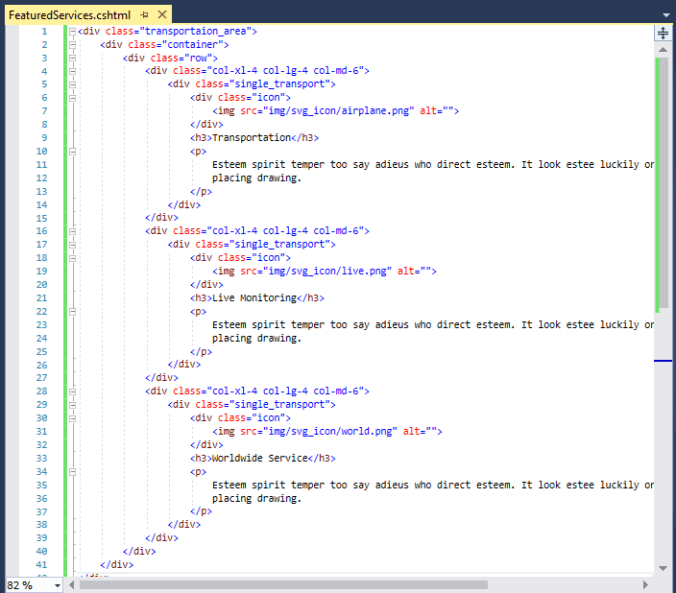
- Open the index.html from the Logistico extracted zip file & copy the HTML markup for the Featured services to the new View.
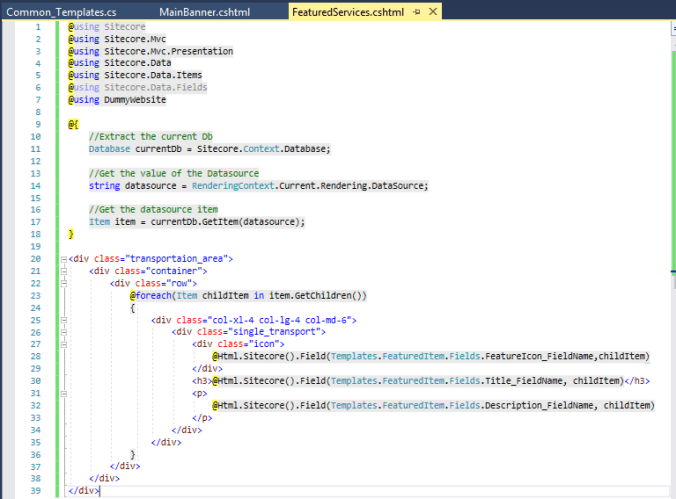
- We will be reading the data from sitecore using a data source as we did in our last blog so accordingly our code will change like below:
@using Sitecore
@using Sitecore.Mvc
@using Sitecore.Mvc.Presentation
@using Sitecore.Data
@using Sitecore.Data.Items
@using Sitecore.Data.Fields
@using DummyWebsite@{
//Extract the current Db
Database currentDb = Sitecore.Context.Database;//Get the value of the Datasource
string datasource = RenderingContext.Current.Rendering.DataSource;//Get the datasource item
Item item = currentDb.GetItem(datasource);
}<div class=”transportaion_area”>
<div class=”container”>
<div class=”row”>
@foreach(Item childItem in item.GetChildren())
{
<div class=”col-xl-4 col-lg-4 col-md-6″>
<div class=”single_transport”>
<div class=”icon”>
@Html.Sitecore().Field(Templates.FeaturedItem.Fields.FeatureIcon_FieldName,childItem)
</div>
<h3>@Html.Sitecore().Field(Templates.FeaturedItem.Fields.Title_FieldName, childItem)</h3>
<p>
@Html.Sitecore().Field(Templates.FeaturedItem.Fields.Description_FieldName, childItem)
</p>
</div>
</div>
}
</div>
</div>
</div>
- Publish the Visual Studio solution.
- Go to the Rendering item (/sitecore/layout/Renderings/Sitecore Demo) and create a View rendering, name it as “Featured Services.”
- Publish the rendering item and go to the Home item (/sitecore/content/Home).
- Go to the Presentation tab >> Details >> Edit link.
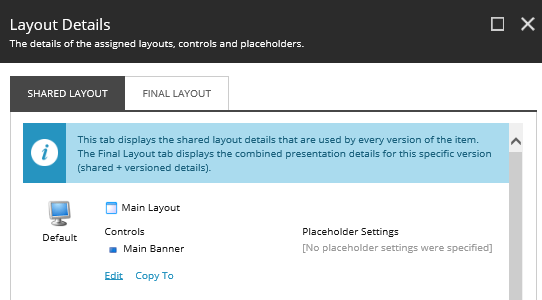
- Go to Controls and click Add button.
- Select the new rendering we created i.e. Featured Services and type “main” in the placeholder textbox.
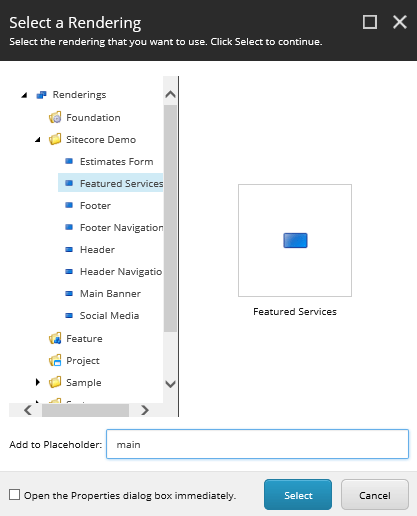
- Click on Select.
- Click on the Featured Services rendering & click Edit.
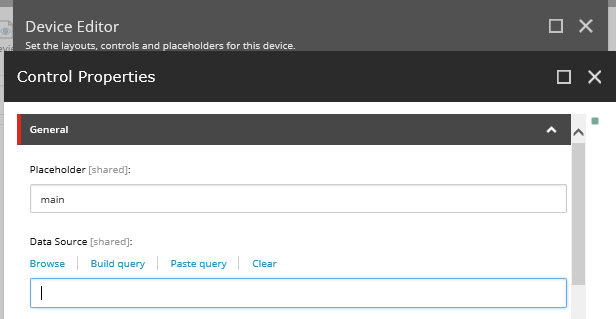
- In the Data Source field, click Browse and select the Features folder which we created under Global.

- Click OK >> OK >> OK.
- Publish Home item & browse the front end (http://sitecoredemo.dev.local/).
So in this blog, we learnt how to create a content in Sitecore and pass it as data source to the MVC View and display according to our needs. Many static content where business logic is not required are delivered in this format.
There are couple of components left to complete the Home page. So we will create them one by one per blog. Stay tuned.
Thank you.. Keep Learning.. Keep Sitecoring.. 🙂

Pingback: Building Home page Components – Main Banner | Sitecore Dairies