In the last blog, we had created a layout with the static html. Now lets break this html into components and bind it all on the layout.
- Go to Dummy Website solution in Visual Studio.
- Lets create a Header component first.
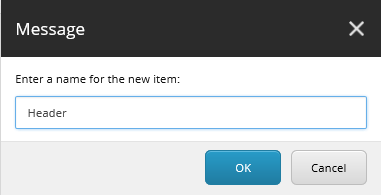
- Create a view named “Header” and copy entire Header tag html markup in it.

- Enter below line in place of Header tag markup in Main.cshtml
@Html.Sitecore().Rendering(“”)

- Go to Sitecore (http://sitecoredemo.dev.local/sitecore) >> Content Editor.
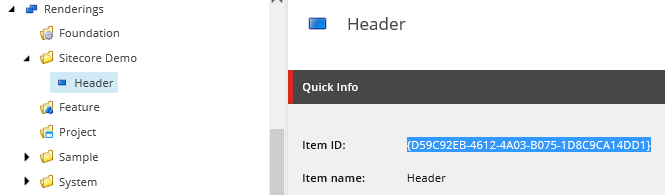
- Go to Rendering item (/sitecore/layout/Renderings) and create a Rendering folder and name it “Sitecore Demo”.
- Right Click on the new folder >> Insert >> View Rendering.
- Enter the value “/Views/Header.cshtml” in Path field.

- Publish the rendering item.
- Note the id of the Rendering from the Quick Info.
- Switch back to Visual studio and go to Main.cshtml
- Paste the GUID copied from Sitecore.

- And the above steps means that we have bound the Header component to the layout statically.
- Lets go to Header.cshtml
- Create one more view with Name “Navigation”. And copy the html markup {a div with id “sticky-header”} in it.
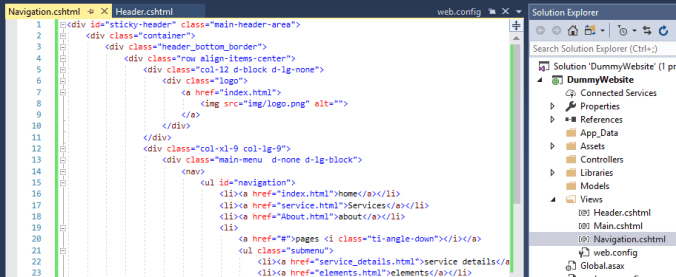
- Enter below line in place of a div tag markup in Header.cshtml
@Html.Sitecore().Rendering(“”)
We will add the GUID once the rendering is created in Sitecore.

- Lets auto generate the Template.cs using Unicorn and T4 templates. Please follow this blog.
- The difference is in the blog, I have created templates under Sitecore Demo directly and in this dummy site we have folders like Common, Containers, etc.
- So we need to do 2 changes, one in Unicorn.tt file and other in templates.tt file.
- In unicorn.tt file, we need to add a keyword “partial” before class.

- In templates.tt file, we need to add one parameter “model” so we can mention the name of folders under Sitecore Demo folder in this parameter.

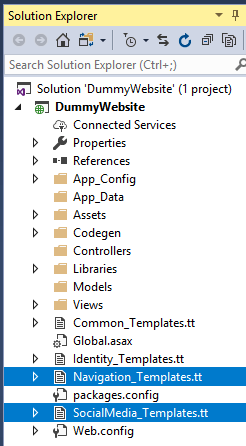
- We will remain the Templates.tt file to Common_Templates.tt file.
- Accordingly, we will copy paste the Common_Templates.tt file and rename the new file to Identity_Templates.tt file.
- Change the model parameter to “Identity” and Save the file.

- Similarly do it for Navigation and Social Media.
- Publish the solution from Visual Studio.
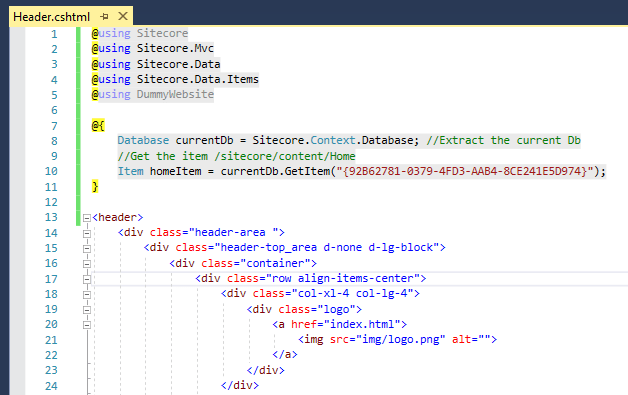
- Lets go to Header.cshtml file. Add the required namespaces.
@using Sitecore
@using Sitecore.Mvc
@using Sitecore.Data
@using Sitecore.Data.Items
@using DummyWebsite - Fetch the Home Item so that we can access the Logo image.
@{
Database currentDb = Sitecore.Context.Database; //Extract the current Db
Item homeItem = currentDb.GetItem(“”); //Get the item /sitecore/content/Home
}
- Once the item is extracted, we need to get the Image (Logo) and link in the View.
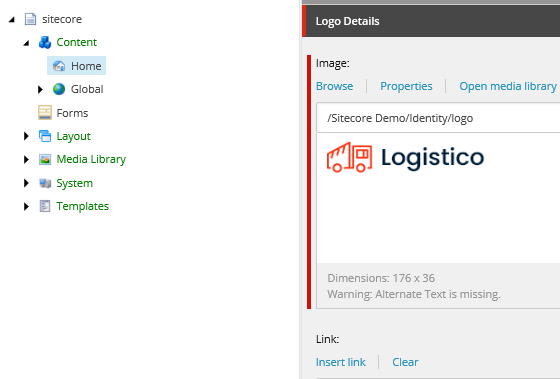
- Use the below code to get the Link and Image in the View. At the same time, we want image inside Link.
@Html.Sitecore().Field(“Link”, homeItem,
new {text = @Html.Sitecore().Field(“Image”, homeItem) })

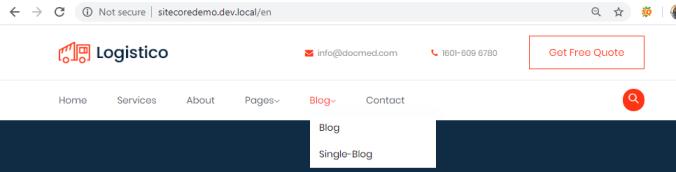
- Publish the View & Browse the Front end (http://sitecoredemo.dev.local/en)

- The logo started appearing and it is linked to the home page.
- Fetch Contact information items.
- Use the below code to fetch the items.
Item contactItem1 = currentDb.GetItem(“{590EE89D-444E-40CE-9193-B78A2DC325E6}”);
Item contactItem2 = currentDb.GetItem(“{4DC1BCC5-DB9A-4019-9FAF-5454A8E64E0B}”);

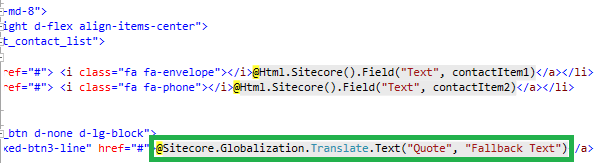
- Fetch the Text field to populate its value in the View.

- Create a Dictionary item as “Quote” under Q. And publish the Q item.

- Use the below code to fetch the dictionary item in the View.
@Sitecore.Globalization.Translate.Text(“Quote”, “Fallback Text”)
- Publish the View and Browse the front end.

- We are almost done. We will create one controller rendering for Navigation and we are done.
- Lets create a Controller and name it NavigationController.

- Delete the folder created under View.
- Change the name of method to HeaderNav instead of Index. And add the below code to it.
//Get the current DB
Database currentDb = Sitecore.Context.Database;
//Get the datasource
string dataSourcePath = RenderingContext.Current.Rendering.DataSource;
Item dataSource = currentDb.GetItem(dataSourcePath);
//Get the list of Navigation Items from the datasource
List<Item> navigationItems = dataSource.GetChildren().ToList();
//Pass the list of Items as a Model to the View
return View(“/Views/Navigation.cshtml”, navigationItems);

- Go to Navigation.cshtml file. Add the namespaces and model & also check if the Model is null.
@using Sitecore
@using Sitecore.Mvc
@using Sitecore.Data
@using Sitecore.Data.Items
@using DummyWebsite@model List<Item>@if(Model == null || Model.Count <= 0)
{
return;
}

- Fetch the Home Item and replace the logo and link in the logo div. The same way as we did in the Header.cshtml. You can copy paste the code snippets.

- Now since we have List of items as a Model we need to write a foreach loop for these items. The li tags under ul tag will be under Foreach loop so that li tags are generated programatically.
@foreach (Item menuItem in Model)
{
if (menuItem.GetChildren().Count > 0)
{
<li>
@Html.Sitecore().Field(Templates.NavigationLink.Fields.Link_FieldName, menuItem,
new {text = @Html.Sitecore().Field(
Templates.NavigationLink.Fields.Title_FieldName, menuItem) + “<i class=\”ti-angle-down\”></i>”})
<ul class=”submenu”>
@foreach (Item childMenuItem in menuItem.GetChildren())
{
<li>
@Html.Sitecore().Field(Templates.NavigationLink.Fields.Link_FieldName, childMenuItem,
new {text = @Html.Sitecore().Field(
Templates.NavigationLink.Fields.Title_FieldName, childMenuItem) })
</li>
}
</ul>
</li>
}
else
{
<li>
@Html.Sitecore().Field(Templates.NavigationLink.Fields.Link_FieldName, menuItem,
new {text = @Html.Sitecore().Field(
Templates.NavigationLink.Fields.Title_FieldName, menuItem) })
</li>
}
}

- Publish the Visual Studio solution.
- Go to Sitecore >> Content Editor >> Renderings >> Sitecore Demo
- Create a Controller Rendering and Name it “Header Navigation”.
- There are 2 fields that we need to fill for the Controller rendering item i.e. Controller and Controller Action. In Controller field, we give the value as AssemblyName.Controllers.ControllerName, AssemblyName & in the Controller Action, we give method name. So accordingly, we will give below values.
Controller: DummyWebsite.Controllers.NavigationController, DummyWebsite
Controller Action: HeaderNav

- Lets give the Header Links content we created under Global item (/sitecore/content/Global/Navigation/Header) as datasource to it.
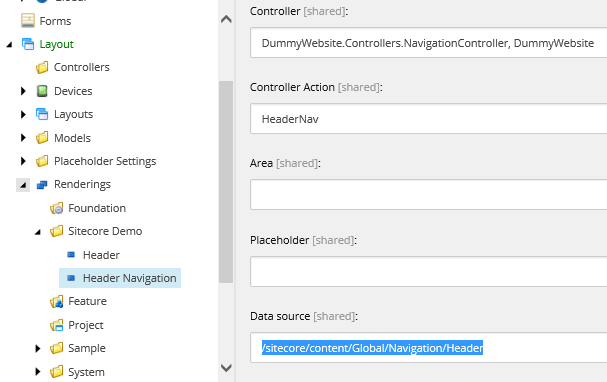
- Publish this rendering and note its GUID from the Quick info.
- Go to Header.cshtml and add the GUID of this rendering.
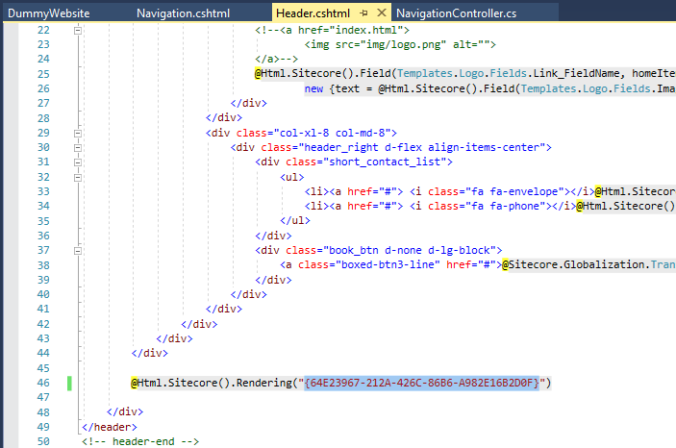
- Publish the Header.cshtml file and reload the Front end.
And we are done with Header component for Layout. Similarly, we have to create for 3 more components – Estimation Forms, Social Media section & Footer.
We will do it in our next blog as this blog will become lengthy.
Thank you.. Keep Learning.. Keep Sitecoring.. 🙂

Pingback: Creating a Layout – Part I | Sitecore Dairies
Thanks, I’ve recently been looking for info about this subject matter for ages and yours is the best I have located so far.
LikeLiked by 1 person
Hello and thank you for your post. I’m a total beginner in Sitecore (and in MVC too) and am trying to create the navigation steps shown on this page. However, I have an error “The name ‘Templates’ does not exist in the current context” on @Html.Sitecore().Field(Templates.NavigationLink….
Am I missing a library? I tried to google some info but I’m lost. Appreciate any help you can give. Thank you.
LikeLike
Hi Jannah,
When you copy a Templates.tt file, a Templates.cs file is generated which contains the details of all the fields related to that section. May be your configuration is going wrong.
For now, you can try by hardcoding the Field names and see if it is working. Ex. Replace Templates.NavigationLink.Fields.Link_FieldName by the field name you have given in the Navigation template.
Hope that helps.
LikeLike