In the previous blog, we had created Header component. As we are new to the concepts, I am covering the steps in detail. If you have idea then you can skip some steps and follow yours as well.
For making it easy, we will create Footer component first.
- Create a new View and name it as “Footer”.
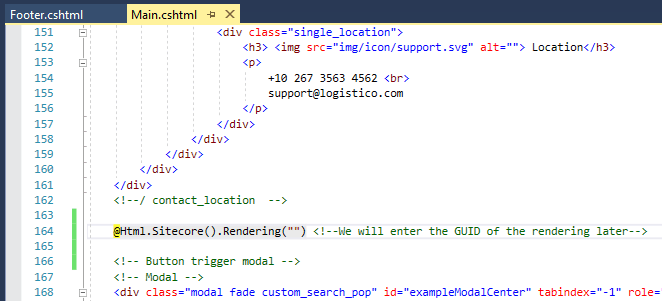
- Go to Main.cshtml. Copy entire footer tag to a new View.
- Enter the below line of code in place of Footer tag in the Main cshtml. We will add the GUID of the rendering once it is created in the Sitecore.
@Html.Sitecore().Rendering(“”)
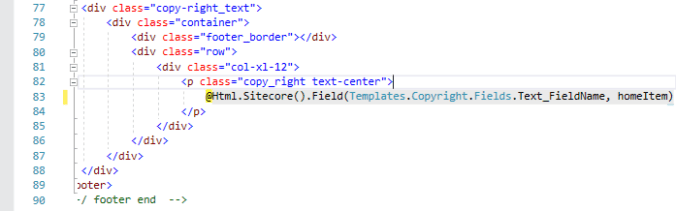
- Add the namespaces and fetch the Home Item in the new rendering to access the Copyright text.

- Replace the copyright html mark up with below line of code.
@Html.Sitecore().Field(Templates.Copyright.Fields.Text_FieldName, homeItem)
- Go to Sitecore, and create a View rendering under Sitecore Demo (/sitecore/layout/Renderings/Sitecore Demo) and name it “Footer”.
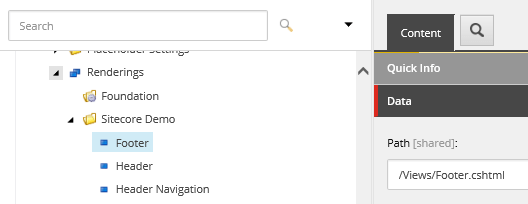
- Publish this item. And note the GUID of this rendering.
- Paste the GUID of this rendering in Main.cshtml and publish Views folder.
- Reload the front end to verify if the component is properly configured.
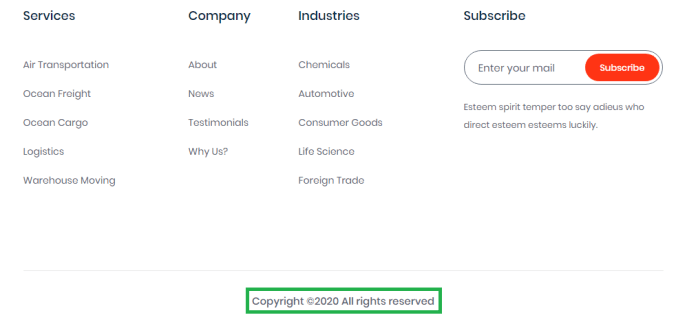
- The copyright text gets updated as it is fetched from Sitecore.
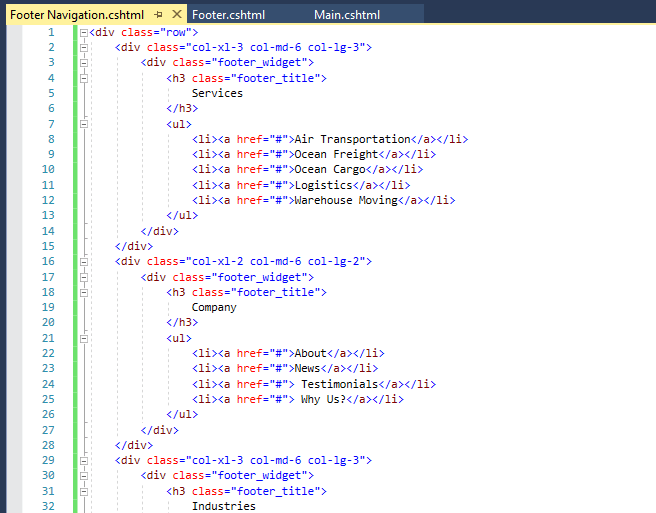
- Create a new View and name it “Footer Navigation”.
- Copy the div markup with the class ‘row’ entirely from the ‘Footer.cshtml’ to ‘Footer Navigation.cshtml’ file.
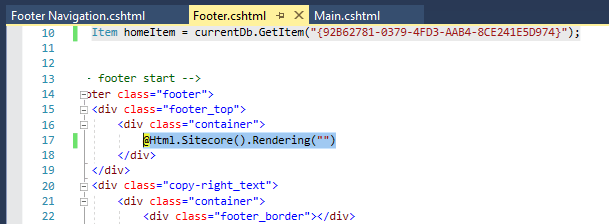
- And add the below line of code in place of the markup in Footer.cshtml file.
@Html.Sitecore().Rendering(“”)
- Create a new method in NavigationController and Name it FooterNav.
//Get the current DB
Database currentDb = Sitecore.Context.Database;
//Get the datasource
string dataSourcePath = RenderingContext.Current.Rendering.DataSource;
Item dataSource = currentDb.GetItem(dataSourcePath);
//Get the list of Navigation Items from the datasource
List<Item> navigationItems = dataSource.GetChildren().ToList();
//Pass the list of Items as a Model to the View
return View(“/Views/Footer Navigation.cshtml”, navigationItems);

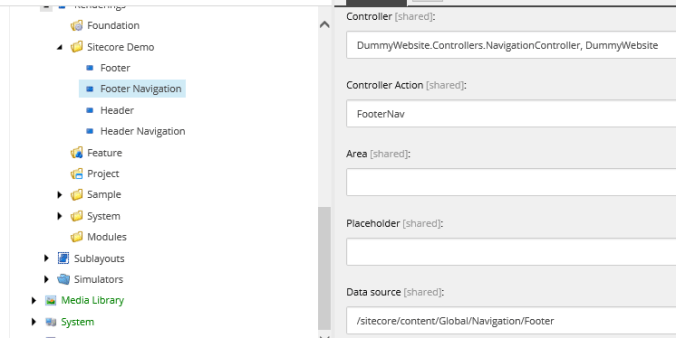
- Create a new Controller rendering in Sitecore. And name it Footer Navigation. Also lets give it a datasource created for Footer in Global item (/sitecore/content/Global/Navigation/Footer)
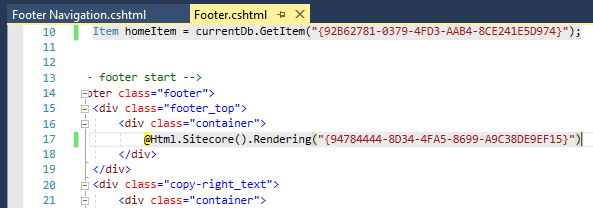
- Publish the rendering. Note the GUID and paste it in the Footer.cshtml
- Go to Footer Navigation.cshtml and add the reference & check if the model sent from Controller is null.

- Now as we had done in Navigation.cshtml, we will need to use foreach loop to read the Items and their fields.
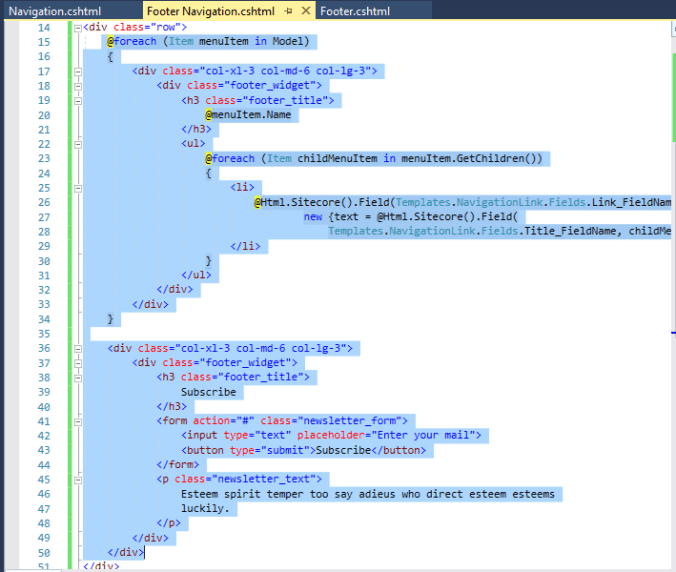
- Change the HTML markup inside the div with class row to the one below:
@foreach (Item menuItem in Model)
{
<div class=”col-xl-3 col-md-6 col-lg-3″>
<div class=”footer_widget”>
<h3 class=”footer_title”>
@menuItem.Name
</h3>
<ul>
@foreach (Item childMenuItem in menuItem.GetChildren())
{
<li>
@Html.Sitecore().Field(Templates.NavigationLink.Fields.Link_FieldName, childMenuItem,
new {text = @Html.Sitecore().Field(
Templates.NavigationLink.Fields.Title_FieldName, childMenuItem) })
</li>
}
</ul>
</div>
</div>
}<div class=”col-xl-3 col-md-6 col-lg-3″>
<div class=”footer_widget”>
<h3 class=”footer_title”>
Subscribe
</h3>
<form action=”#” class=”newsletter_form”>
<input type=”text” placeholder=”Enter your mail”>
<button type=”submit”>Subscribe</button>
</form>
<p class=”newsletter_text”>
Esteem spirit temper too say adieus who direct esteem esteems
luckily.
</p>
</div>
</div>
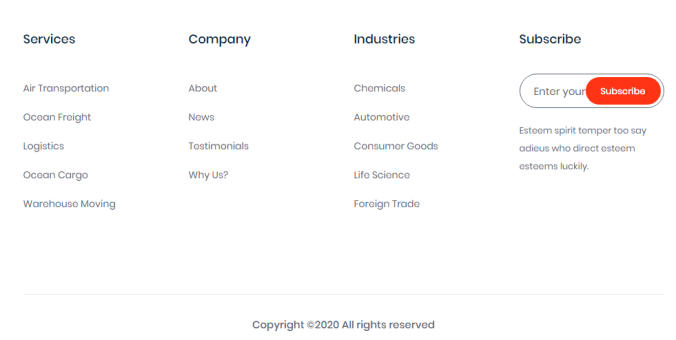
- Publish whole Visual Studio solution and browse the front end.
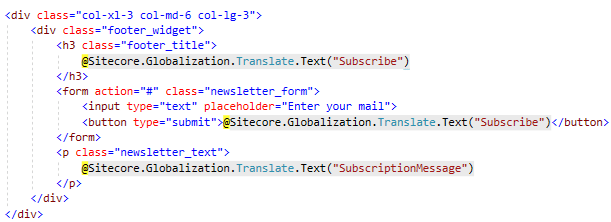
- Go to Footer Navigation.cshtml file. At the bottom replace the Subscribe & Subcription Message which is hard coded with dictionary items value.
Subscribe: @Sitecore.Globalization.Translate.Text(“Subscribe”)
Subscription Message: @Sitecore.Globalization.Translate.Text(“SubscriptionMessage”)
- Publish the Footer Navigation.cshtml and browse the Front end.
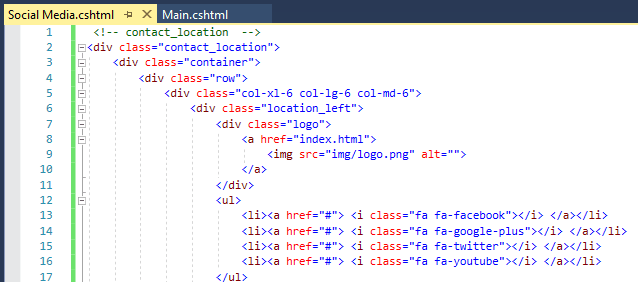
- Lets create a Social Media (Contact Location) component now.
- Create a View and name it “Social Media”. Copy the entire Contact Location Html markup and place it in the new View.
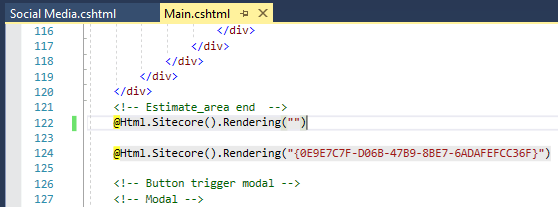
- Add below line of code in Main.cshtml in place of the markup. Lets add the GUID of the rendering later.
@Html.Sitecore().Rendering(“”)
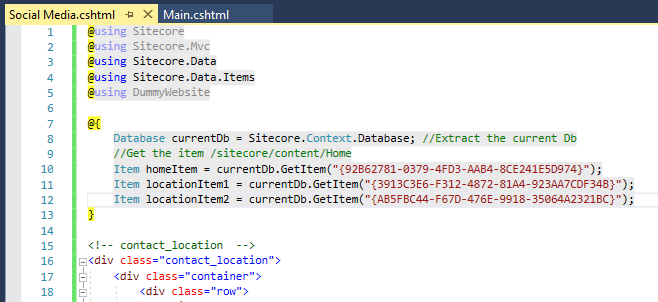
- Add references and fetch the Home, Location1 and Location2 items to render it’s fields.
@using Sitecore
@using Sitecore.Mvc
@using Sitecore.Data
@using Sitecore.Data.Items
@using DummyWebsite@{
Database currentDb = Sitecore.Context.Database; //Extract the current Db
//Get the item /sitecore/content/Home
Item homeItem = currentDb.GetItem(“{92B62781-0379-4FD3-AAB4-8CE241E5D974}”);
Item locationItem1 = currentDb.GetItem(“{3913C3E6-F312-4872-81A4-923AA7CDF34B}”);
Item locationItem2 = currentDb.GetItem(“{AB5FBC44-F67D-476E-9918-35064A2321BC}”);
}
- Replace the logo markup with logo code below
@Html.Sitecore().Field(Templates.Logo.Fields.Link_FieldName, homeItem,
new {text = @Html.Sitecore().Field(Templates.Logo.Fields.Image_FieldName, homeItem) })

- Below will be code for Locations html markup
<div class=”col-xl-3 col-md-3″>
<div class=”single_location”>
<h3>
@Html.Sitecore().Field(Templates.LocationItem.Fields.Icon_FieldName, locationItem1)
@Html.Sitecore().Field(Templates.LocationItem.Fields.Title_FieldName, locationItem1)
</h3>
<p>
@Html.Sitecore().Field(Templates.LocationItem.Fields.Address_FieldName, locationItem1)
</p>
</div>
</div>
<div class=”col-xl-3 col-md-3″>
<div class=”single_location”>
<h3>
@Html.Sitecore().Field(Templates.LocationItem.Fields.Icon_FieldName, locationItem2)
@Html.Sitecore().Field(Templates.LocationItem.Fields.Title_FieldName, locationItem2)
</h3>
<p>
@Html.Sitecore().Field(Templates.LocationItem.Fields.Address_FieldName, locationItem2)
</p>
</div>
</div>

- Create a View rendering in Sitecore under Sitecore Demo folder and name it “Social Media”. And publish this rendering.

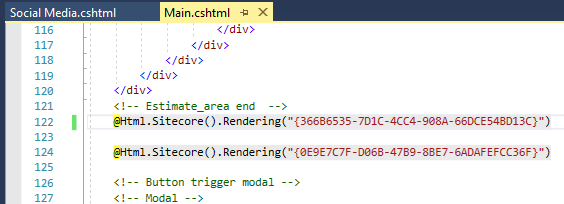
- Note the GUID of the Rendering and paste it in Main.cshtml
- Publish the View folder and reload the front end (http://sitecoredemo.dev.local/en)

With these 2 components, lets finish this blog and create estimation form the last component to create a layout in the next blog.
Thank you.. Keep Learning.. Keep Sitecoring.. 🙂

Pingback: Creating a Layout – Part II | Sitecore Dairies