Lets design the Information Architecture for the basic Home page of the site. There are couple of things we need to keep in mind while designing the Information Architecture. Some of it are as below:
- No repeating of the fields. Create one template and inherit the same in the other one.
- If the value of field will remain same across the languages then mark it as Shared.
- Create proper folder structure.
- Set proper insert options and icons so that Content Authors find it easy to work with.
Other best practices, we can learn while designing the same.
- Login to Sitecore (http://sitecoredemo.dev.local/sitecore).
- Go to Content Editor.
- Create ‘Sitecore Demo’ folder under Templates.
a. Right Click on Templates >> Insert >> Template Folder.

- Under this folder, we can create module wise folders like News, Blogs, Services, etc.
- Since we are working on Home Page lets list what all modules are present on it:
a. Navigation
b. Search
c. Social Media
d. Identity – Logos & Copyrights
e. Common – CTAs, Contact Details, Locations, etc
f. Banners
g. Services
h. Testimonials
i. Facts & Figures. - Lets create a folder for all of these modules under Sitecore Demo folder in Templates.

- Lets start creating templates for the following:

- Logo Template under Identity will look like below:
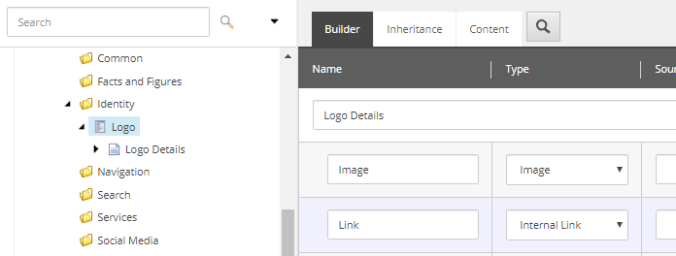
In case if you have doubt about how to create a template then you can refer to my other blog. - Lets assign an icon to it.
a. Click on Builder options >> Standard values

b. Click on Configure tab >> Icons

c. Select any icon, you want to assign for the template.

- Similarly, we will create template for Copyright under Identity.

- Assign the icon, you want for Copyright by using Standard values.
- Lets create templates for Contact Items and CTA under Common folder.

In CTA, the link will be General link field as the Content Author might want the users to redirect within the site or outside the site like YouTube. Also assign icon and add token $name in Text field in Standard values.

- Lets create template for Navigation link under Navigation folder. This template will be used for both Header and Footer Menu links.
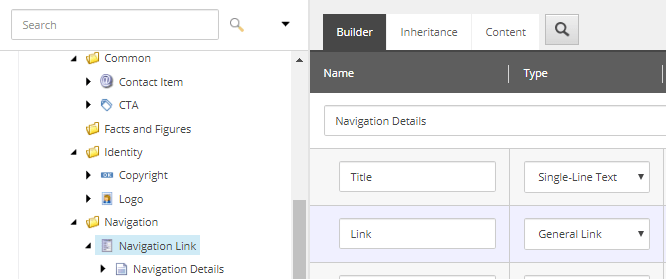
- Add token $name in Title field and assign a icon in the Standard Values.

- Lets create templates for Social Media Item and Location item under Social Media folder.
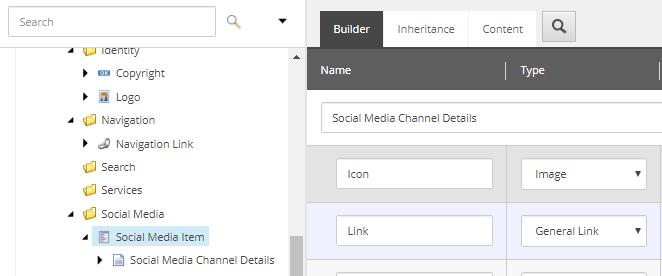
Assign icon for the template in Standard Values.

Also assign the icon and token in the Standard value. - We will create Summary template required for Get estimates section under Common folder.

Assign the icon as well. - Lets create one template for Departure & Delivery City under common. Don’t forget to assign icon and token as well.

- Lets create one template for Product size and types. Keeping drop down in a mind, we will create text and value fields.

We are done with the templates required to create content for Layout (Master page). Rest templates are required for other modules on Home page which we will create later in the series.
Two more folders we need to create under ‘Sitecore Demo’ are Containers & Pages. We add page templates under Pages folder basically data template but with no fields and only presentation details. And under containers we add data template with only insert options like folders. Currently we don’t need to create any pages but we need to create containers and set insert options.

We will need Containers for the following items:
- Navigation links
- Product type/size
- Cities
- Social Media handles
So lets create the container for these 4 and assign an insert options.
- Go to Containers folder and add a template & name it ‘Navigation Folder’.

- Assign an icon and enable the Standard Values.

- Click on View tab >> Check the Standard Fields check box.

- Scroll down to Insert options section and click on Edit link.
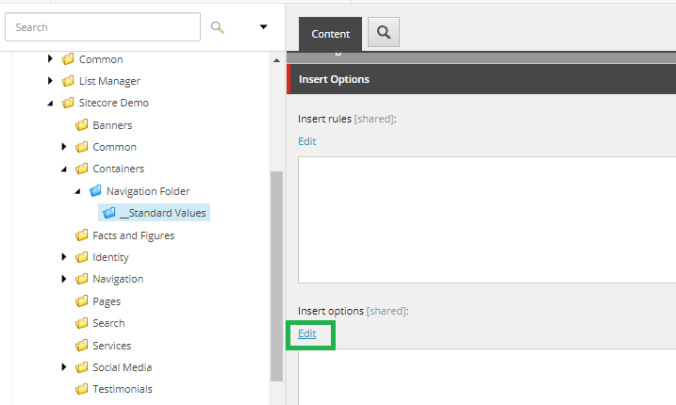
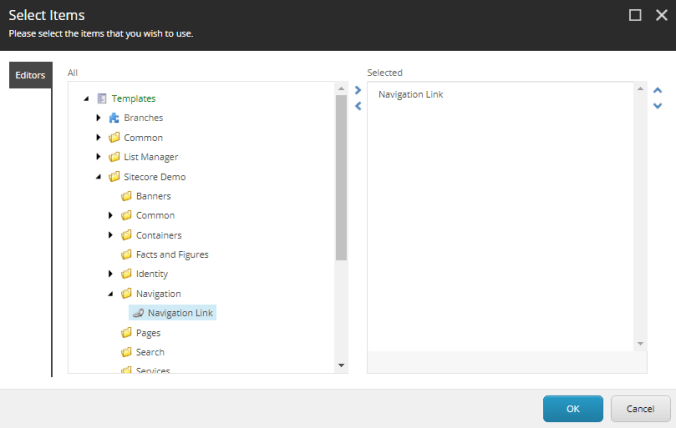
- Select Navigation link template and click OK. Save the changes.
- Similarly create containers for Social Media handles, Cities, and Product TS(Type/Size).

Social Media folder

Cities folder

Product TS folder.
We are done with the template creation whichever is required for the layout. In the next blog we will create content out of these templates.
Thank you.. Keep Learning.. Keep Sitecoring.. 🙂

Pingback: Understanding the components in the HTML template | Sitecore Dairies
Superb website you have here but I was curious if you knew of any community forums that cover the same topics discussed in this article? I’d really like to be a part of online community where I can get feed-back from other experienced individuals that share the same interest. If you have any suggestions, please let me know. Kudos!
LikeLiked by 1 person
Hey thanks for the kind words!! We do a have community for Sitecore, you can have a look at https://community.sitecore.net/
LikeLike