Whoever is working on Helix architecture knows the importance of Template.cs file in each feature or foundation modules. Now some developers are new to Helix architecture go for a manual creation of this file which utilizes good amount of efforts and there can be errors as well because a human is involved in the creation of file. So lets learn how to automate the process of creation of Template.cs file.
Let’s demonstrate this task:
- Go to Sitecore >> Content Editor.
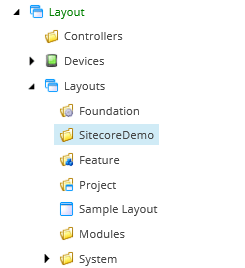
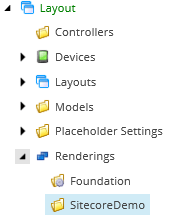
- Create SitecoreDemo folder under Templates, Renderings, Layouts and Media Library. Since we will work in our website folder.

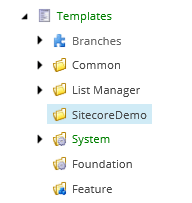
- Go to /sitecore/templates/SitecoreDemo and create a template.
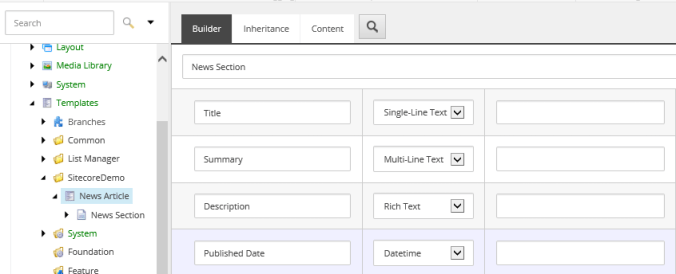
- Save the template.
- Switch to Visual Studio.
- Right click on Solution >> Manage NuGet Packages.

- Search for Unicorn and install it. The first one.

- Once the package is installed, we need to configure it.
- Before configuring, we will create one Serialization folder for the unicorn to store the YAML files.
- Right click on Solution >> Open Folder in File Explorer.
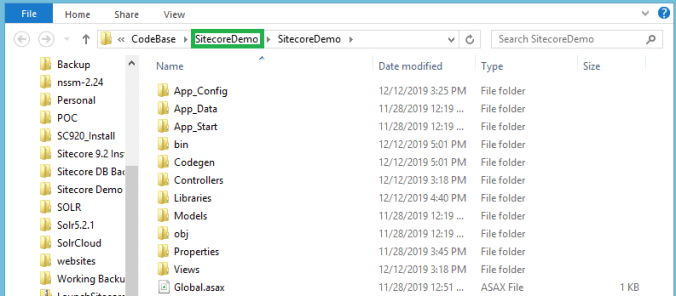
- Move one folder back and create Serialization folder.

- Switch back to Visual Studio.
- Expand the Unicorn folder (App_Config\Include\Unicorn).

- Remove .example extension from Unicorn.CustomSerializationFolder.config and create a copy of Unicorn.Configs.Default.example and name it Unicorn.Configs.Default.config.
- Open Unicorn.CustomSerializationFolder.config file. Comment the two sections highlighted and add the value “D:\Sitecore Demo\CodeBase\SitecoreDemo\Serialization” – the path of the Serialization we created earlier.

- Open Unicorn.Configs.Default.config file. There are total 3 changes we need to make
a. Add the paths of the folders (SitecoreDemo) we created in the content tree.
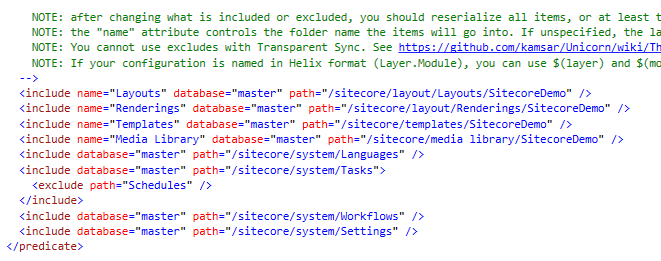
b. Correct the path of the Content, we need to serialize
c. Comment the predicates section for the workflows.

- Publish the solution. And try to access the Sitecore.
- Once the Sitecore is loaded. Access http://<<YourInstanceName>>/unicorn.aspx

- Now try to sign in with the Sitecore credentials. It is known issue that it redirects to the same page and we are not able to access Unicorn dashboard.
- Add the below code snippet to the end Unicorn.CustomSerializationFolder.config file.
<pipelines>
<owin.cookieAuthentication.validateIdentity>
<processor type=”Sitecore.Owin.Authentication.Pipelines.CookieAuthentication.ValidateIdentity.ValidateSiteNeutralPaths, Sitecore.Owin.Authentication”>
<siteNeutralPaths hint=”list”>
<path hint=”unicorn”>/unicorn.aspx</path>
</siteNeutralPaths>
</processor>
</owin.cookieAuthentication.validateIdentity>
</pipelines>

- Publish the config file and access the URL – http://<<YourInstanceName>>/unicorn.aspx
- Scroll down and do the initial serialization and then you will see the below screen.

- Now our main 2 steps are complete, 2 more are left.
- Switch to Visual Studio.
- Go to Tools >> Extensions and Updates

- Search for T4 toolbox.

- Install the extensions.
- Restart the Visual Studio to successfully install the extension.
- Now create a folder (T4 templates) in any drive. Create 3 txt files and change its extensions to .tt. Name the files – Assemblies.tt, Templates.tt and Unicorn.tt

- The content of the each file is as below –
Assemblies.tt – AssembliesContent
Templates.tt – TemplatesContent
Unicorn.tt – UnicornContent - From the above files – unicorn.tt will be untouched. Rest 2 we have to configure according to our need.
- Create folder Codegen in the solution and add the Assemblies and Unicorn file under it.
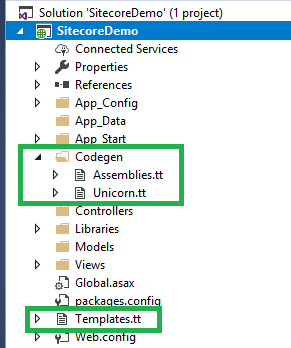
- And add the file Templates.tt at solution level (Root)
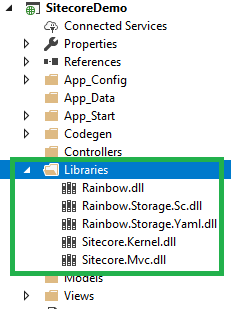
- Create a folder Libraries and add below dlls from the bin folder
(C:\inetpub\wwwroot\SitecoreDemo.sc\bin)
Sitecore.Kernel.dll
Sitecore.Mvc.dll
Rainbow.dll
Rainbow.Storage.Sc.dll
Rainbow.Storage.Yaml.dll
- Open Assemblies.tt file and update the path to these dlls.

- And the last step is to configure the Templates.tt file.
- Open Templates.tt file and update the below based on the requirement.
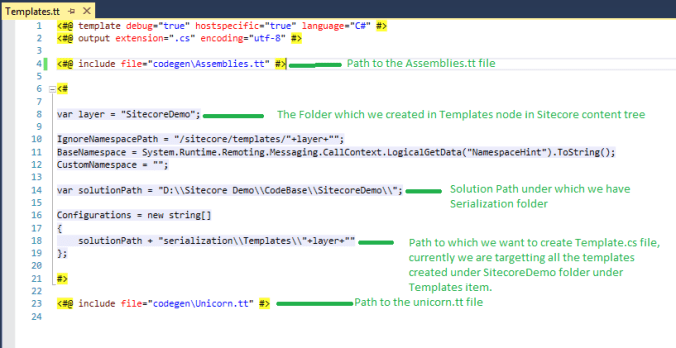
- Save the file.
- To your surprise, a Templates.cs file will be created under Templates.tt file and all the details of ID and field name of the template we had created will be added.

- Any changes made to this template or a new template created under SitecoreDemo folder will be updated in this file once we open the Templates.tt file and click Save.
Thank you.. Happy Learning.. Happy Sitecoring.. 🙂

Pingback: Creating a Layout – Part II | Sitecore Dairies
My spouse and I absolutely love your blog and find nearly all of your post’s to be exactly what I’m looking for. Do you offer guest writers to write content to suit your needs? I wouldn’t mind composing a post or elaborating on a lot of the subjects you write about here. Again, awesome site!
LikeLiked by 1 person
Hi Nicky Cappola,
Thank you for the kind words.. You can drop me an email regarding the topic you would like to write a blog on @ rohan.kenkre@gmail.com. Once we are good to go, I will create an user for you. Thanks for the idea of guest blogging.. Happy Learing.. Happy Sitecoring 🙂
LikeLike