So to the continuation of the Content creation which we started in the previous blog, we need to create content for Logo, Copyright, Locations and Contact information.
- Go to Containers folder under Templates and create containers for Locations & Contact information

For Locations

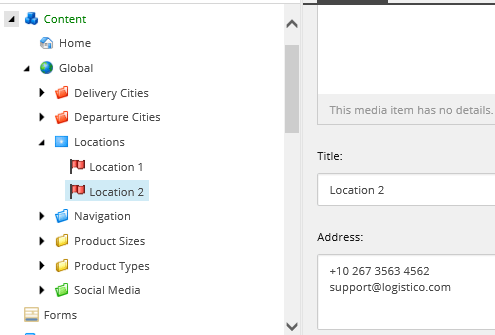
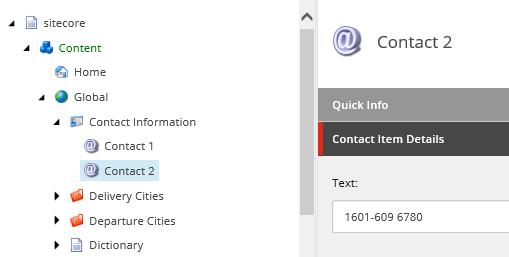
For Contact Information - Create Folder for Locations under Global. And add the locations “Location 1” and “Location 2” under this folder.
- As of now, leave the icon field blank. Lets add icons in the Media Library.
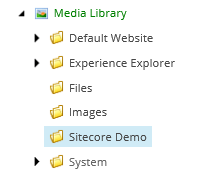
Download these icons through the browser. - Create a Media folder “Sitecore Demo” in the Media Library.
- Create folder “Locations” under Sitecore Demo and click on Upload files.
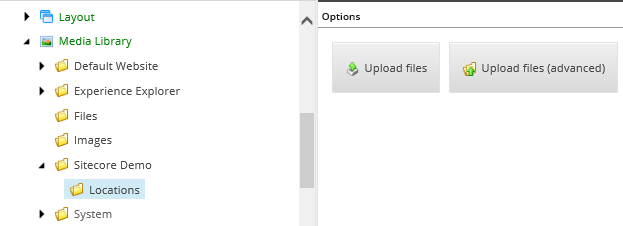
- Browse the files and click Upload.

- Lets select these images in Location 1 & Location 2.
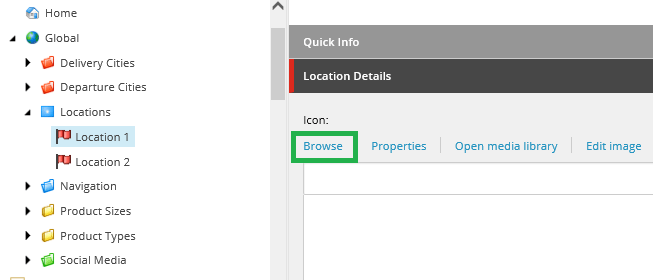
- Navigate to Location 1 and click on Browse Link in Icon field.
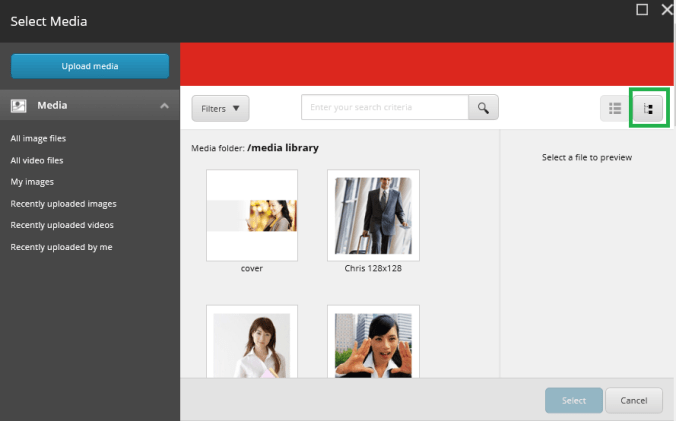
- The pop up to select images will appear. Click on the tree Icon in the upper right corner.
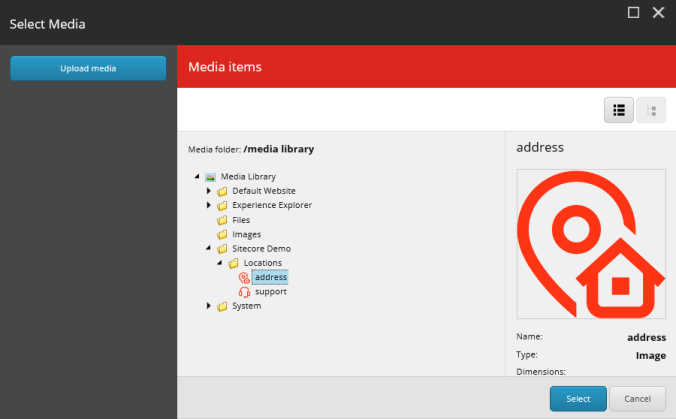
- Select the image through the Media content tree. And click Select.
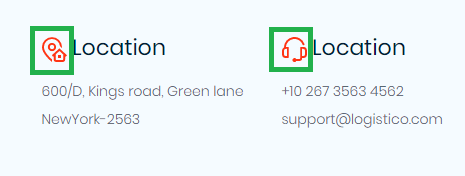
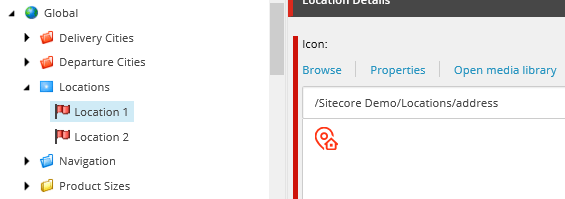
- The image is selected for Location 1.
- Similarly select an image for Location 2.

- Lets create a container for Contact information and add the content for it.

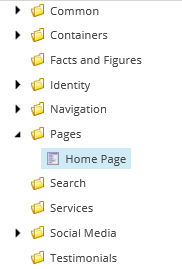
- Lets create a page template for Home page under Pages folder.
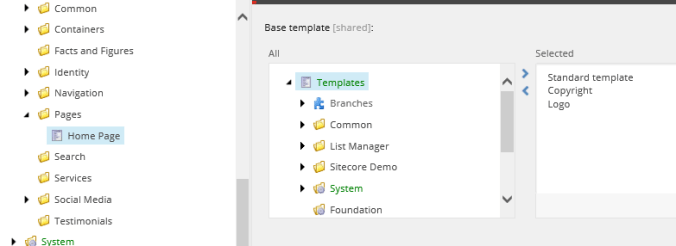
- Switch to its content tab from builder tab & inherit the Logo and Copyright template.
- Assign icon to this template and standard values.
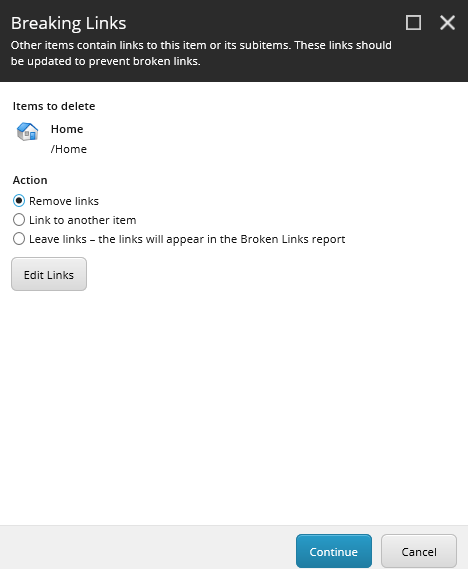
- Navigate to Home item (/Sitecore/Content/Home) and delete it.
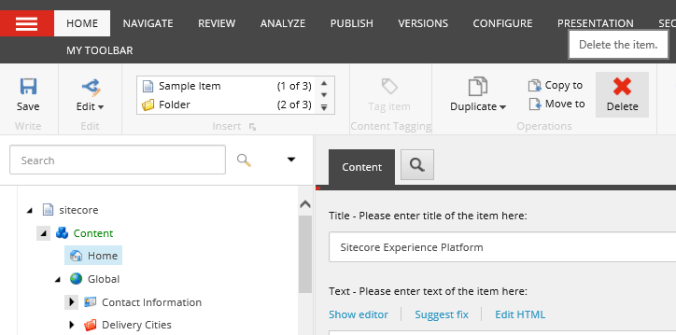
- A screen will pop up to ask your inputs for removing the links for this item, wherever used or to keep the links. Select Remove links.
- Once the item is deleted. Right Click on Content item (/Sitecore/Content) >> Insert >> Insert from template.
- Create a Home item based on the page template (Home page).

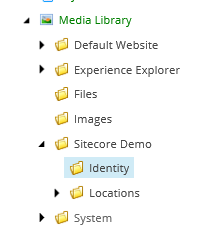
- Create a folder “Identity” under Sitecore Demo media folder.
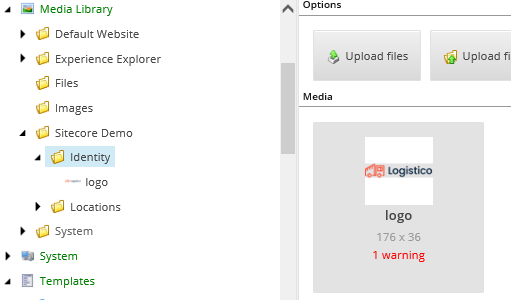
- Download the Logo of the logistico site.

- Upload this logo under the identity folder.
- Navigate back to Home node which we have created. Enter the text in the Copyright section and select the logo image under logo Details section.

- Now that we are ready with all the content, we will publish these content to Web database. Click on Publish Site.

- A pop up with publishing configuration will appear. Click Publish.

With this blog, we are almost done with the content. Another important topic is the Dictionary items (Labels) which are present in Get estimates form and Subscription forms.
So in the next blog, we will learn how to configure Dictionary items.
Thank you.. Keep Learning.. Keep Sitecoring.. 🙂
