Dynamic Placeholders come handy when you need repetition of data or placeholders. Lets consider you have one placeholder ‘main’ in the layout. Then to distinguish the page types you have one-col, two-col and three-col renderings. And then finally you have the components/renderings which will fit in the content – lets use the same ones which we created Controller rendering (List of Fruits) and View rendering (static text). Now we want the structure like below:
Main
– one column
- Controller Rendering
– one column
- View Rendering
Let’s check if the above scenario is possible using static placeholders.
- Go to Main layout in Visual Studio and comment the static binding.

- Publish Main.cshtml.
- Create new View – name it OneColumn.cshtml and place the code ‘@Sitecore().Placeholder(“section”)’ in it.

- Publish OneColumn.cshtml.
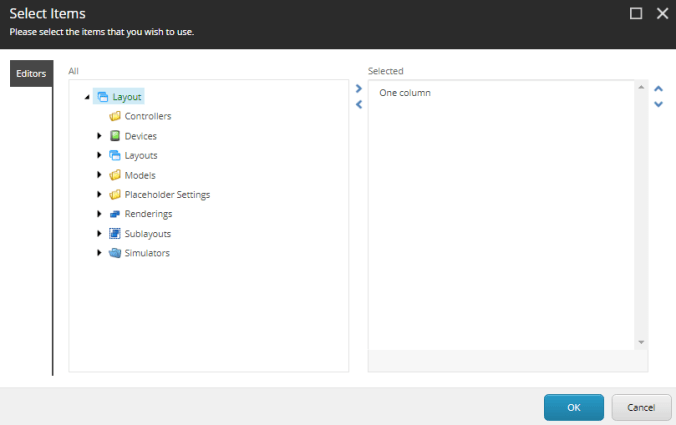
- Go to Content Editor and Navigate to the Renderings (/sitecore/layout/Renderings).
- Right Click >> Insert >> View rendering.
- Name it One column and Click OK. Add the path of the recently created View.

- Save the changes. Publish the rendering.
- Navigate to Main placeholder settings (/sitecore/layout/Placeholder Settings/main).
- Remove Controller rendering and View rendering from the Allowed components and Add One column.
- Create new placeholder settings with name ‘section’ and add Controller rendering and View rendering in it’s Allowed Controls.

- Publish both the placeholder settings.
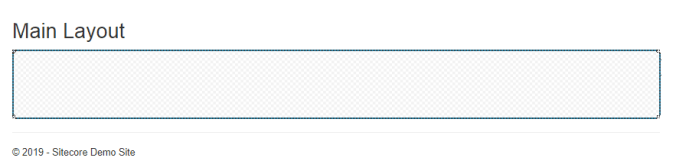
- Navigate to Test Item. Click on Publish tab and Click on Experience Editor.
- Delete any renderings if any. So the experience editor will look like:
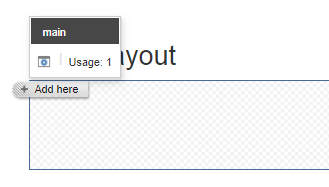
- Click on the center of the box >> Add here >> Click on One Column.
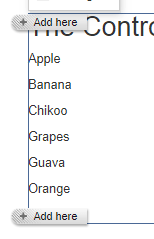
- Again click on the center of the box >> Add here >> Click on Controller rendering.

- Click on dropdown button next to tree structure which shows the hierarchies of the placeholders used.

- Now we have achieved the below structure.
Main
– one column
- Controller Rendering
- To achieve the remaining, we will click on the main placeholder from the tree.

- Now again you will be able to see Add here buttons at the top and bottom of the box.
- Click on the below Add here button >> One Column.
- Add now you will see that we didn’t get option to select the View rendering and data just got duplicated.

- This is where Dynamic placeholders are very useful.
- Delete the second rendering and Save the changes.
- Open Main.cshtml in the Visual studio. Change the placeholder code to ‘@Sitecore().DynamicPlaceholder(“main”)’

- Open OneColumn.cshtml and change the code to ‘@Sitecore().DynamicPlaceholder(“section”)’

- Publish both the cshtmls.
- Reload the Experience Editor.
- Delete all the renderings. May be you can switch to Content editor.
- Go to The presentation details >> Controls. And remove all the controls.
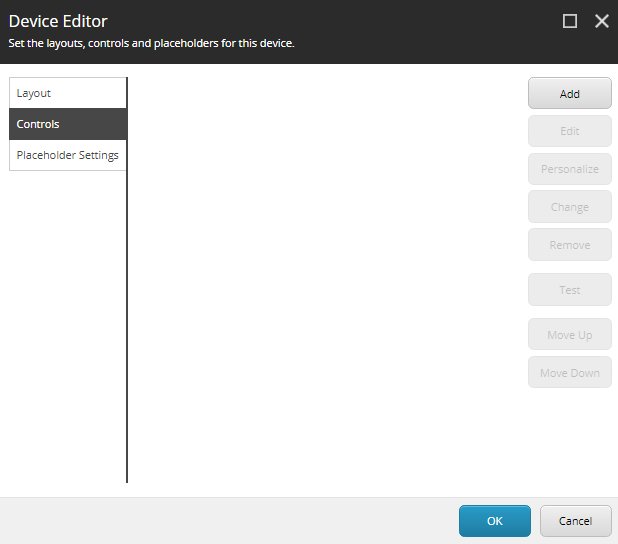
- Click OK and publish the test item.
- Switch to experience editor. Click in the section.
- Click on Add here >> One Column.
- Again click in the middle >> Add here >> Controller Rendering.

- Click on Main >> Lower Add here button >> One Column.

- Now the data didn’t get duplicated as we used dynamic placeholders.
- You click on Add here and select the View rendering.

- Publish the item >> Home tab >> Publish button in the upper right corner.
- Browse http://learningsitecore/test-item
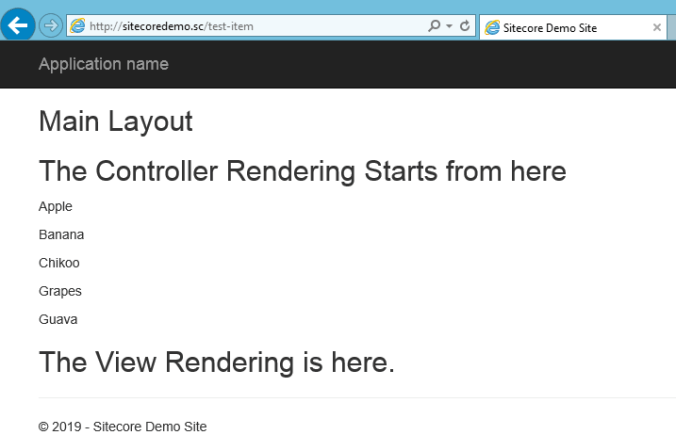
- This completes Dynamic placeholders. So in case you have requirements where you feel the renderings can be reused then we need to use Dynamic renderings. There are certain limitations of using dynamic placeholders that you can read here.
Thank you.. Keep Learning.. Keep Sitecoring 🙂

Pingback: Sitecore – Placeholders and placeholder settings | Sitecore Dairies
Pingback: Sitecore .Net 10 Certification Notes – Dave Coding