In case you have worked in website deployment then you will remember that if we forget to get the image from the physical folder (Assets) from lower to higher environment then it use to be a big issue.
Now you don’t have to upload the images/media files in the physical folder. Once you upload the media file through Sitecore dashboard, it will be saved in the database.
Hence there is very less error of missing out the changes related to the media files during the deployment and since it is placed in Database and cached in Media cache. The performance is also faster.
So to access Media Library, there are multiple ways.
- From the Launchpad
- From the Desktop interface.
- From the item which has General link or Image field.
Now lets check from Launchpad.
- Go to the Sitecore instance (http://learningsitecore/sitecore)
- Enter the credentials (admin/b)
- On the Launchpad, you should be able to see the Media Library.
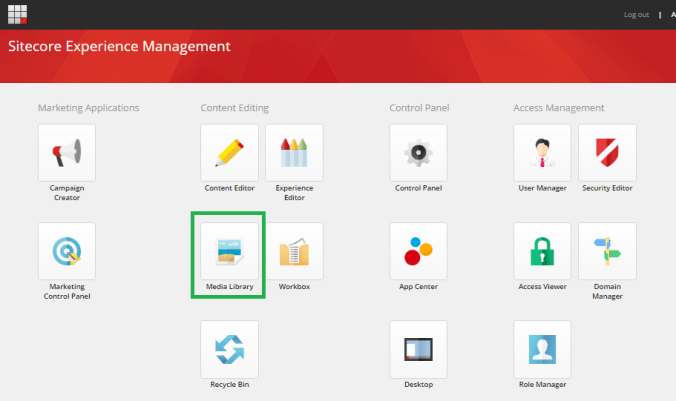
- It looks like a Content Editor but only options here are related to media files.

- The best practice is to create a folder dedicated to our website and then divide it further for Modules or Pages like News, Blogs, Home page, etc.
- So lets create a folder for Website – ‘Learning Sitecore’.
- Right click on Media Library >> Insert >> Media Folder
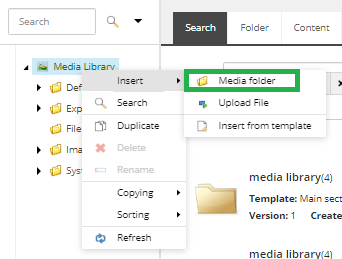
- Name it ‘Learning Sitecore’ and click OK.
- Right click on Learning Sitecore folder >> Insert >> Media folder
- Name it Home Page and click OK.
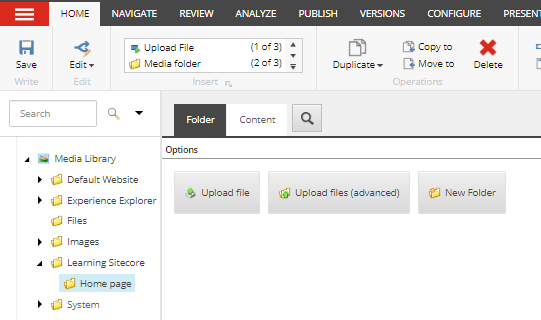
- Lets add a banner image which I have downloaded from Google and lets see if we can add it to the Home page.
- Click on Upload file.
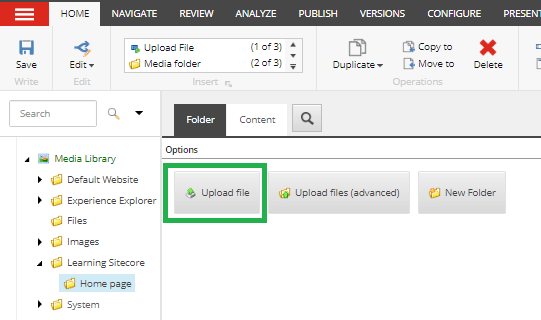
- Click on Choose file.
- Browse the Image and click Upload.

- Lets publish all our changes.
- Click on Learning Sitecore folder.
- Click Publish tab >> Down arrow of Publish button >> Publish item.
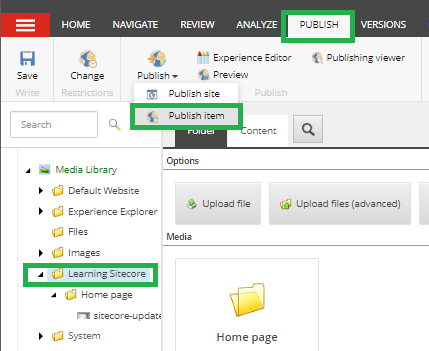
- Click Publish button on the pop up. Click OK.
- Click Close once the publish is completed.
- Now we need to go to Content Editor so that we can link the new image to the Banner on Home page.
- Click on the bricks button in upper left corner to navigate to Launchpad
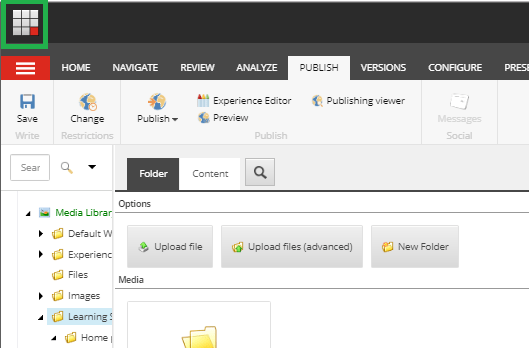
- Click on Content Editor.
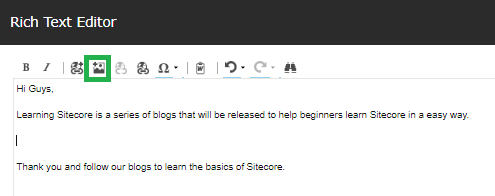
- Click on Home >> Click Show Editor to update the description.

- Navigate to wherever you want image and click on the Add Image button.
- The Media Library pop up will be opened.
- Select the image (/Learning Sitecore/Home page/sitecore-update-banner-image) and Click Insert.
- Click Accept.
- Save the changes and publish the item.
- Click on Publish tab >> Down arrow near Publish button >> Publish Item.
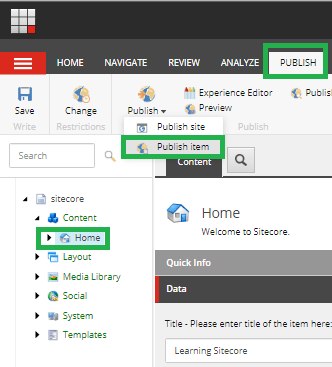
- Click Publish and Ok.
- Click close once the publishing is completed.
- Browse the front end site (http://learningsitecore/)
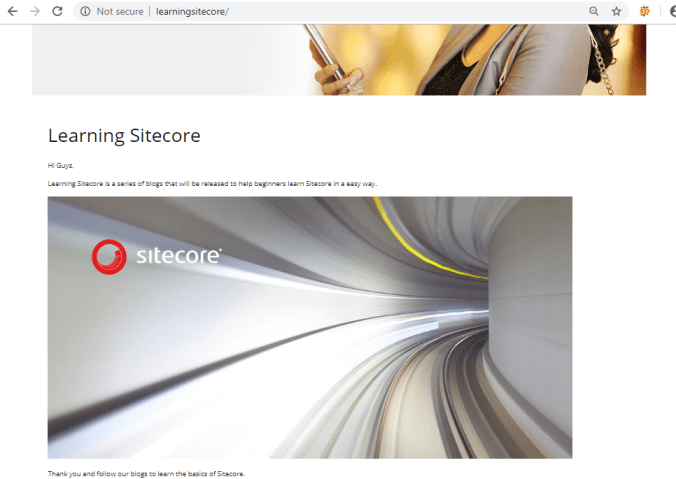
Like wise we can upload any media files and use it in our website. So what we learnt is all the media files in Sitecore sits in Media Library and no actual physical file is needed in the website folder. All the files are uploaded in the database.
In the next blog, we will work on the Renderings and then we will done with the basics of Sitecore and can move to the dummy site or one pager site.
Thank you.. Keep Learning.. Keep Sitecoring.. 🙂
